Don't have time to read this now, pin it for later!
This blog post includes affiliate links. What does this mean? It means you will pay no more but I will get a commission for the referral.
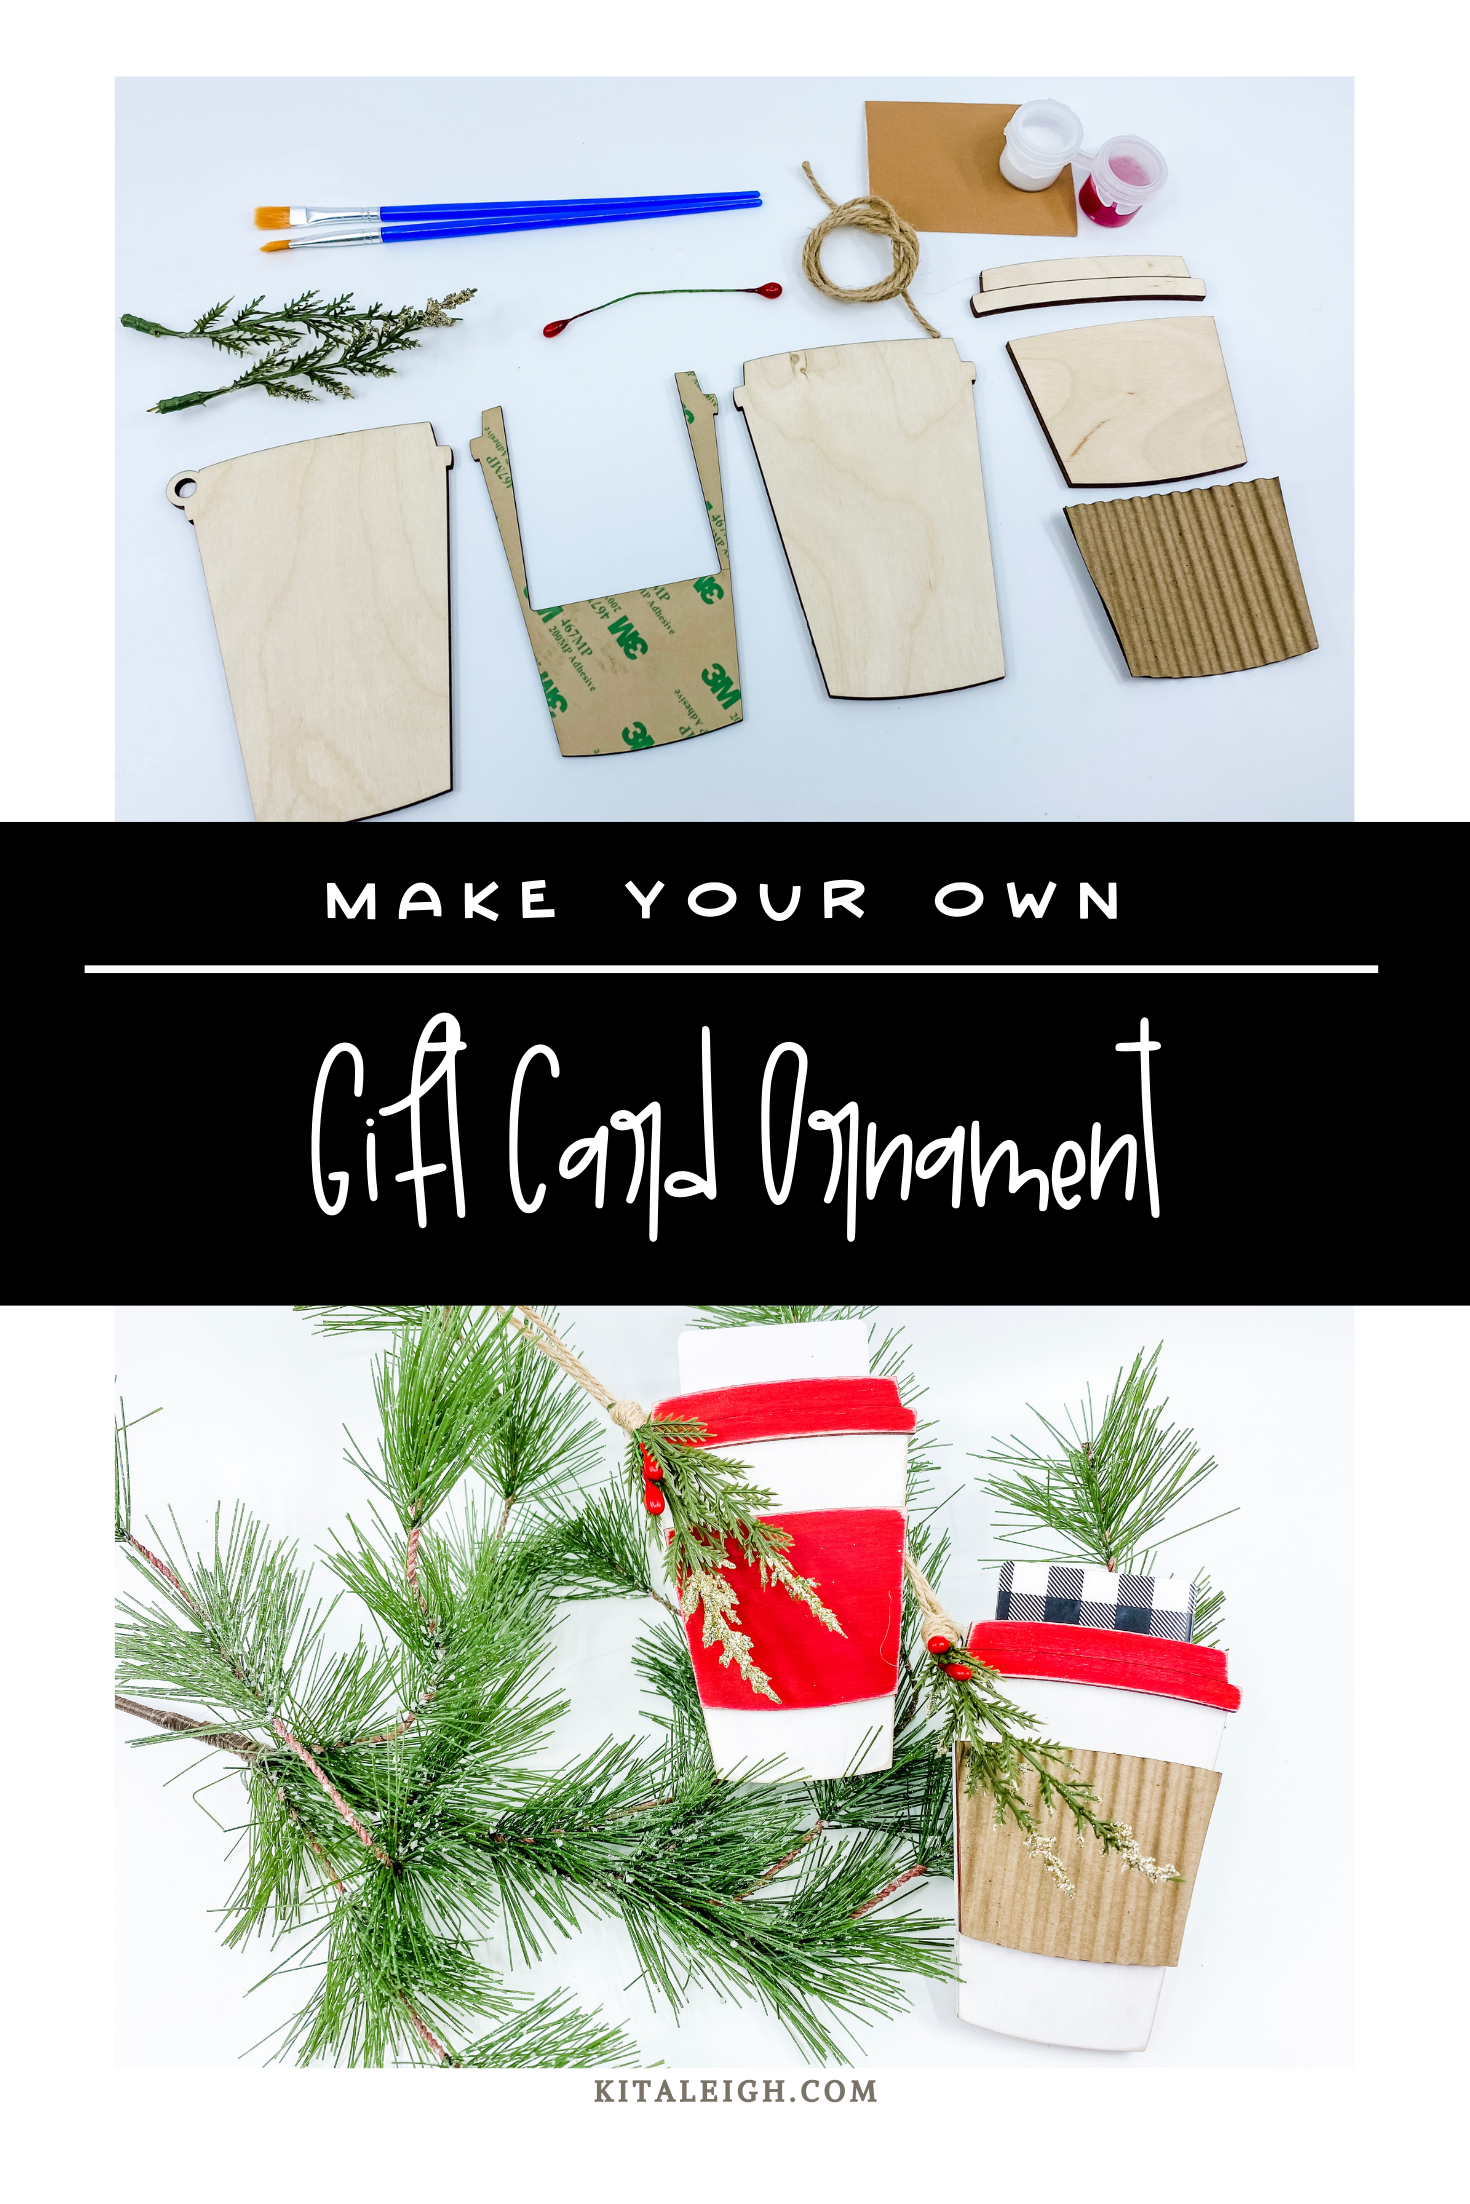
Hello Friends! Are you ready to make some adorable Coffee gift card Holder Christmas ornaments? This post will tell you everything you need to know to make these to give as gifts for Christmas.
The things you need for this project are:
Or if you have a laser cutter:

1. First, start out by gathering all your supplies.
If you are cutting the design on the laser, use the Adhesive tape on both sides of the chipboard and on the back of the wooden lid and wooden sleeve.
Suggested Cut Settings:
Baltic Birch: 200/full(cut), 300/41 (score)
Corrugated Cardboard: 200/90


2. Then you will want to put together the main cup. You will layer the 3 main cup pieces, sandwiching the chipboard.
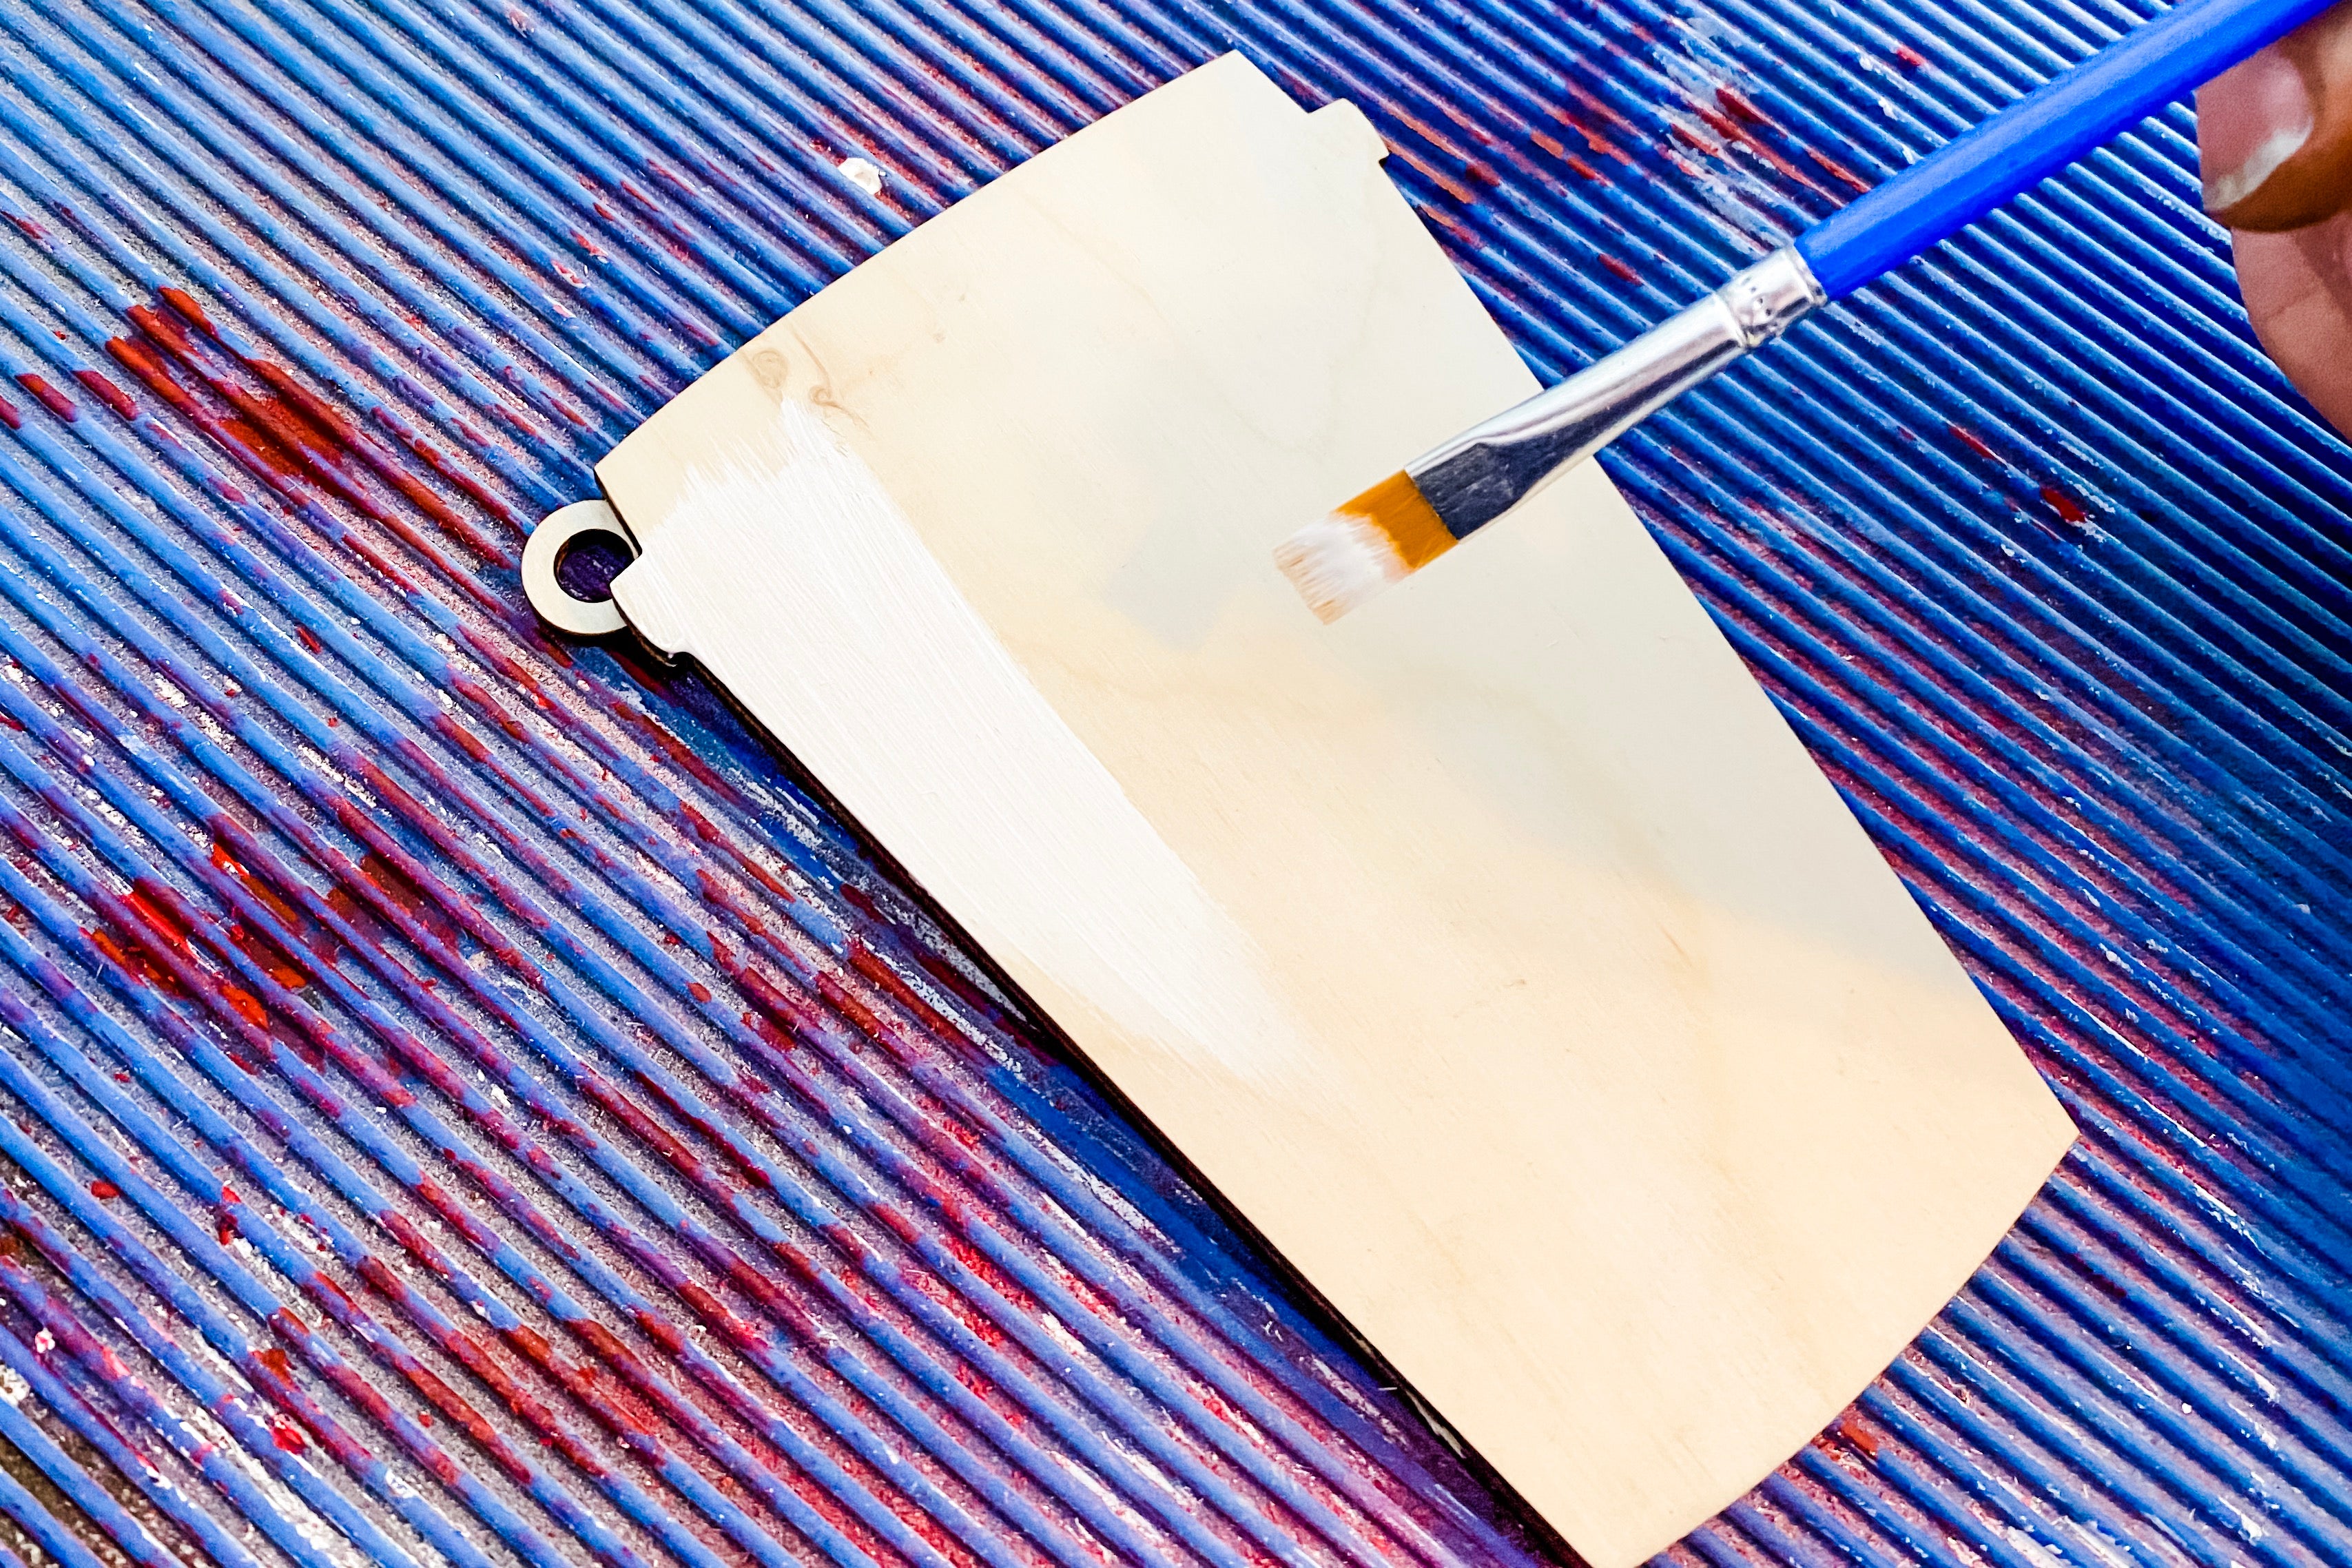

3. Next it is time to paint. I paint the top, the sides, then the back. Depending on the color you use it may take multiple coats. At this time also paint the wooden lid and the wooden sleeve.


4. Once the pieces are dry lightly sand the pieces using 220 grit sand paper.

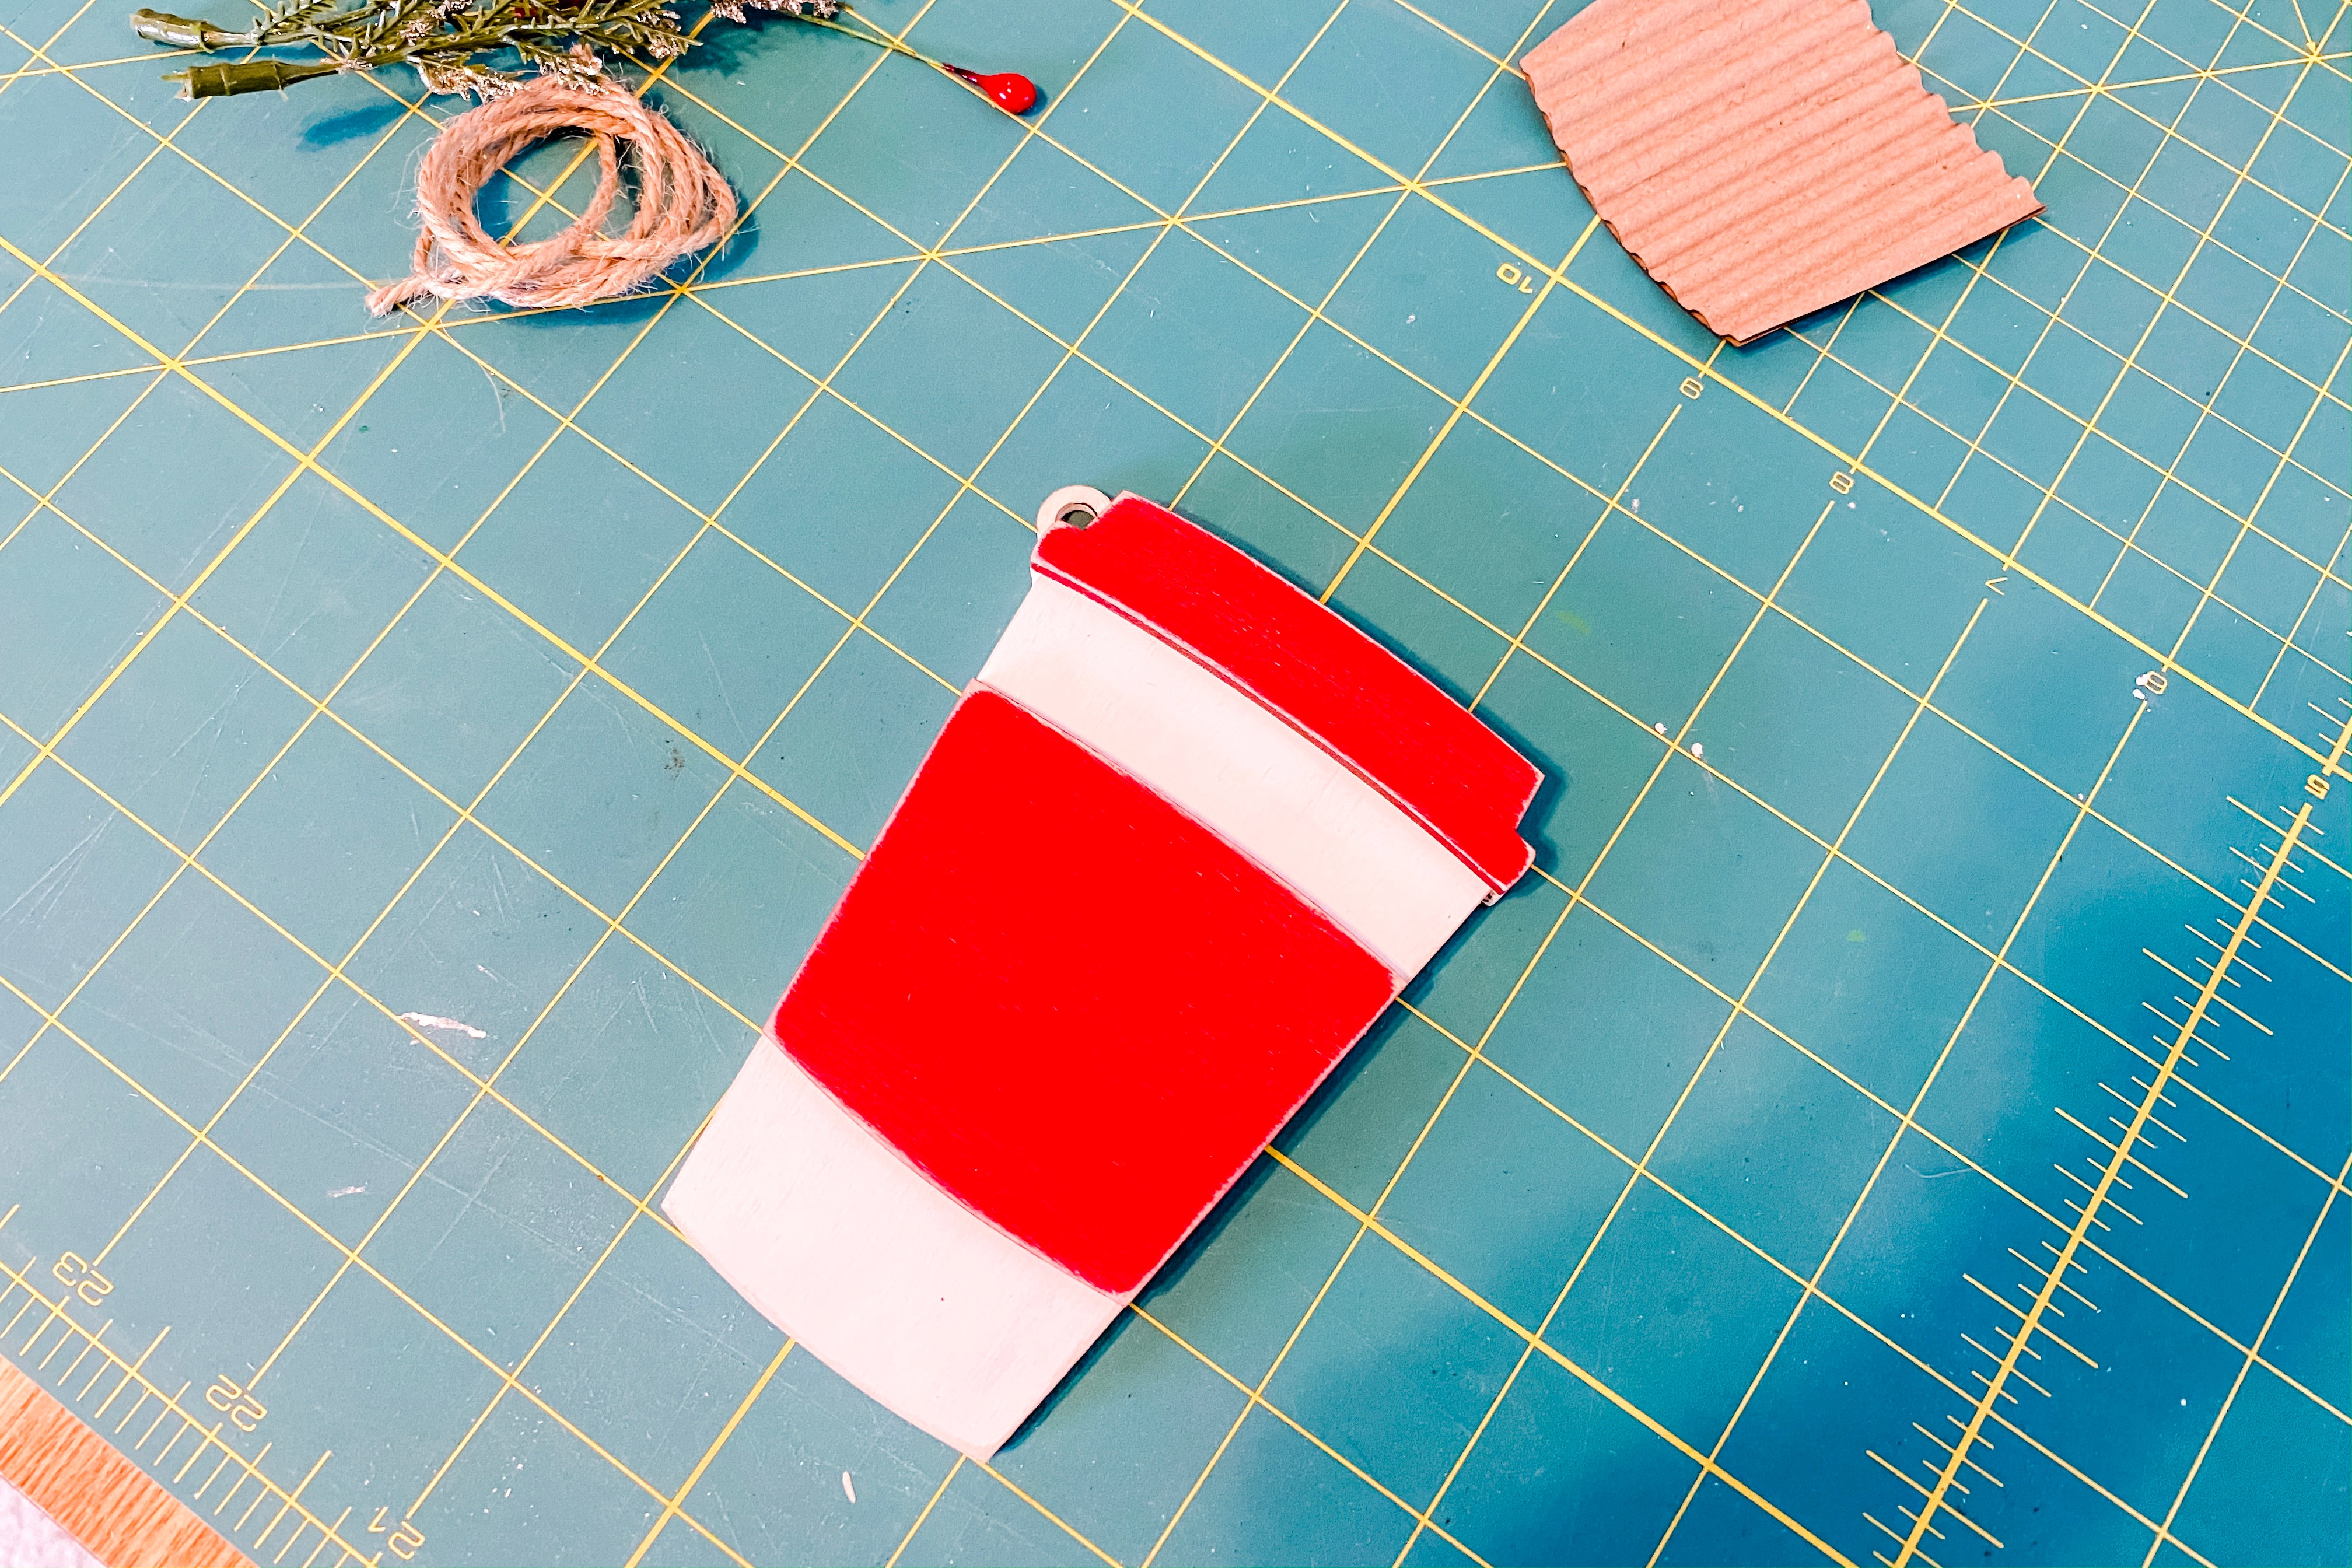
5. After sanding, it is time to finish assembling. Peel the adhesive backing off the wooden lid and put it in place. Do the same with the sleeve.
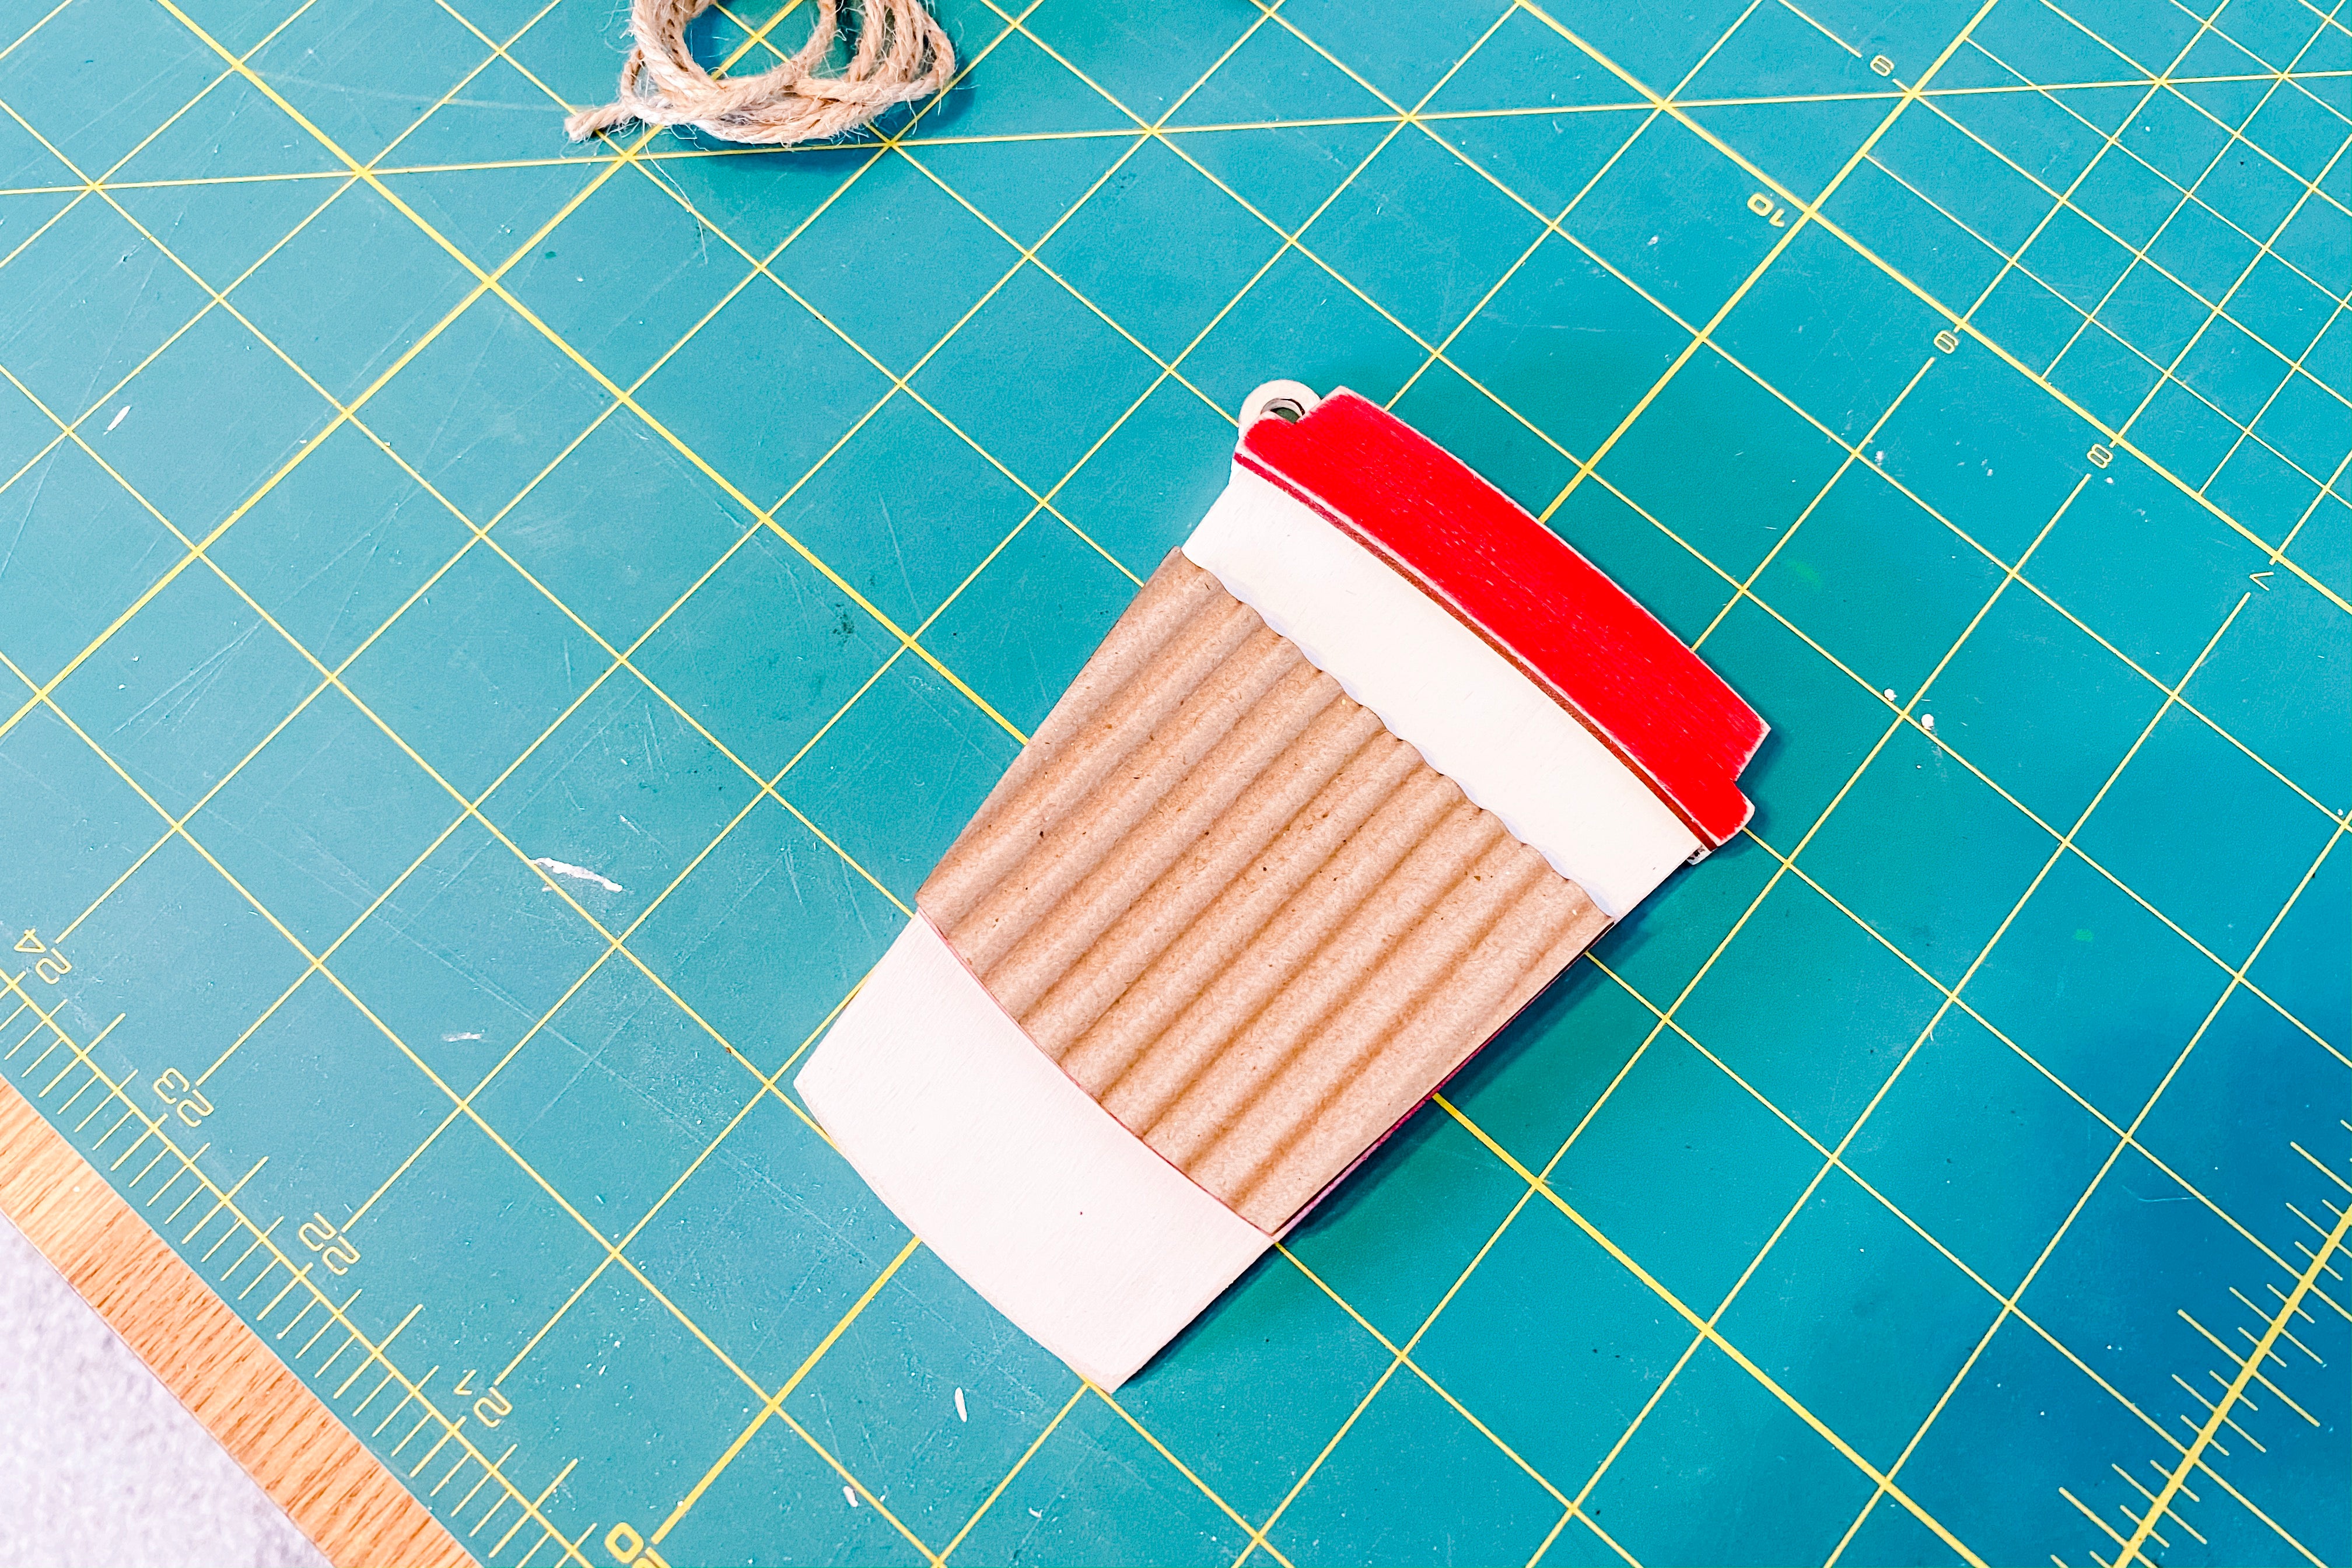
6. Optional: If you would like you can use the corrugated cardboard to add a natural feel to the cup by using glue.
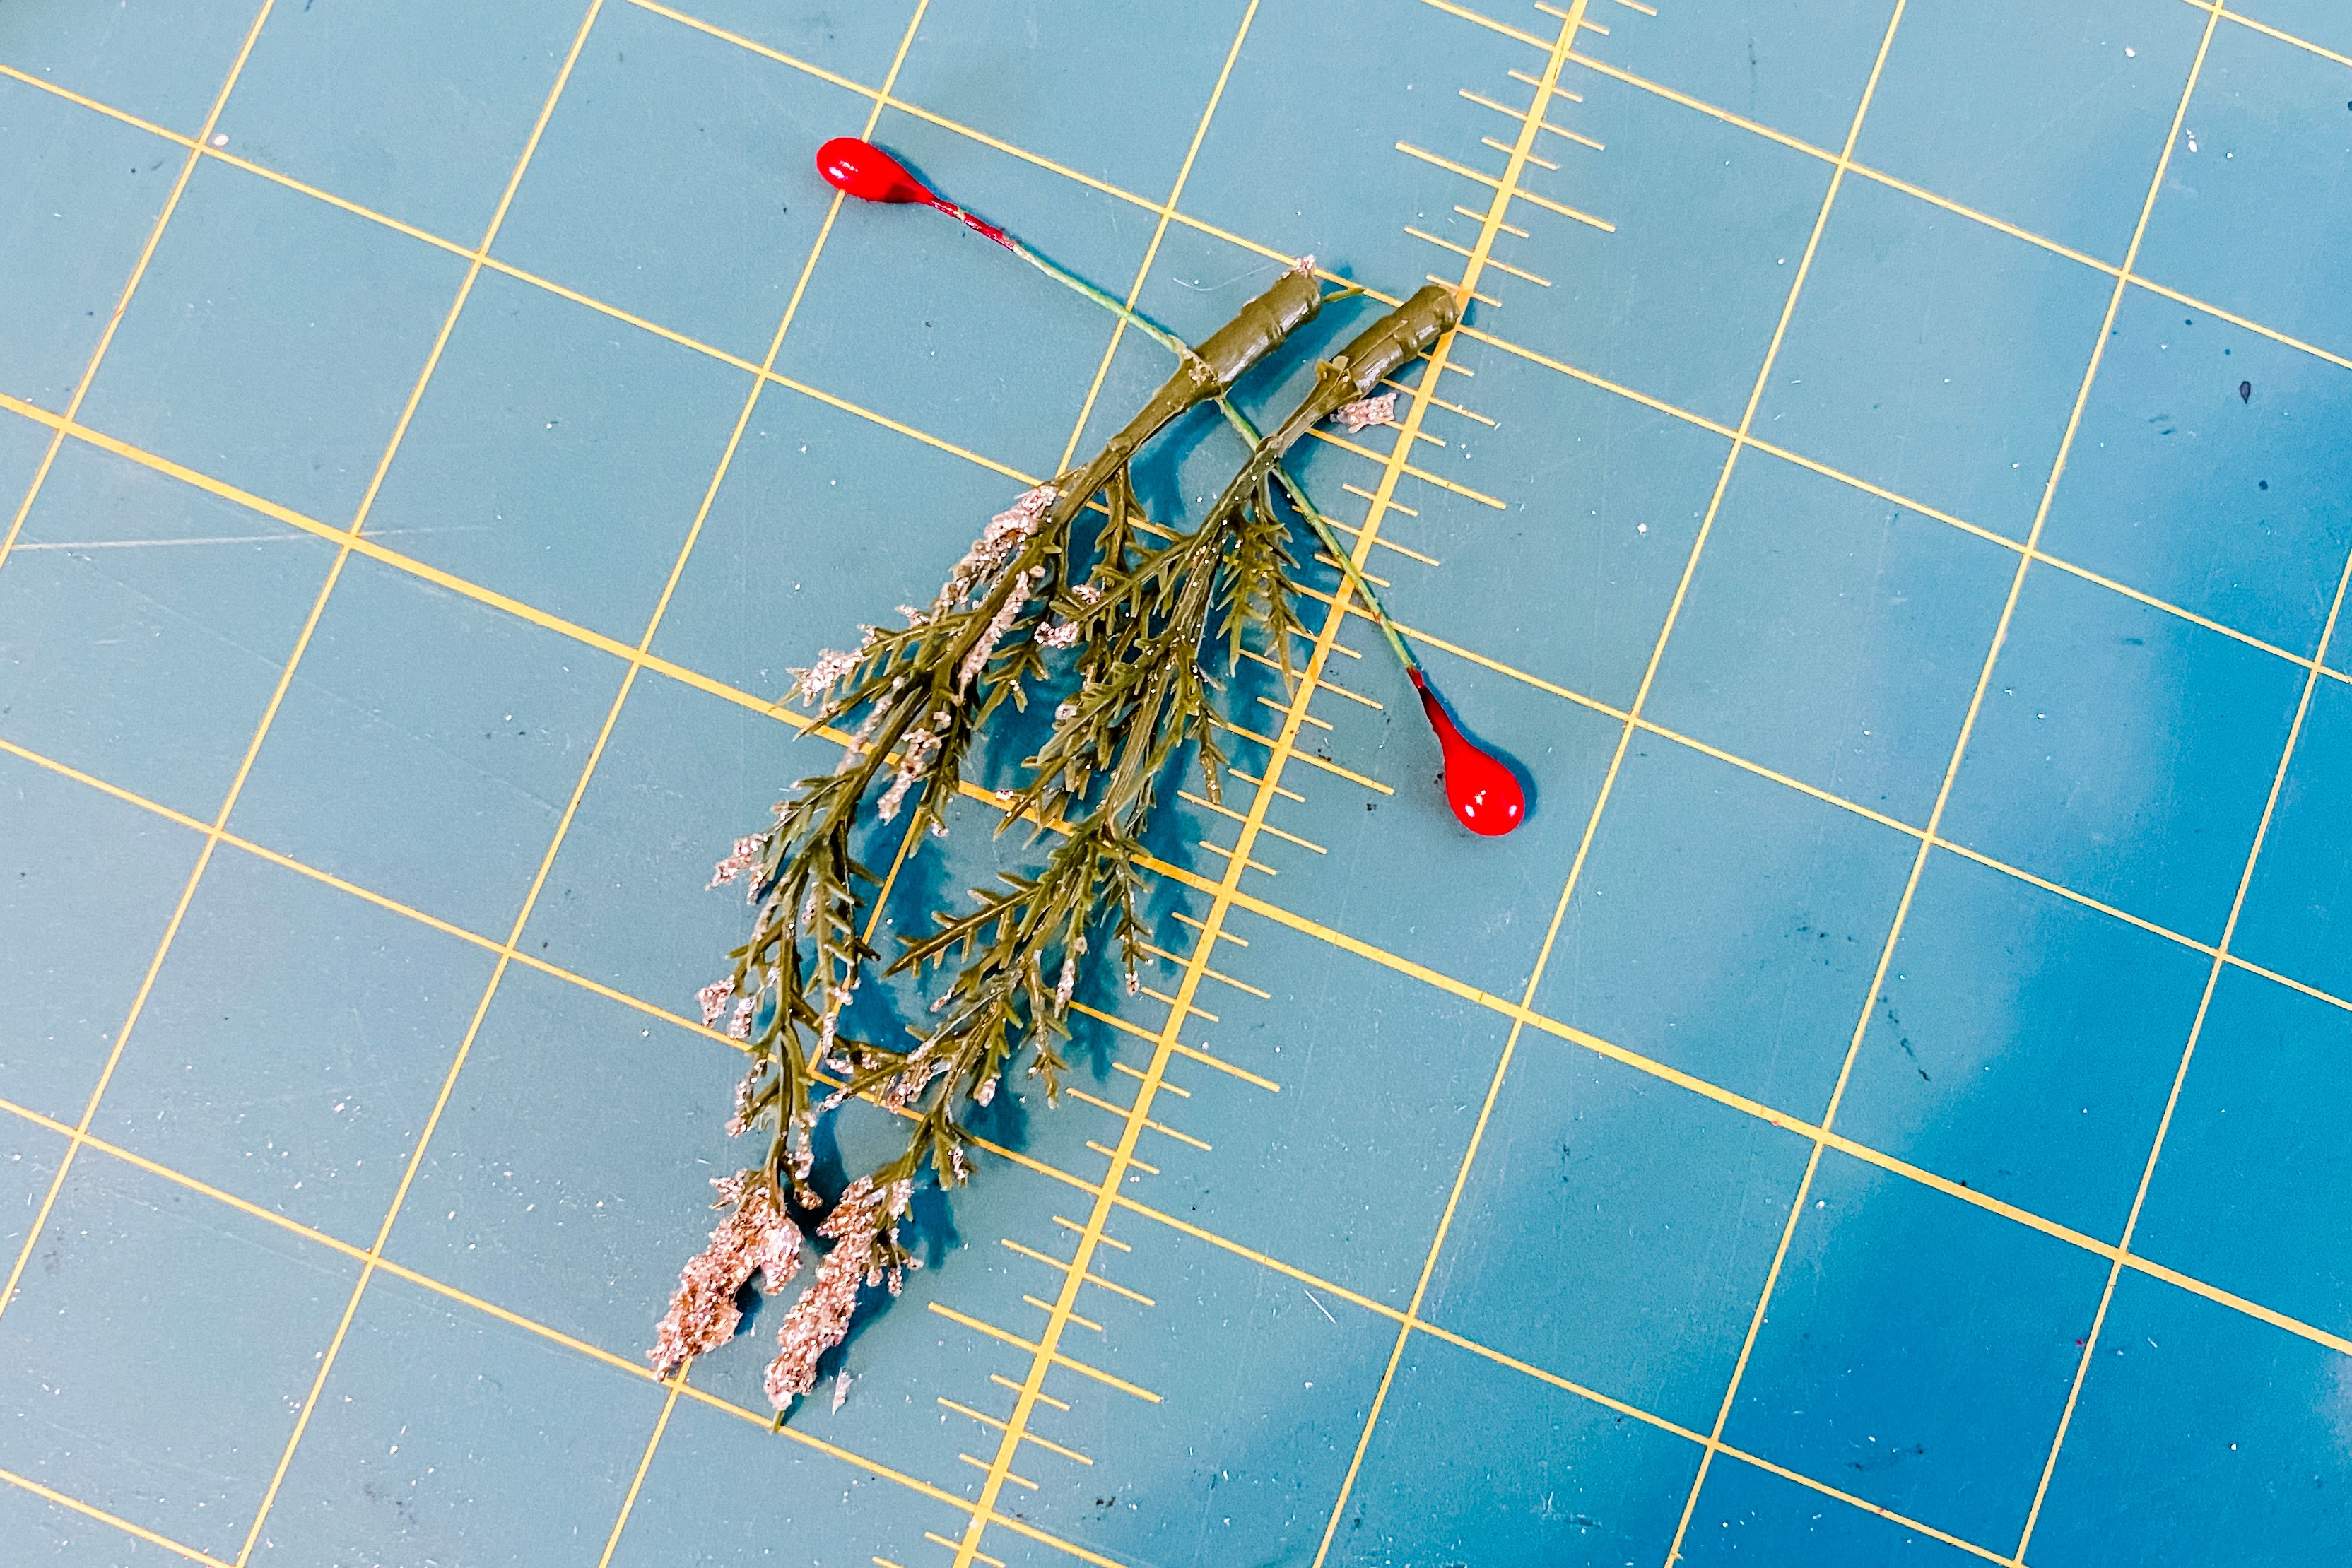

7. Next is the greenery. Take the 2 pieces of greenery and wrap the wire berries around the stems.
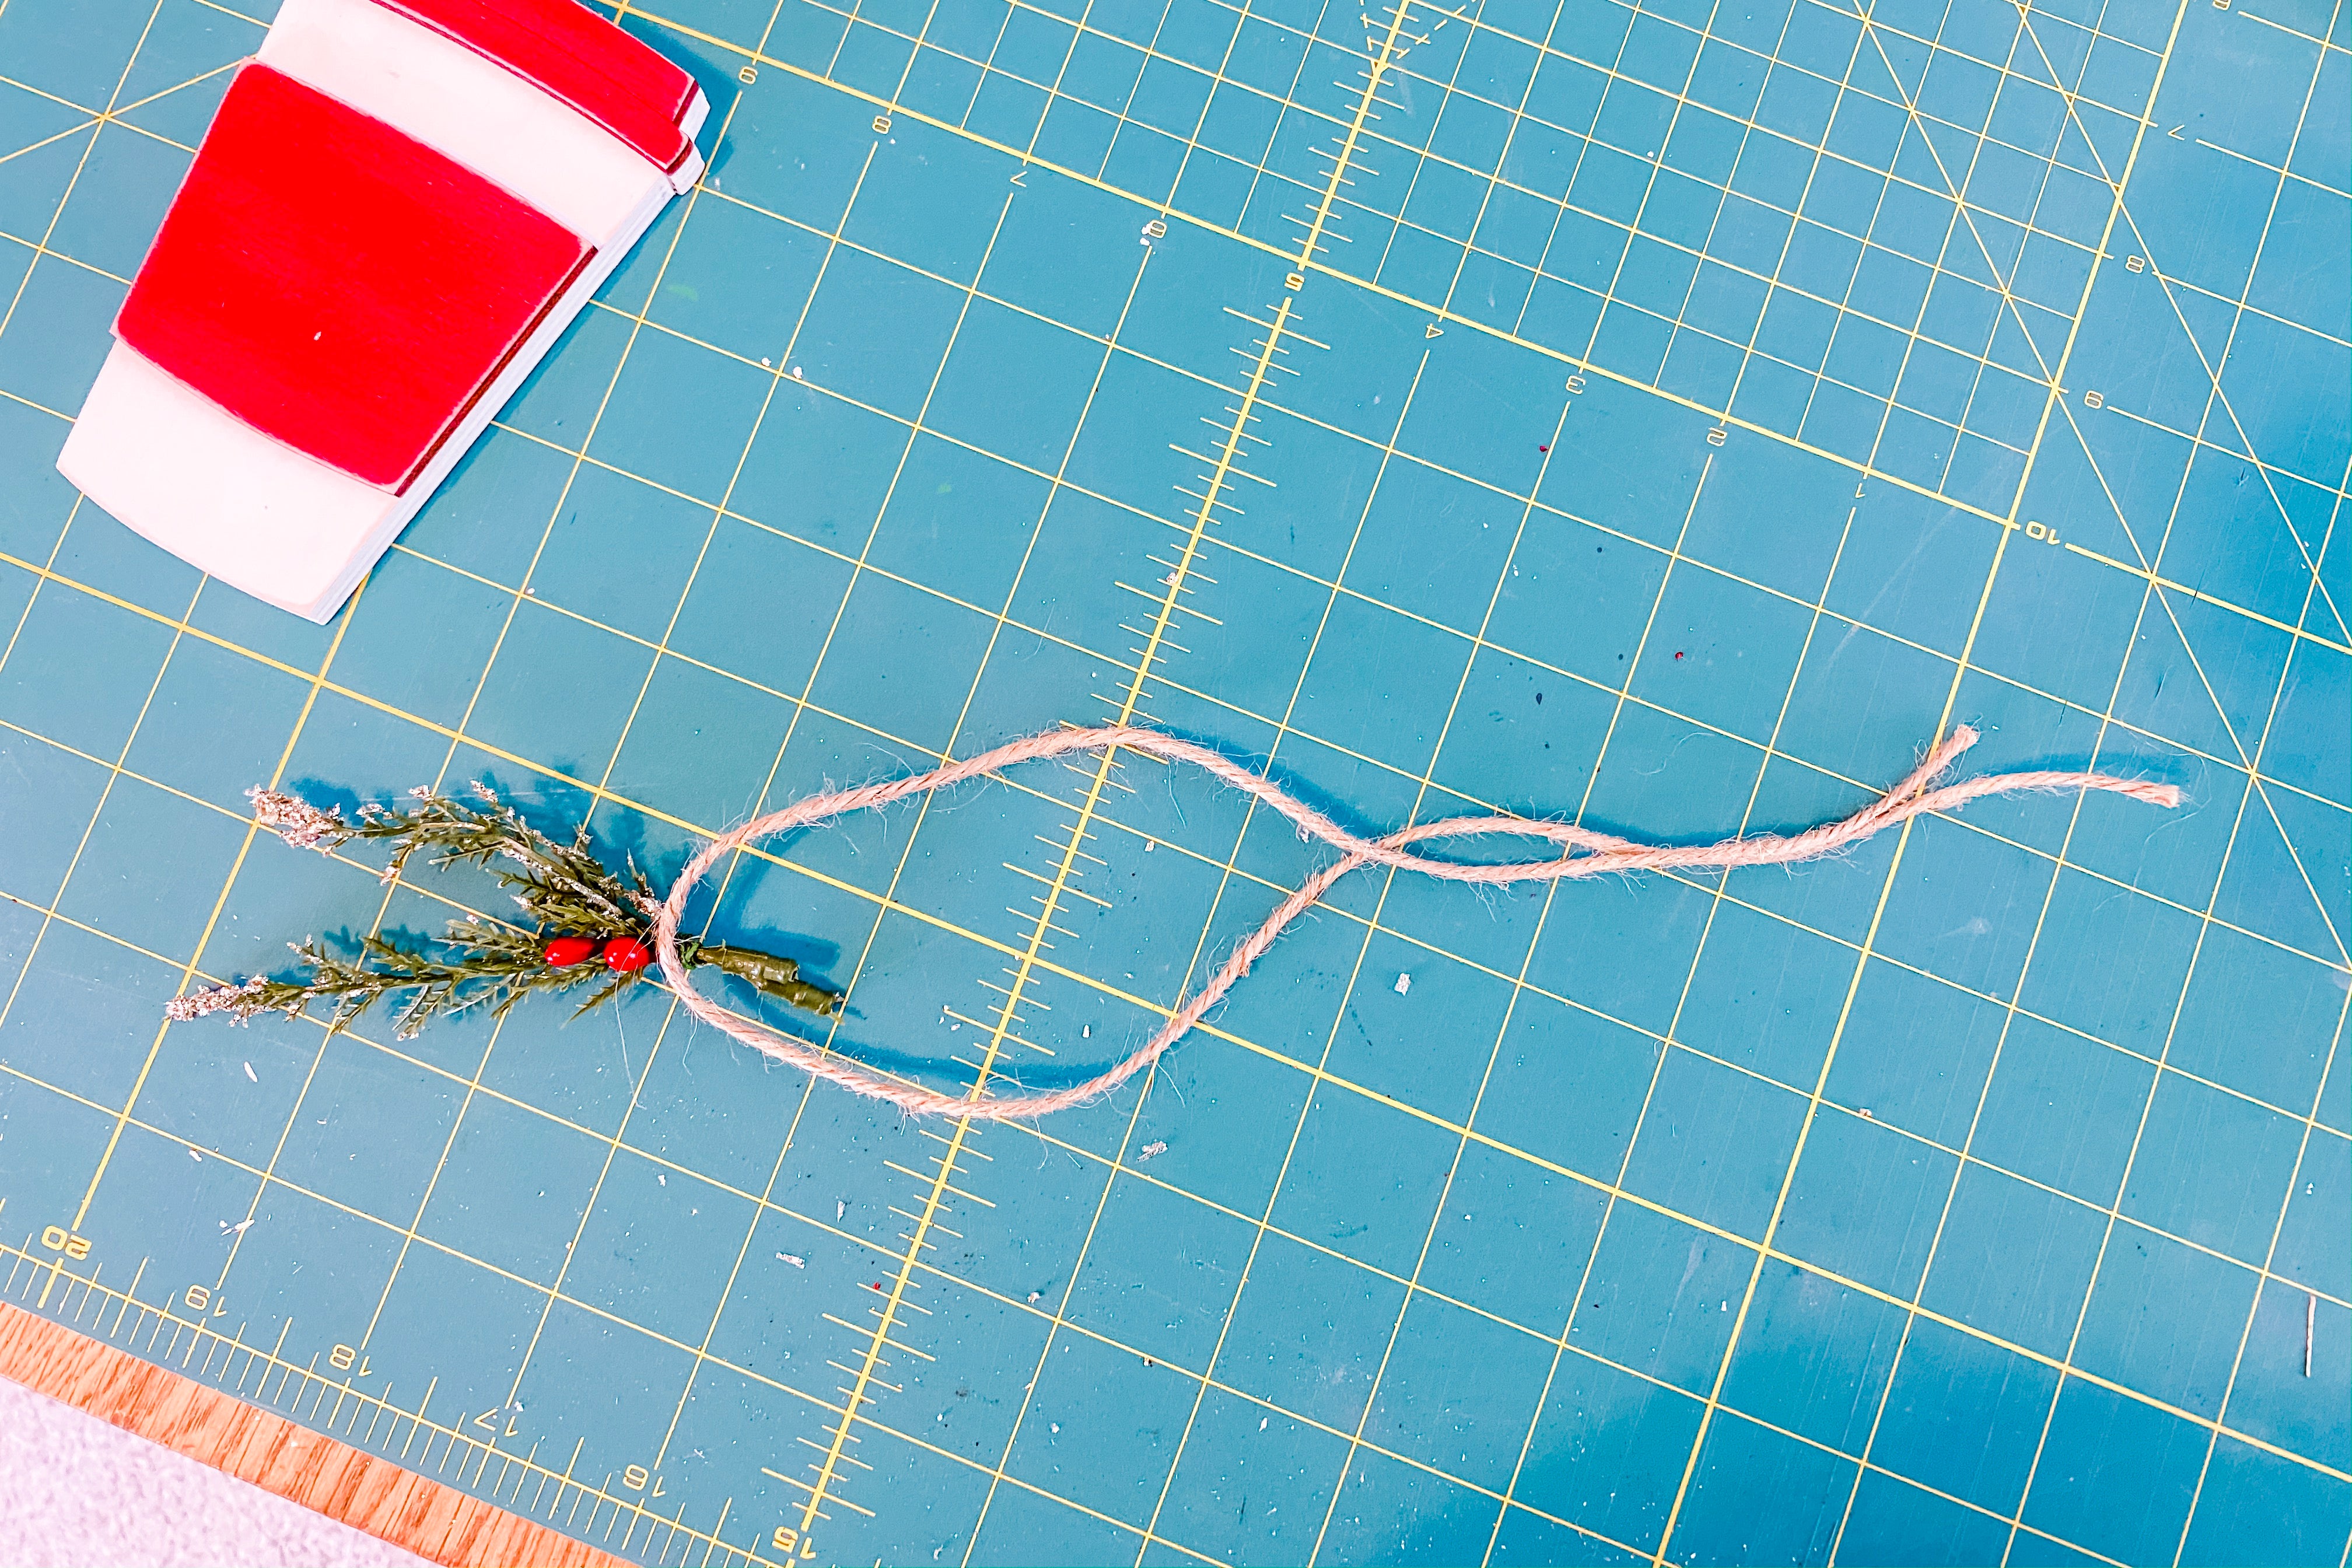


8. Now, take the twine and wrap it a few times around the stem to hide the wire. Finish it off with a knot and cut the extra parts of the greens.

9. Thread the twine through the hole on the ornament.

10. Finish the two loose strings with a knot and you are done!
You made it, now time to put your favorite gift card in it and give it to someone for Christmas.
Tag me on IG with your creation @kitaleigh.made and/or use the hashtag #makeitwithKitaleigh! I just cannot wait to see what you create!