Don't have time to read this now, pin it for later!
This blog post includes affiliate links. What does this mean? It means you will pay no more but I will get a commission for the referral.
Hello Friends! Are you ready to make some adorable farmhouse door Christmas ornaments? This post will tell you everything you need to know to make these for your tree!
The things you need for this project are:
Or (if you have a laser cutter)

1. First, you will gather your supplies. (If you have a Laser cutter, cut out the design).
Tips for cutting on the Glowforge:


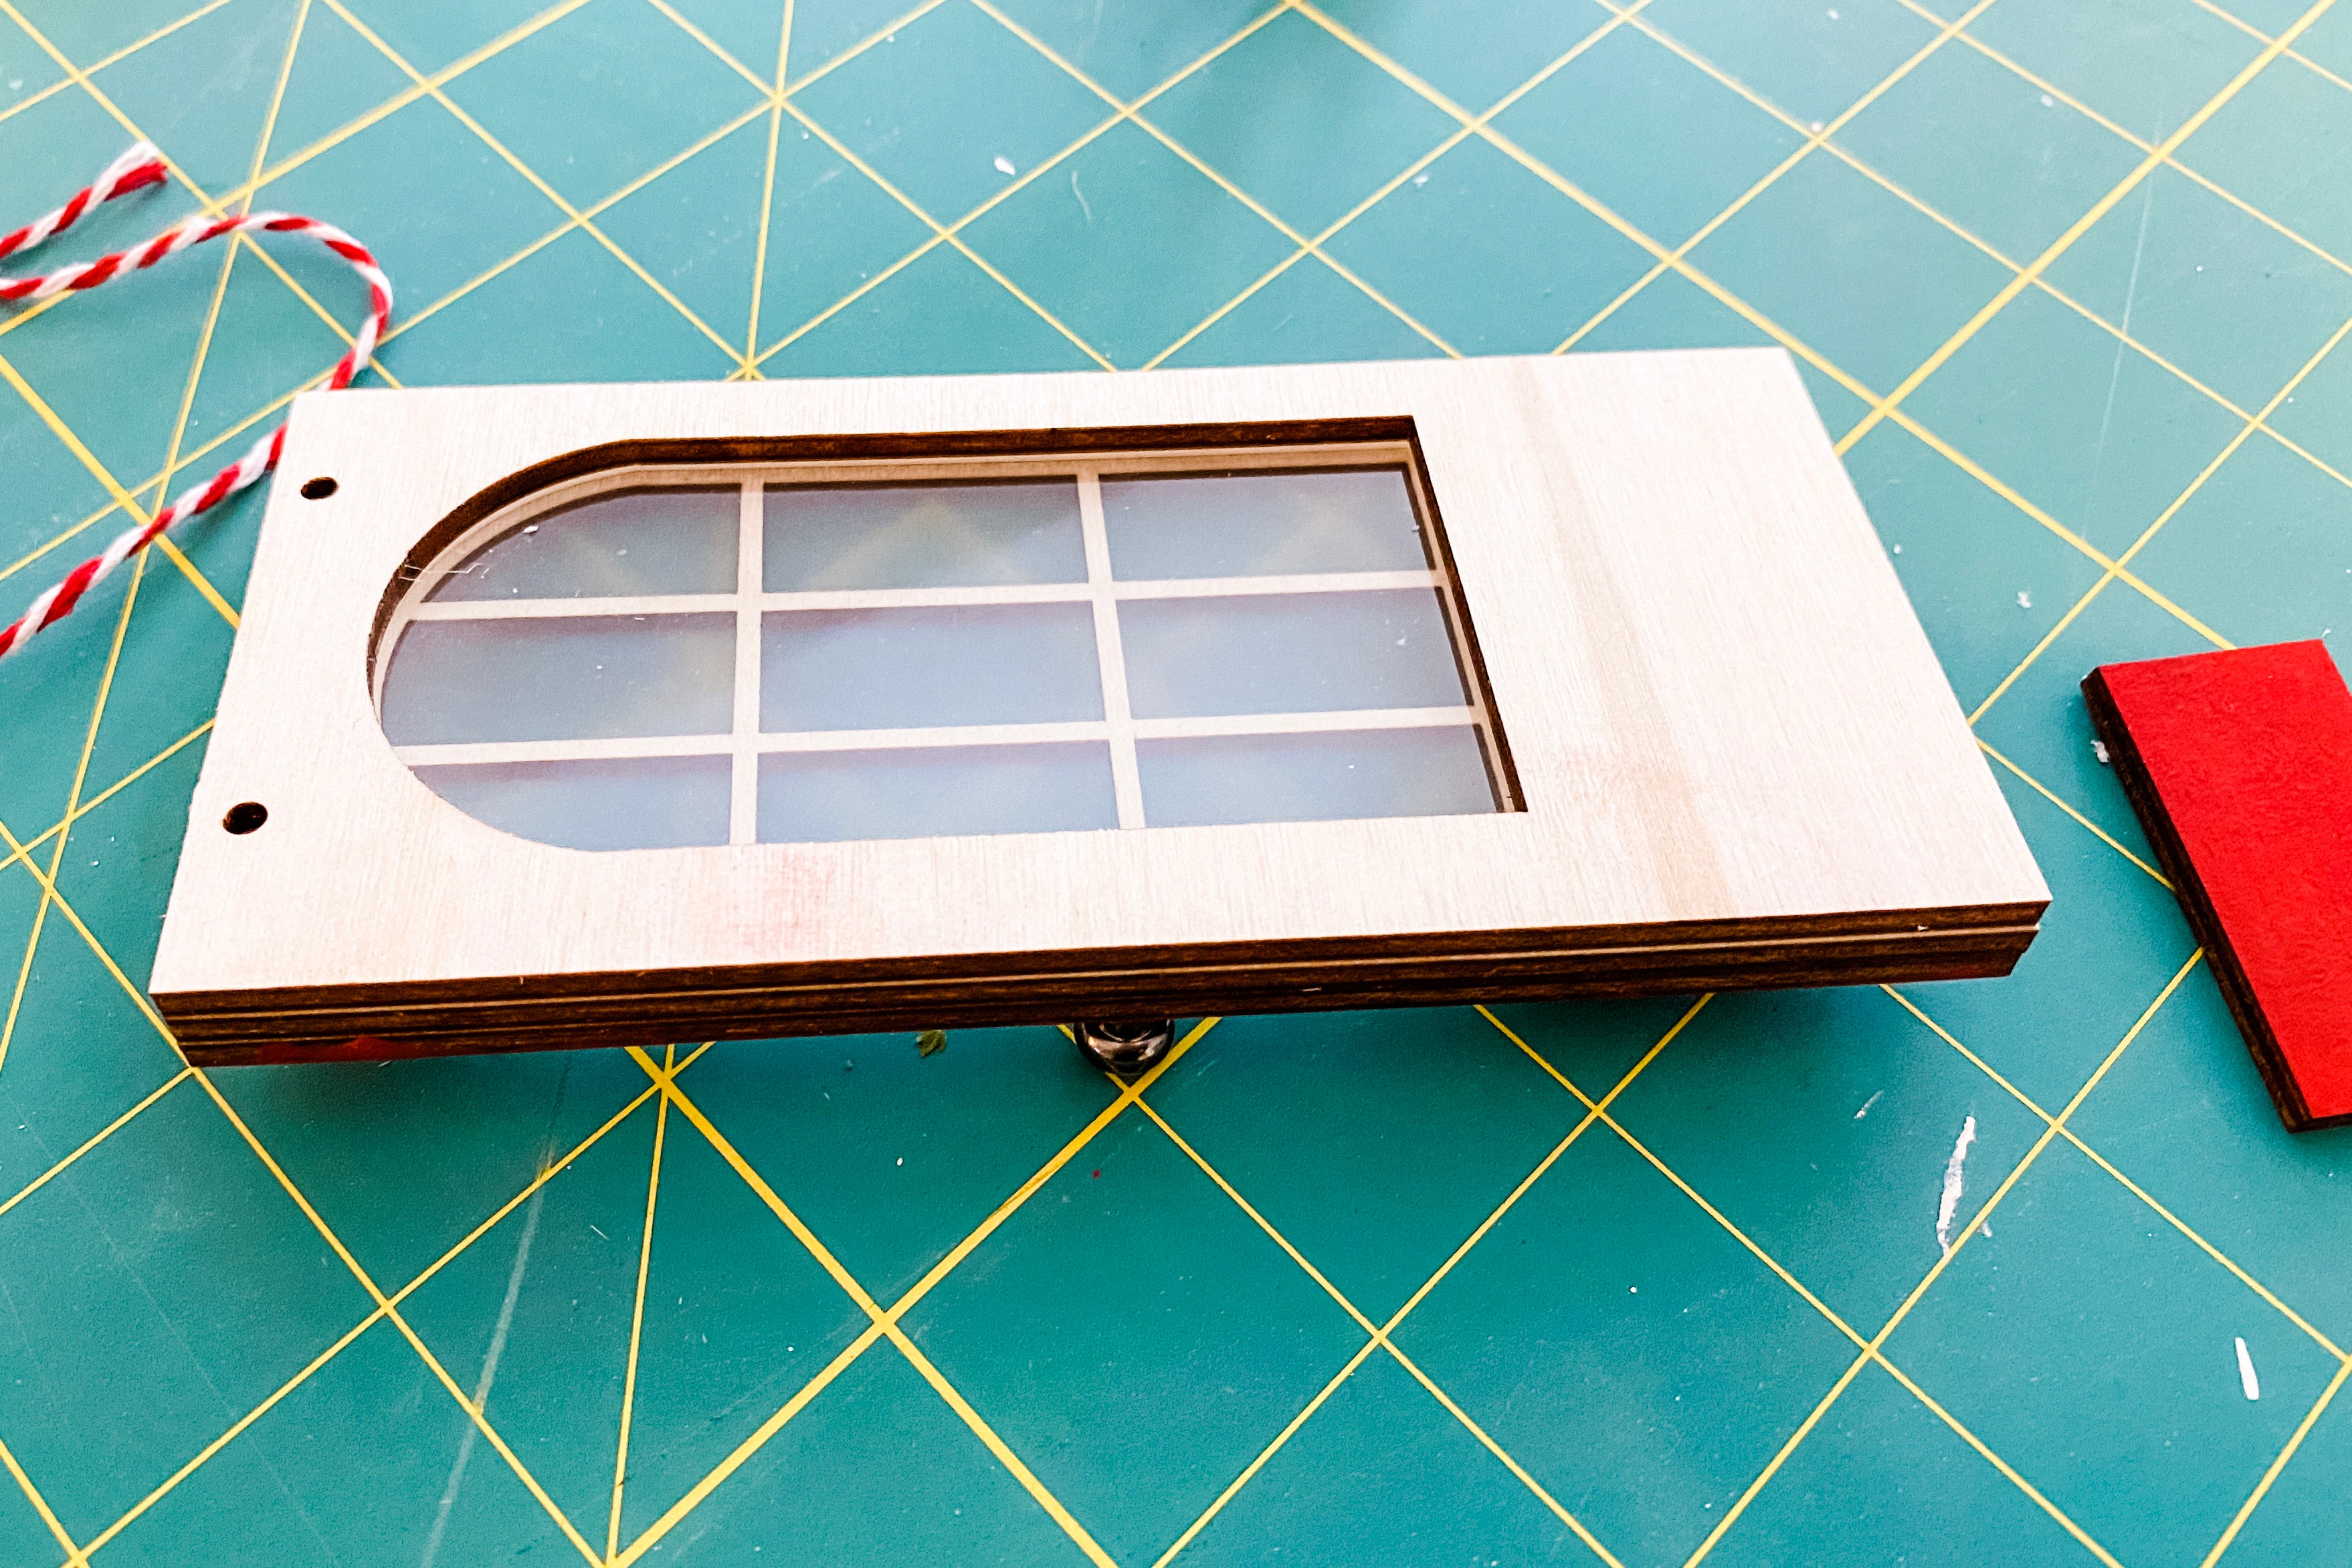
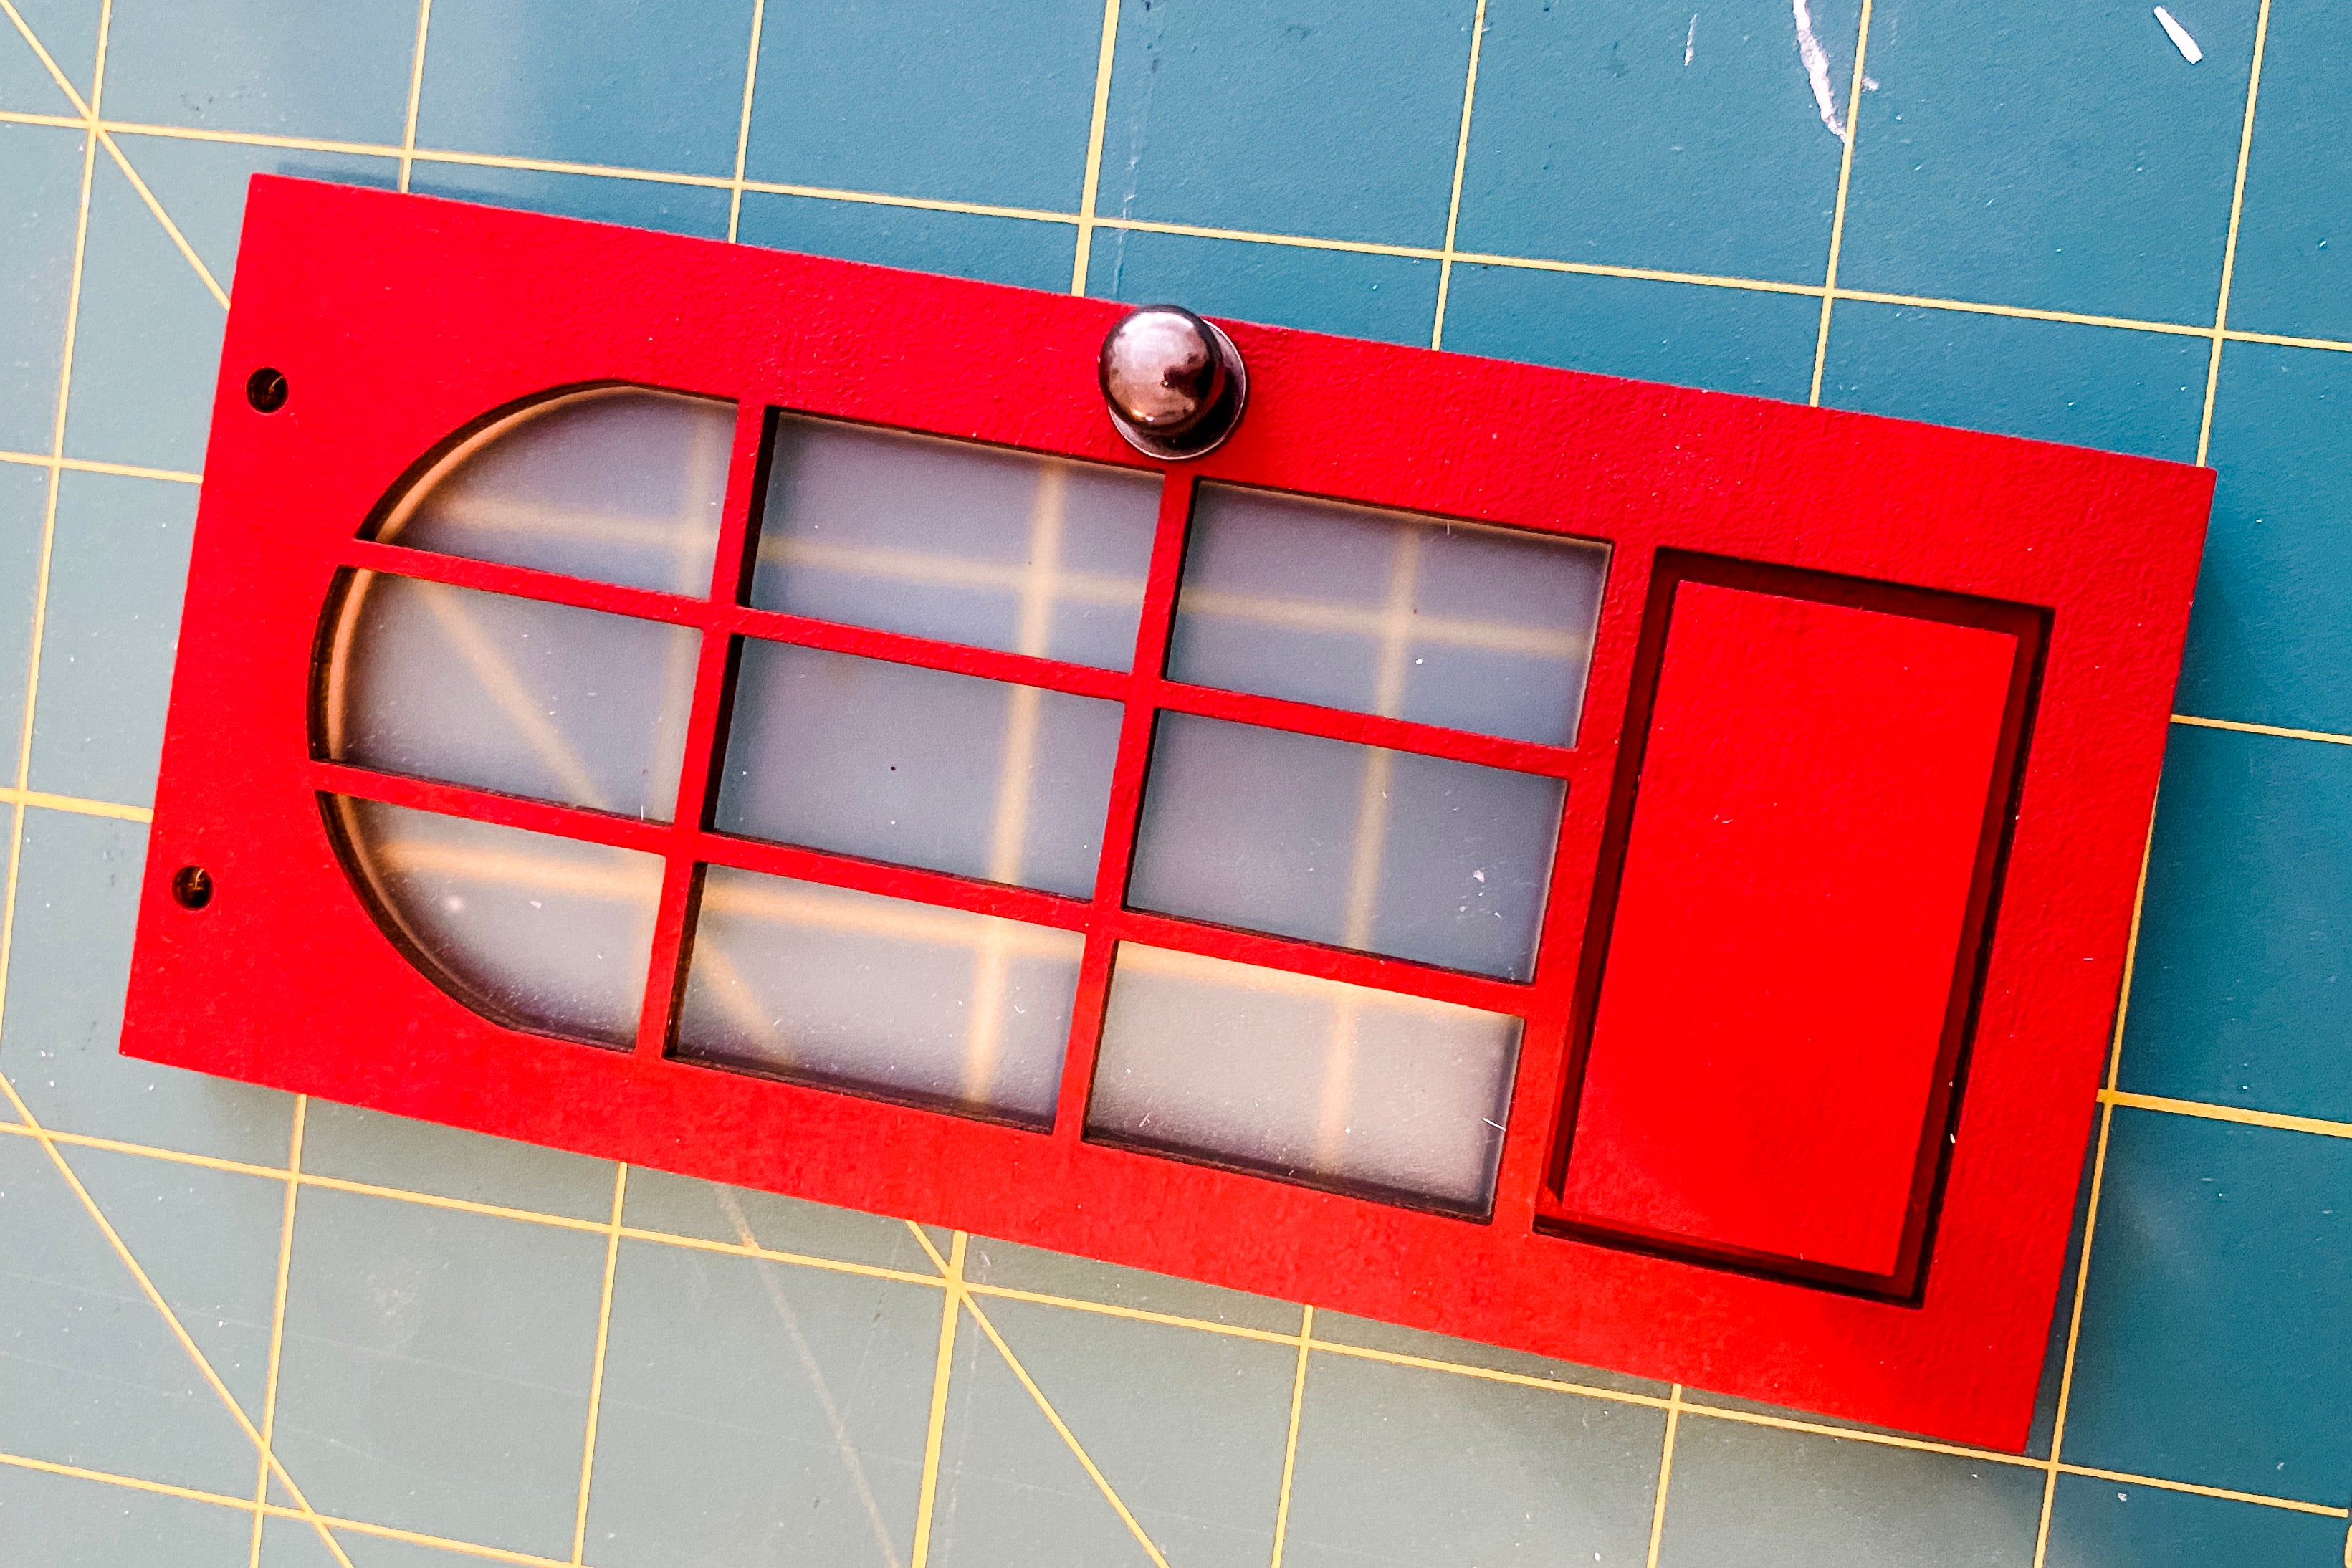
2. Grab your dauber and paint the top piece (window panes), the small rectangle piece, and center layer of the door with a hole for the door knob.
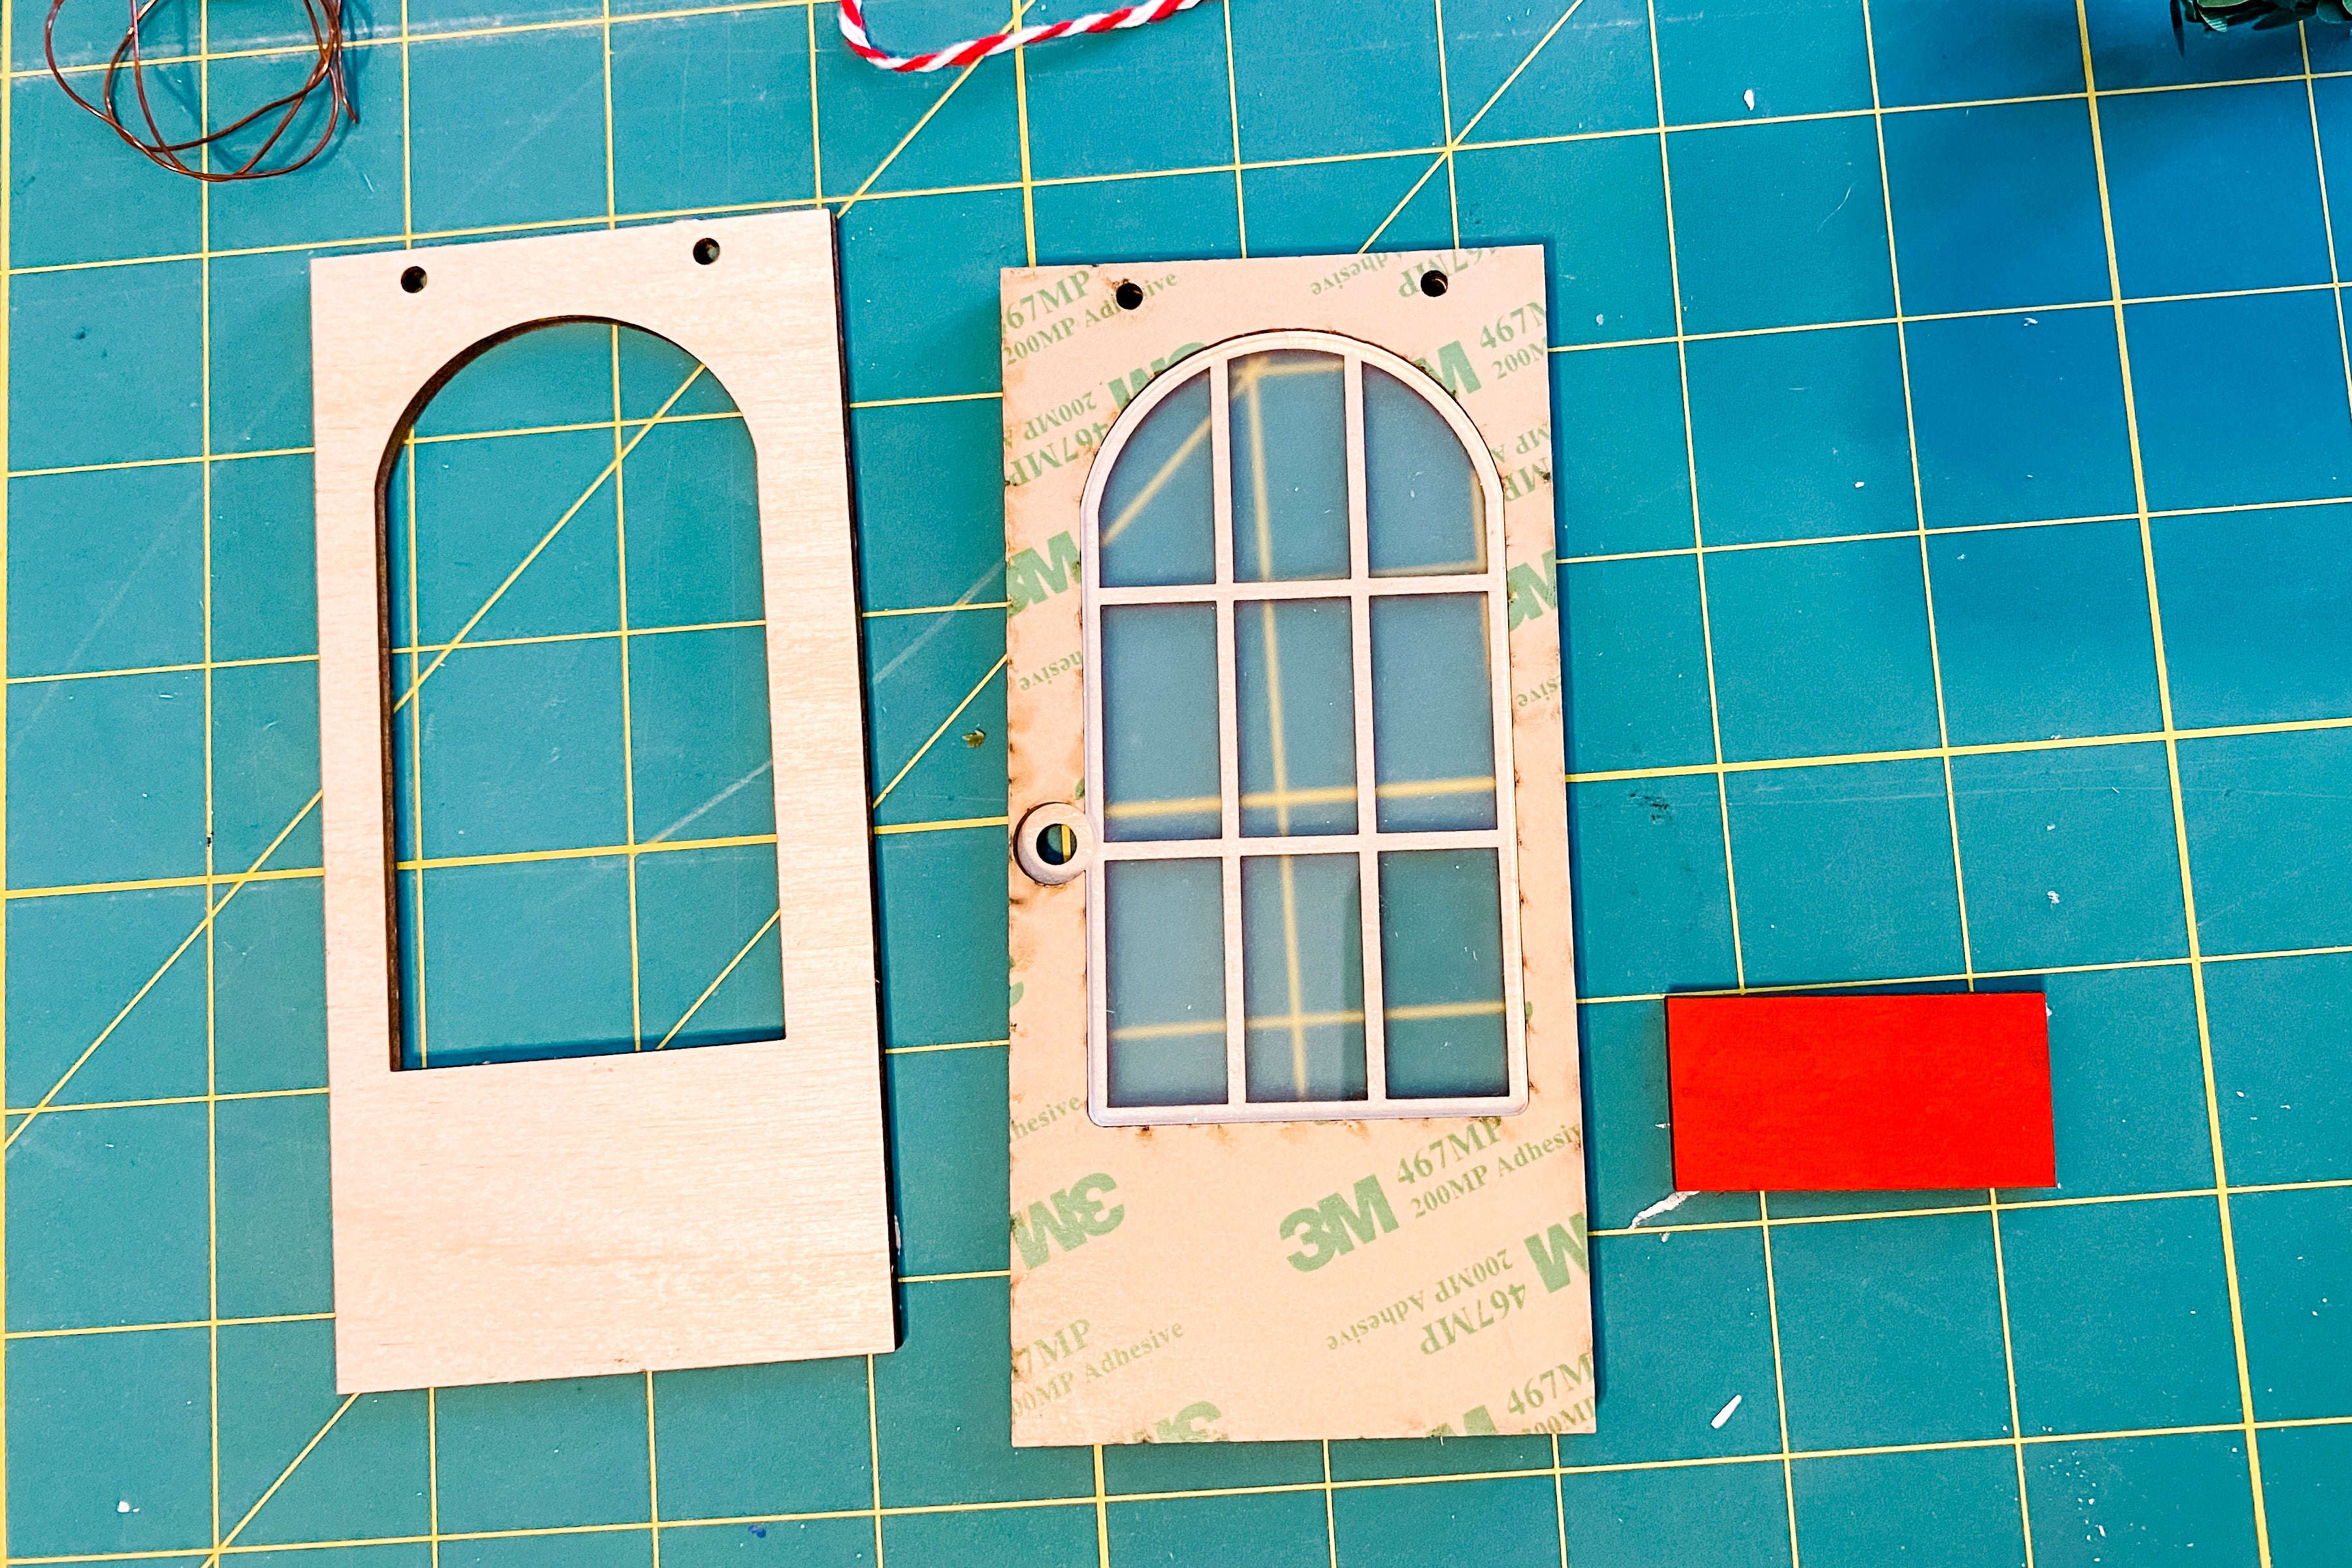
3. Once the paint is dry, you will layer the pieces, sticking together with the adhesive tape. (note, both of these pieces will have holes for the door knob.)
Tips: on this step only peel the adhesive backing paper from the door with the window panes.

4. Next, screw on the door knob. You can do this with a little screwdriver or by hand.
Once that is done, place the acrylic in place.
5. Next, peel the adhesive backing and stick the back of the door layer in place.
6. Flip the door over, peel off the adhesive backing paper, and place the rectangle panel in place.


7. Now it is time for the wreath. Wrap the decorative trim around itself creating a wreath for the door. For me it was wrapped around (as two layers), this allow it to be a bit more full.
The create a little bow with your string/ribbon. Cutting off the extra hanging string.


8. Next grab the wire, find the mid point and wrap around a thin dowel (I used a paint brush handle). Then thread onto the door and coil the wire around again. This will make it where the wire will not fall out of the holes.
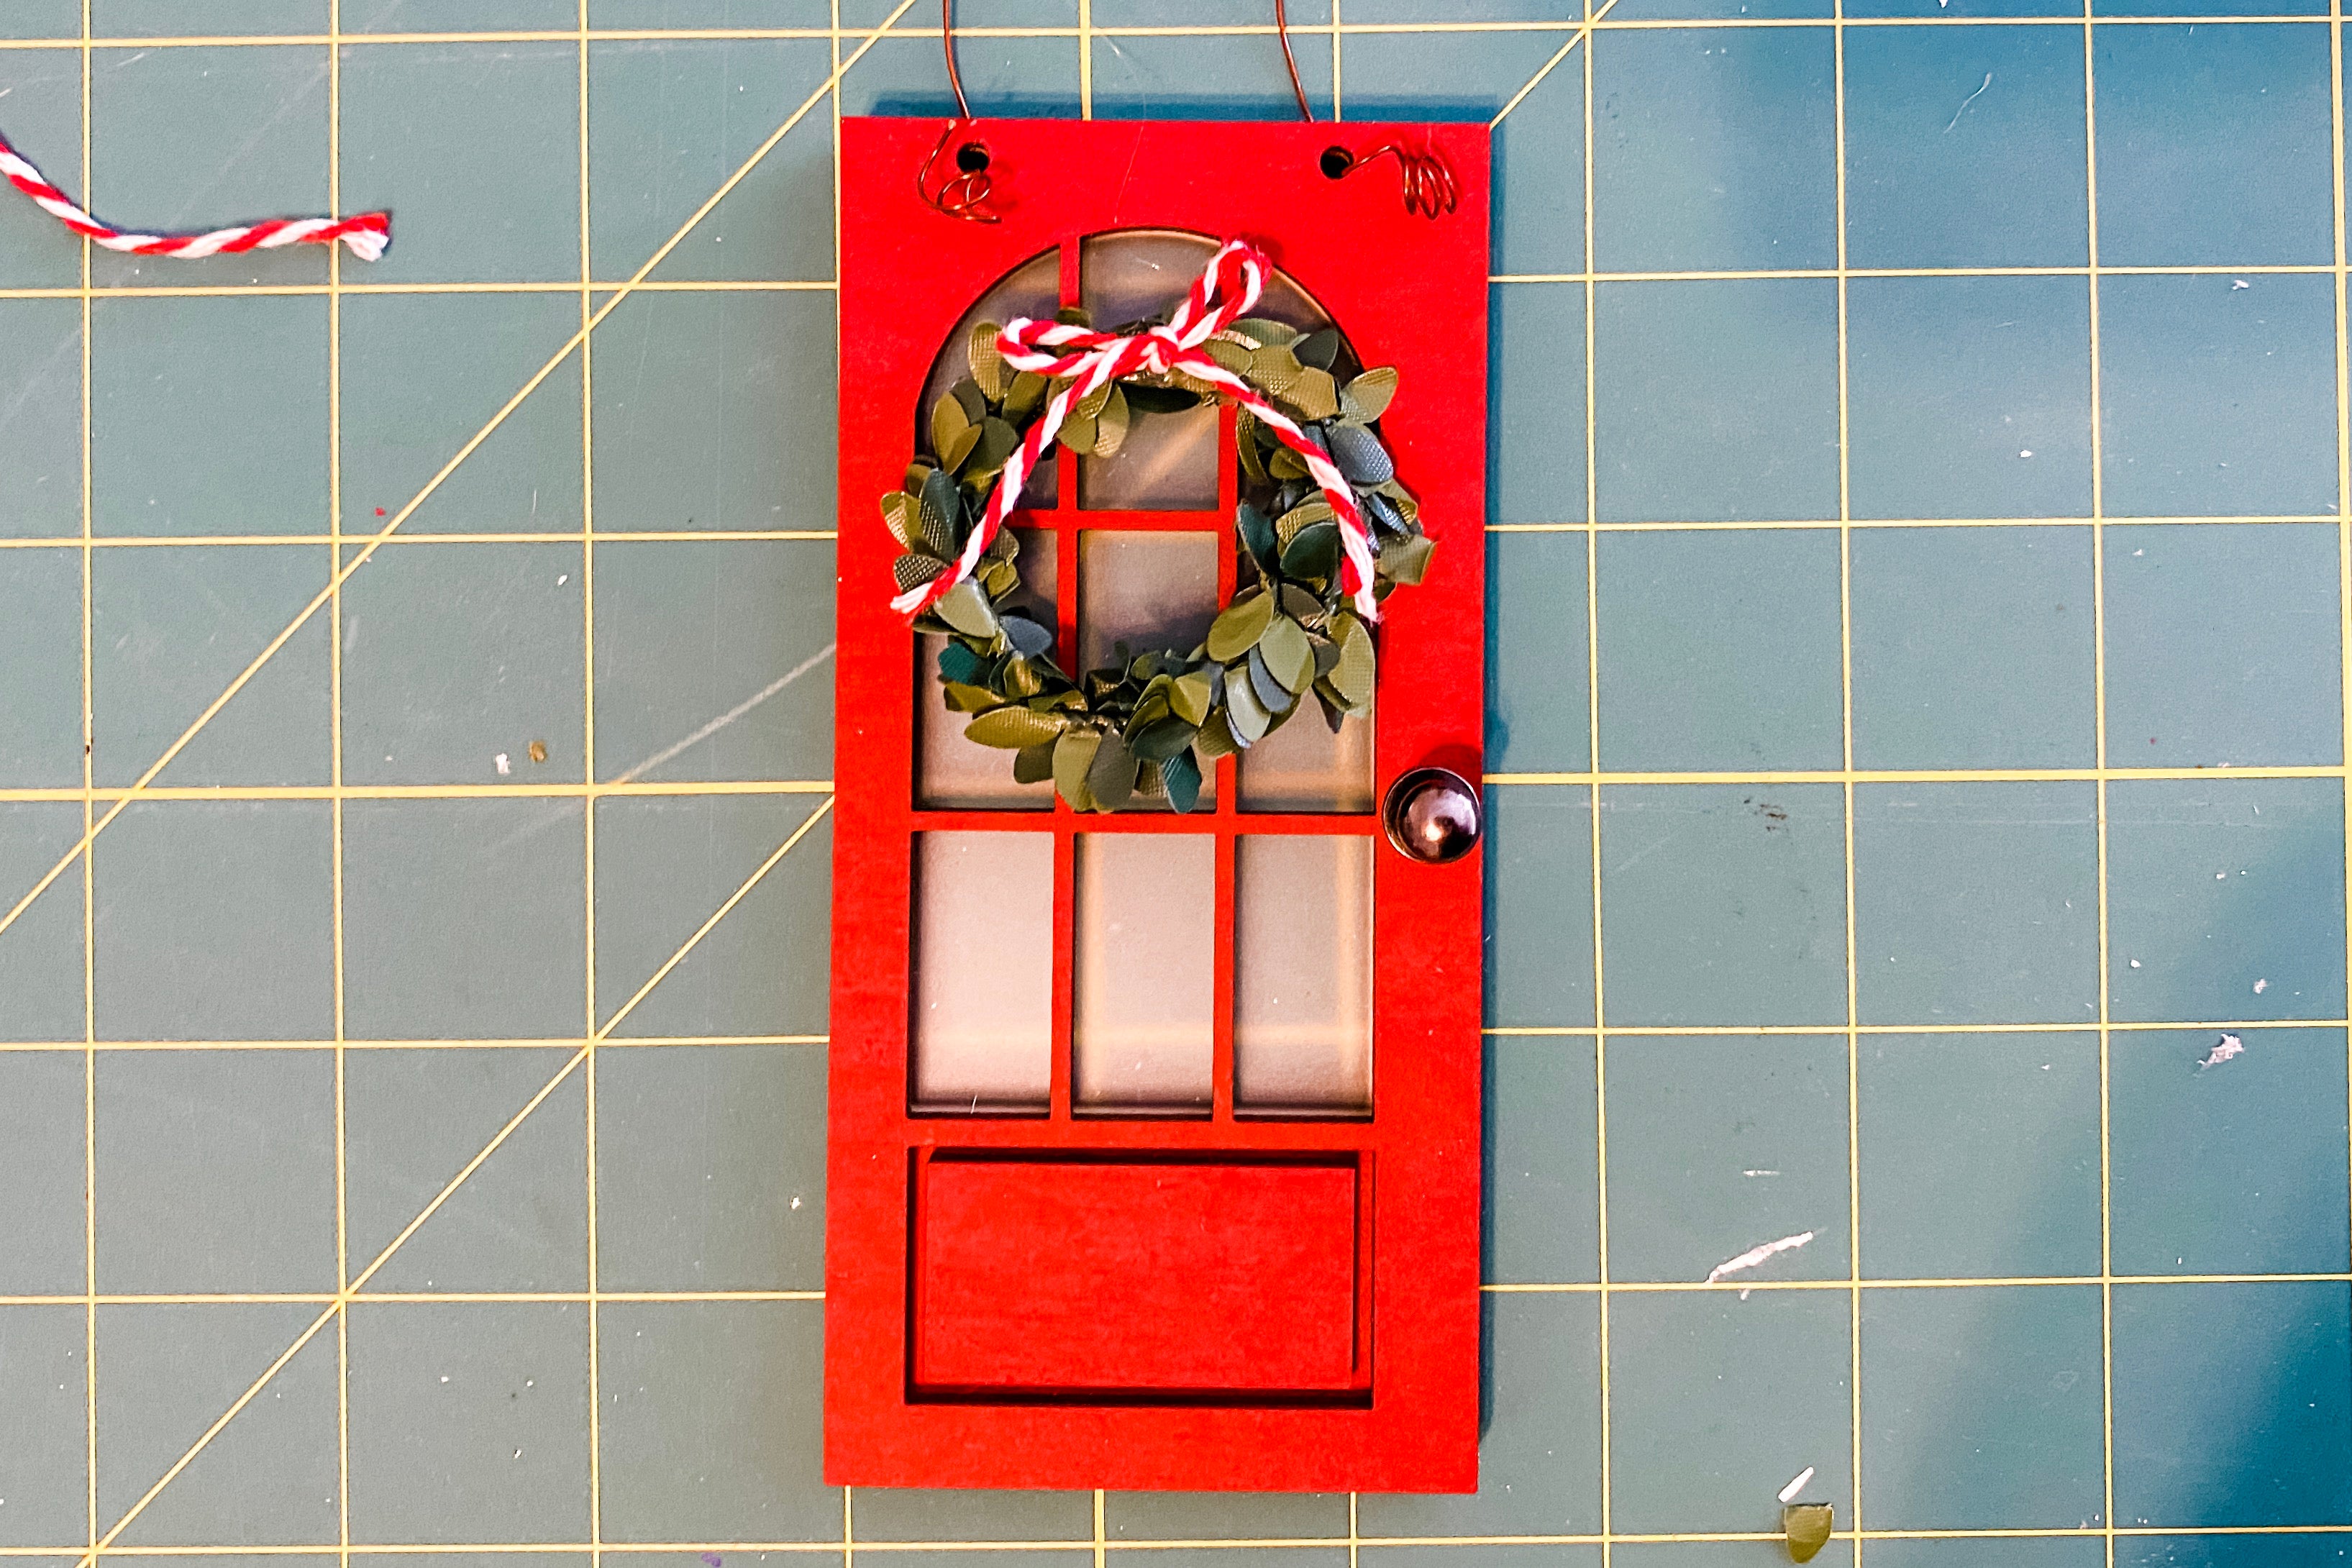
9. Use a dab of hot glue and glue the wreath and the bow in place.
At this point you could even personalize the ornament on the bottom door panel :)
You made it, now show that ornament proudly on your Christmas tree!
Tag me on IG with your creation @kitaleigh.made and/or use the hashtag #makeitwithKitaleigh! I just cannot wait to see what you create!