Don't have time to read this now, pin it for later!
This blog post includes affiliate links. What does this mean? It means you will pay no more but I will get a commission for the referral.
Hello Friends! Are you ready to make some amazing Family 2020 Christmas Ornaments? These are perfect to remember this year! This post will tell you everything you need to know to make these for your tree.
The things you need for this project are:
Or (if you have a laser cutter)

1. First, you will gather your supplies. (If you have a Laser cutter, cut out the design).
Tips for cutting on the Glowforge:

2. Start out by painting all the pieces. I use the dauber for the people and a paint brush or dauber for the remaining pieces. As you can see the bottom base I just paint the part of the wood that will show after layering.
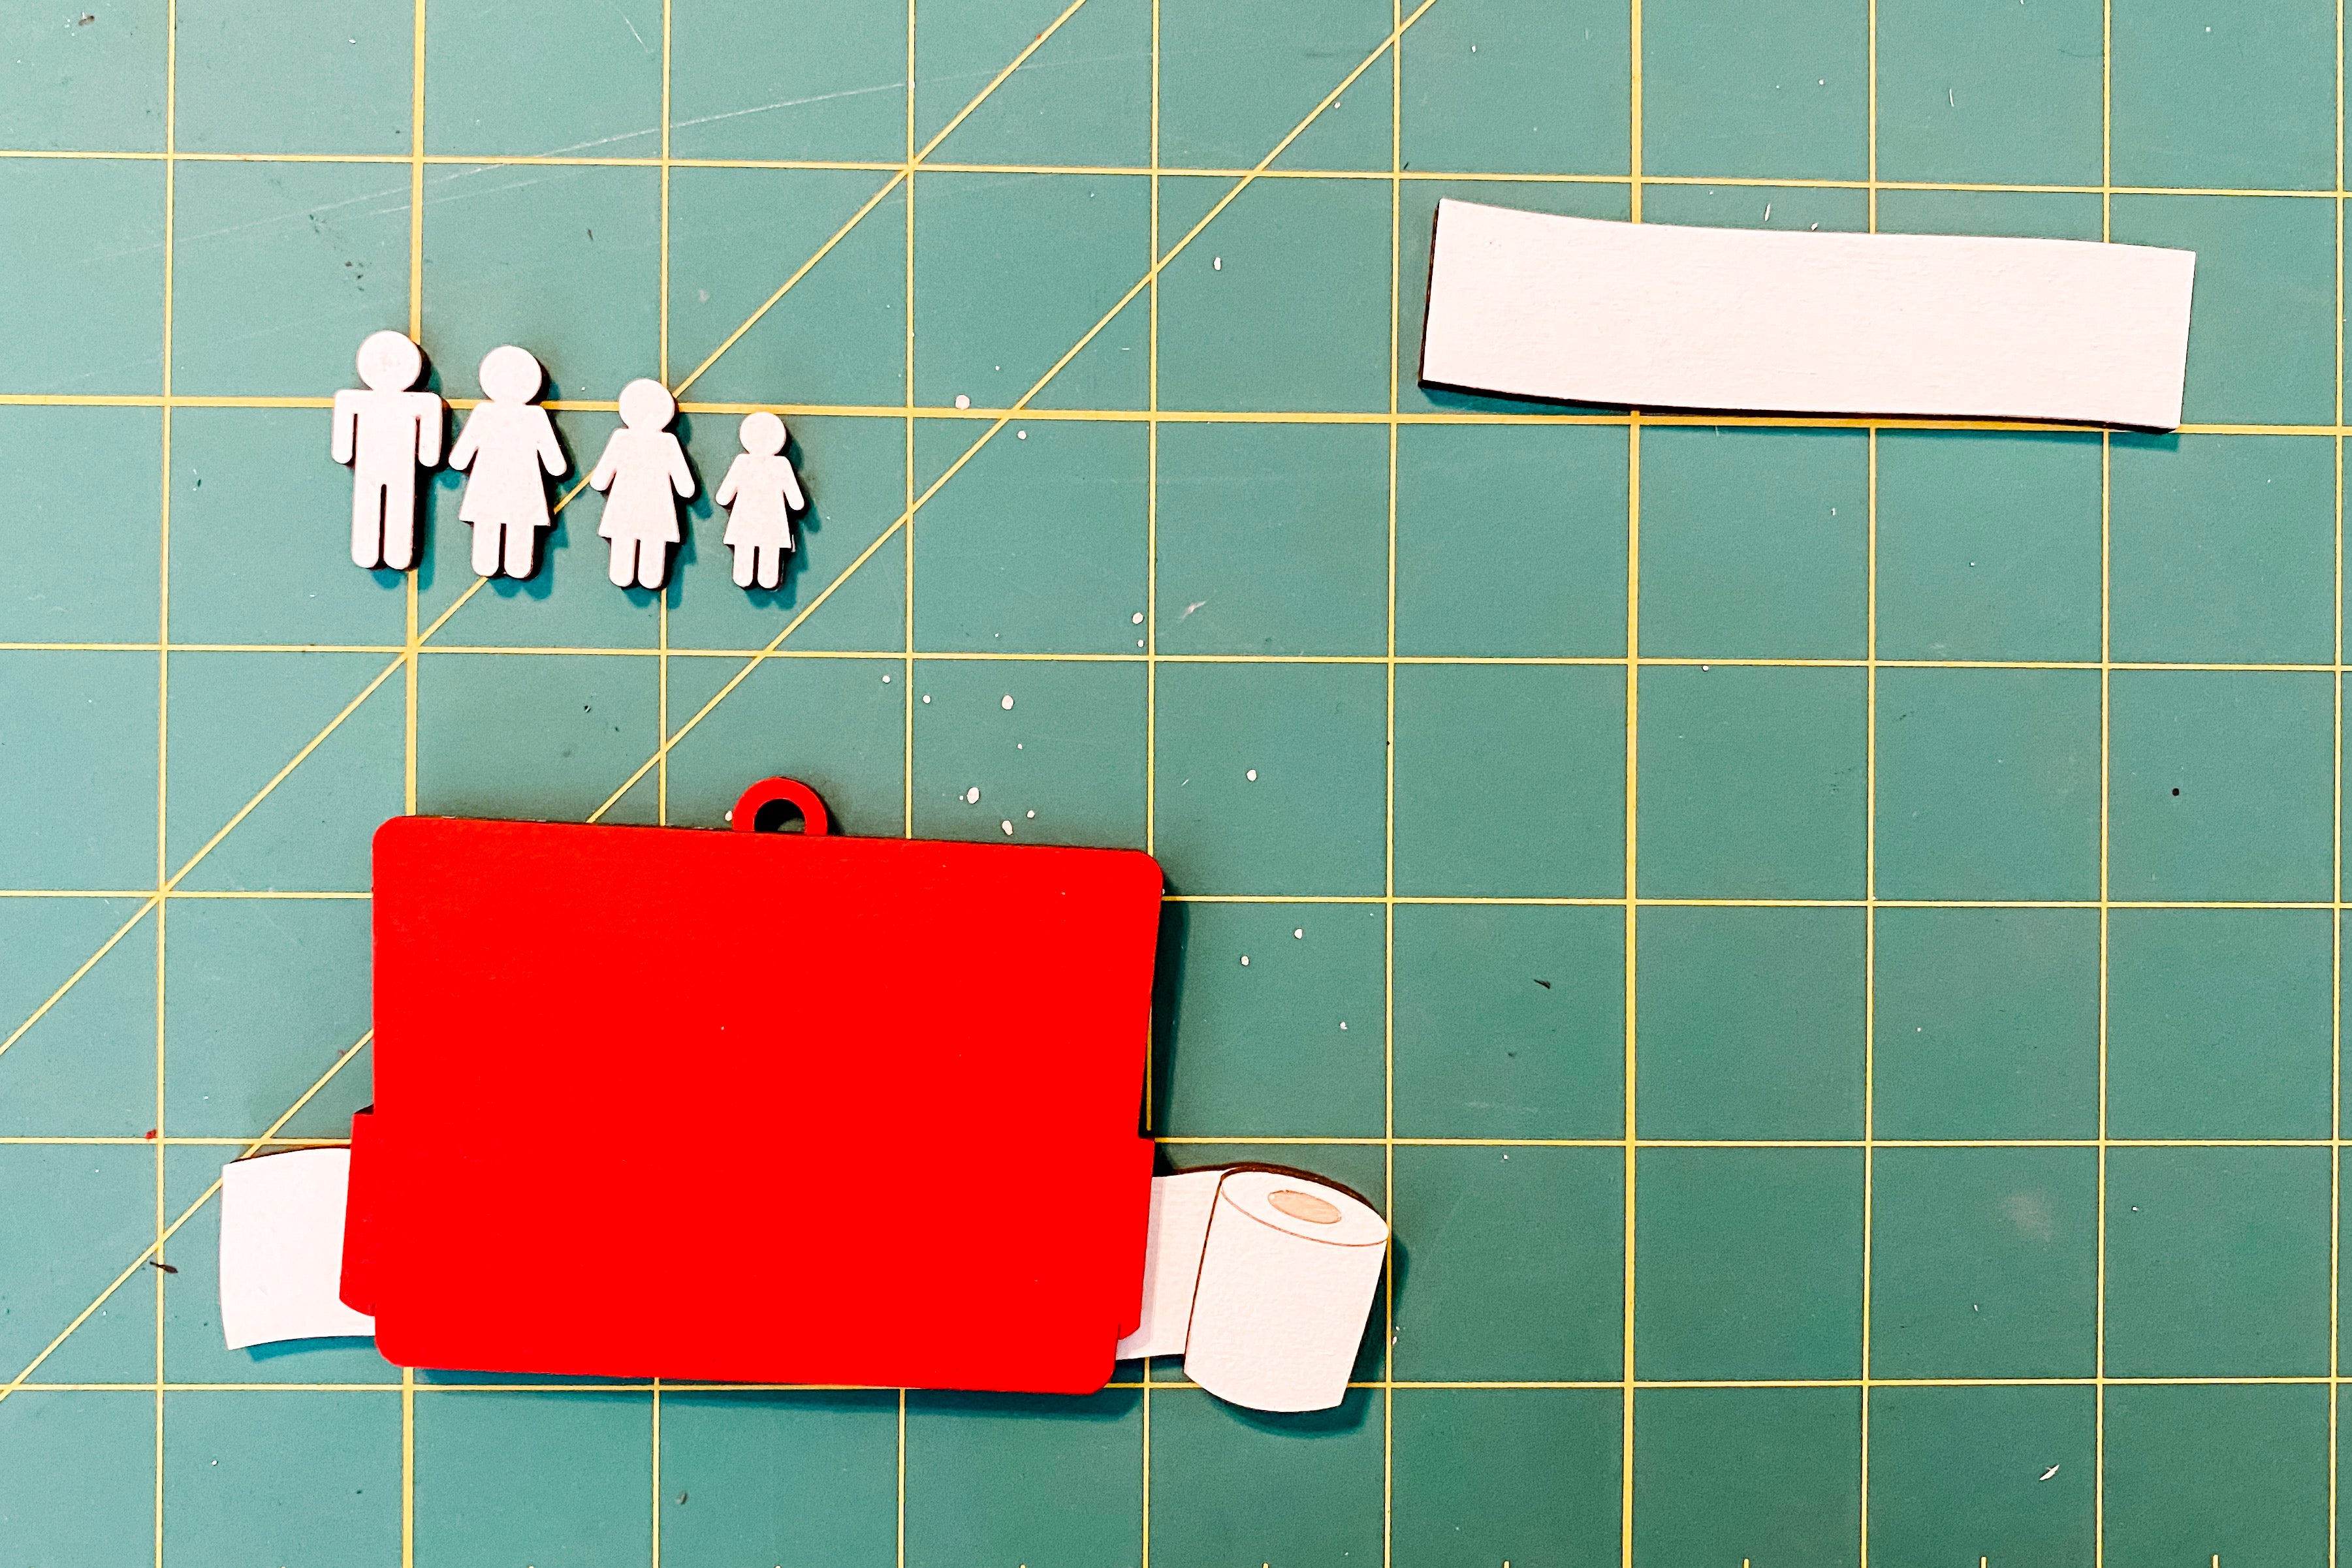
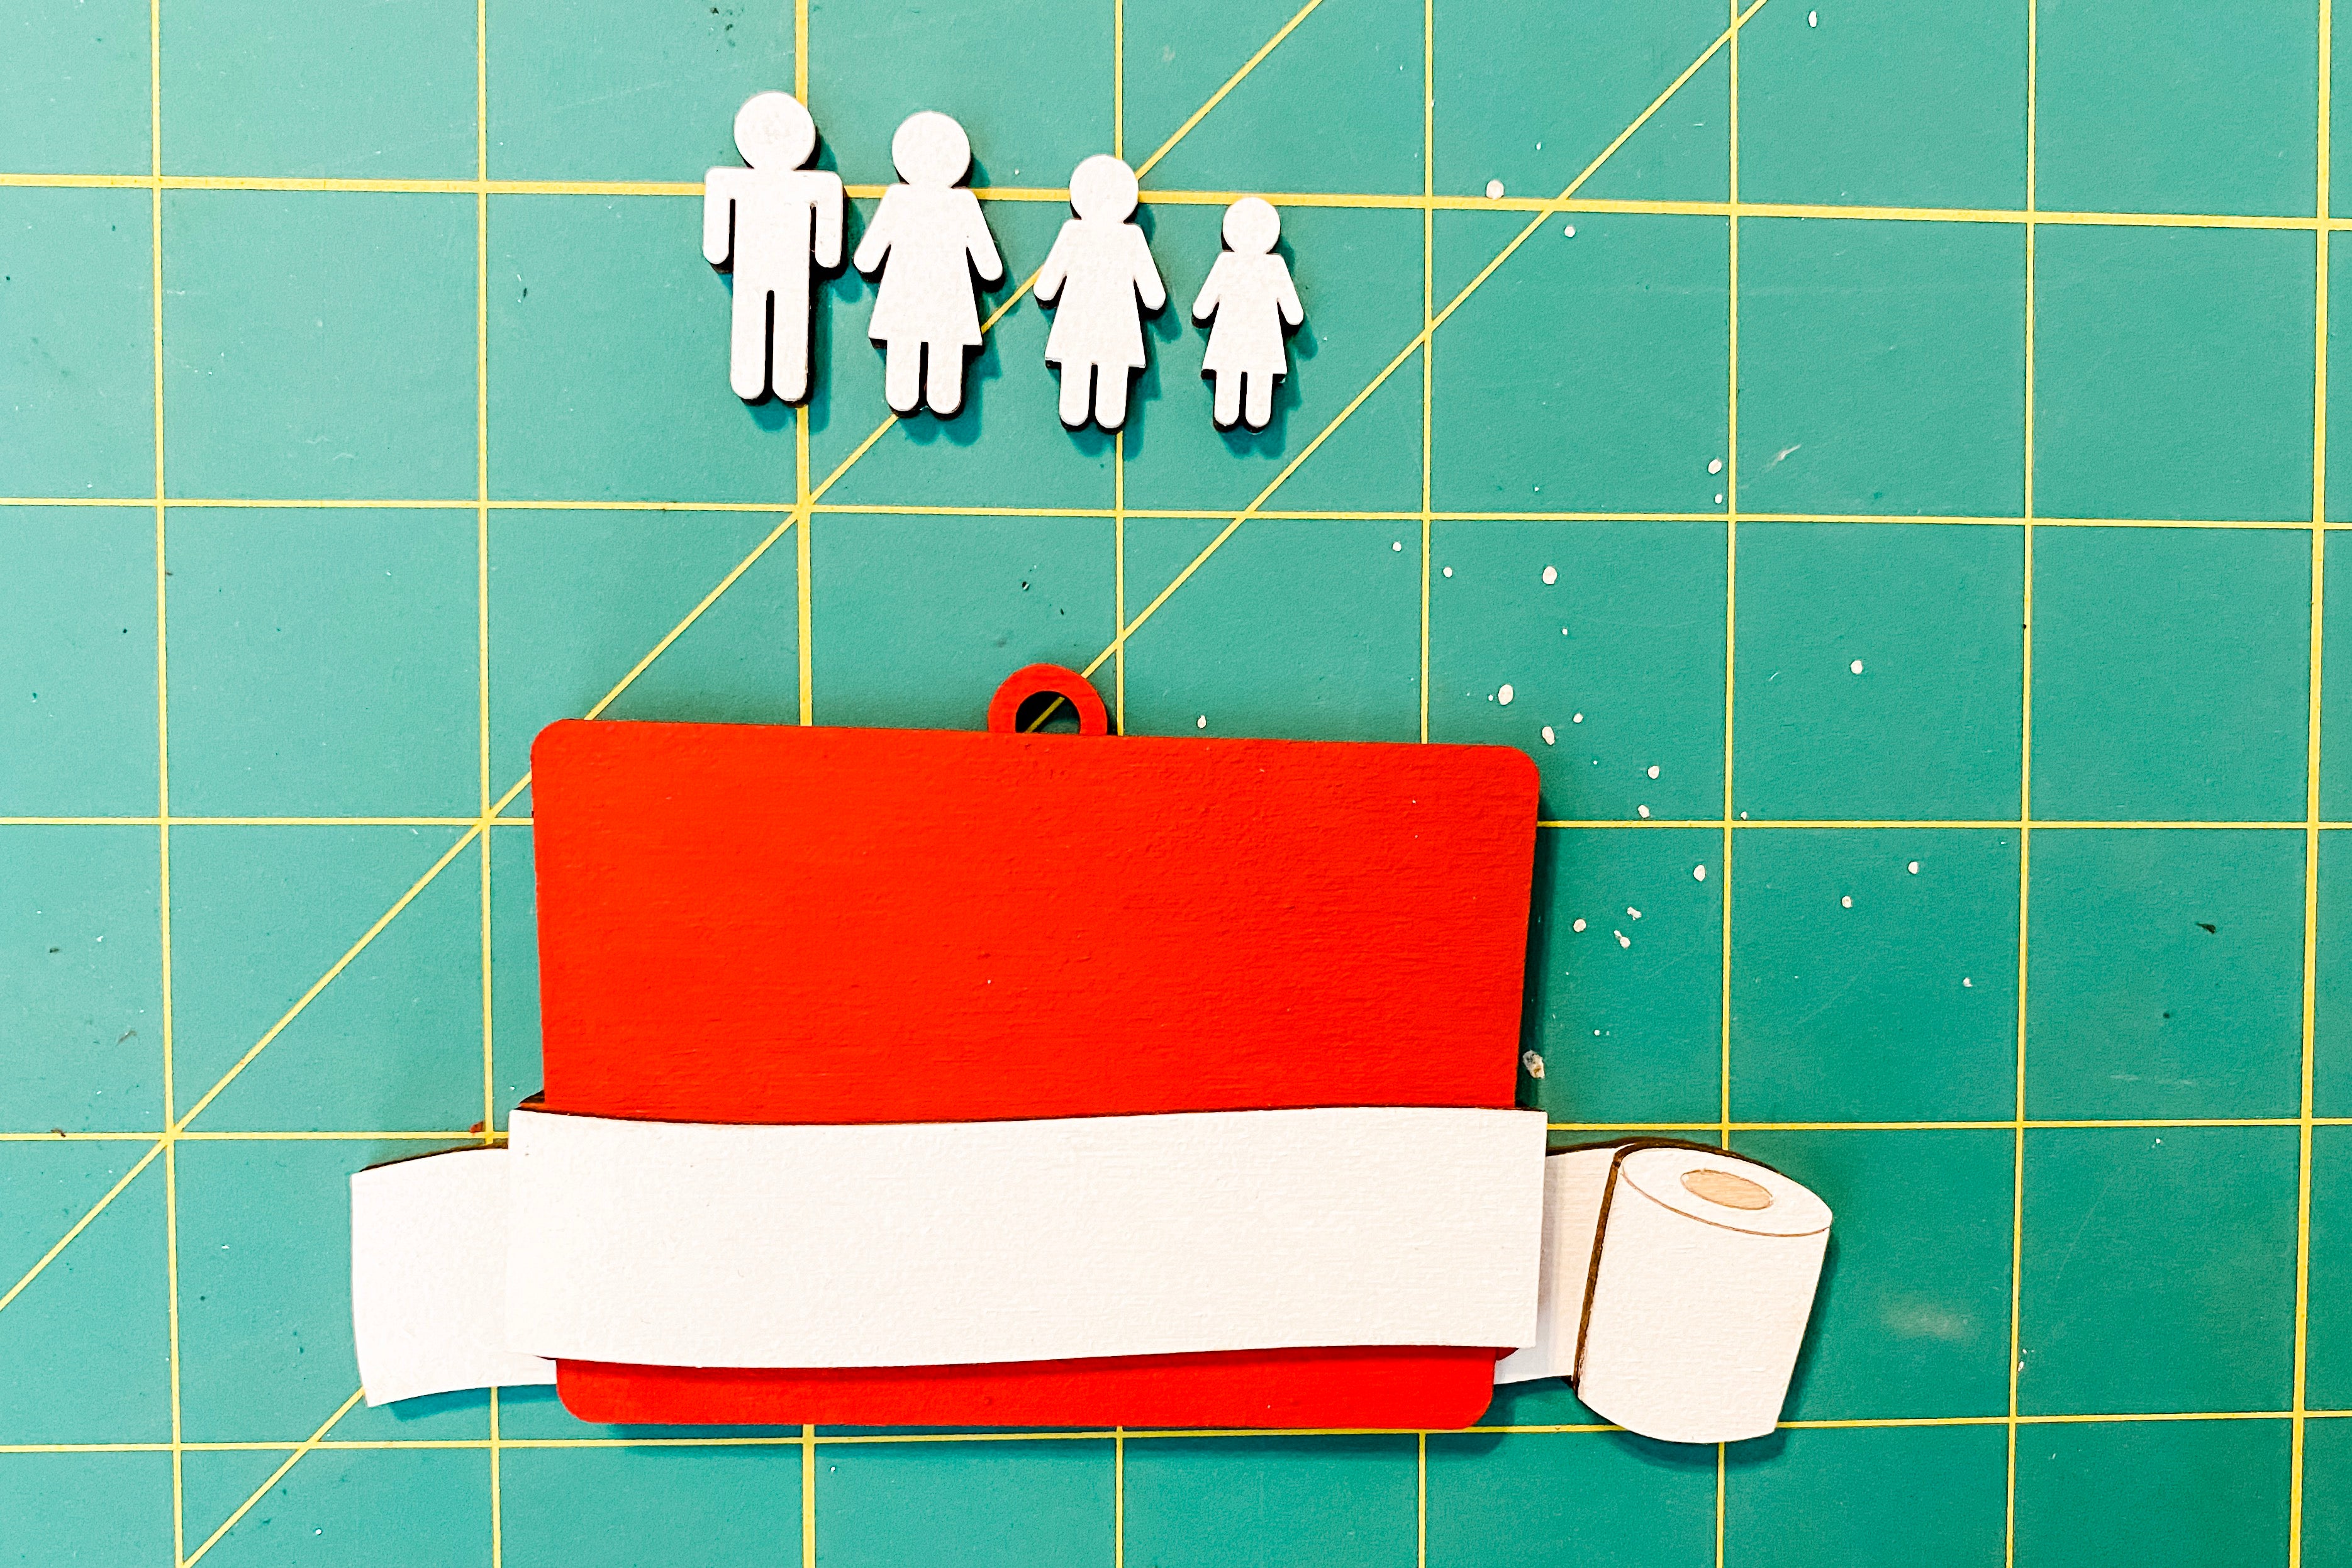
3. Next, it is time to begin layering. Remove the adhesive backing paper and lay the large rectangle and the roll of toilet paper on top of the base piece. (see how it nicely covered up my spotty panting)
4. Then, remove the backing paper off the adhesive of the ribbon and stick it on top.

5. Next, place the people where you want them (do not remove the adhesive backing paper quite yet).
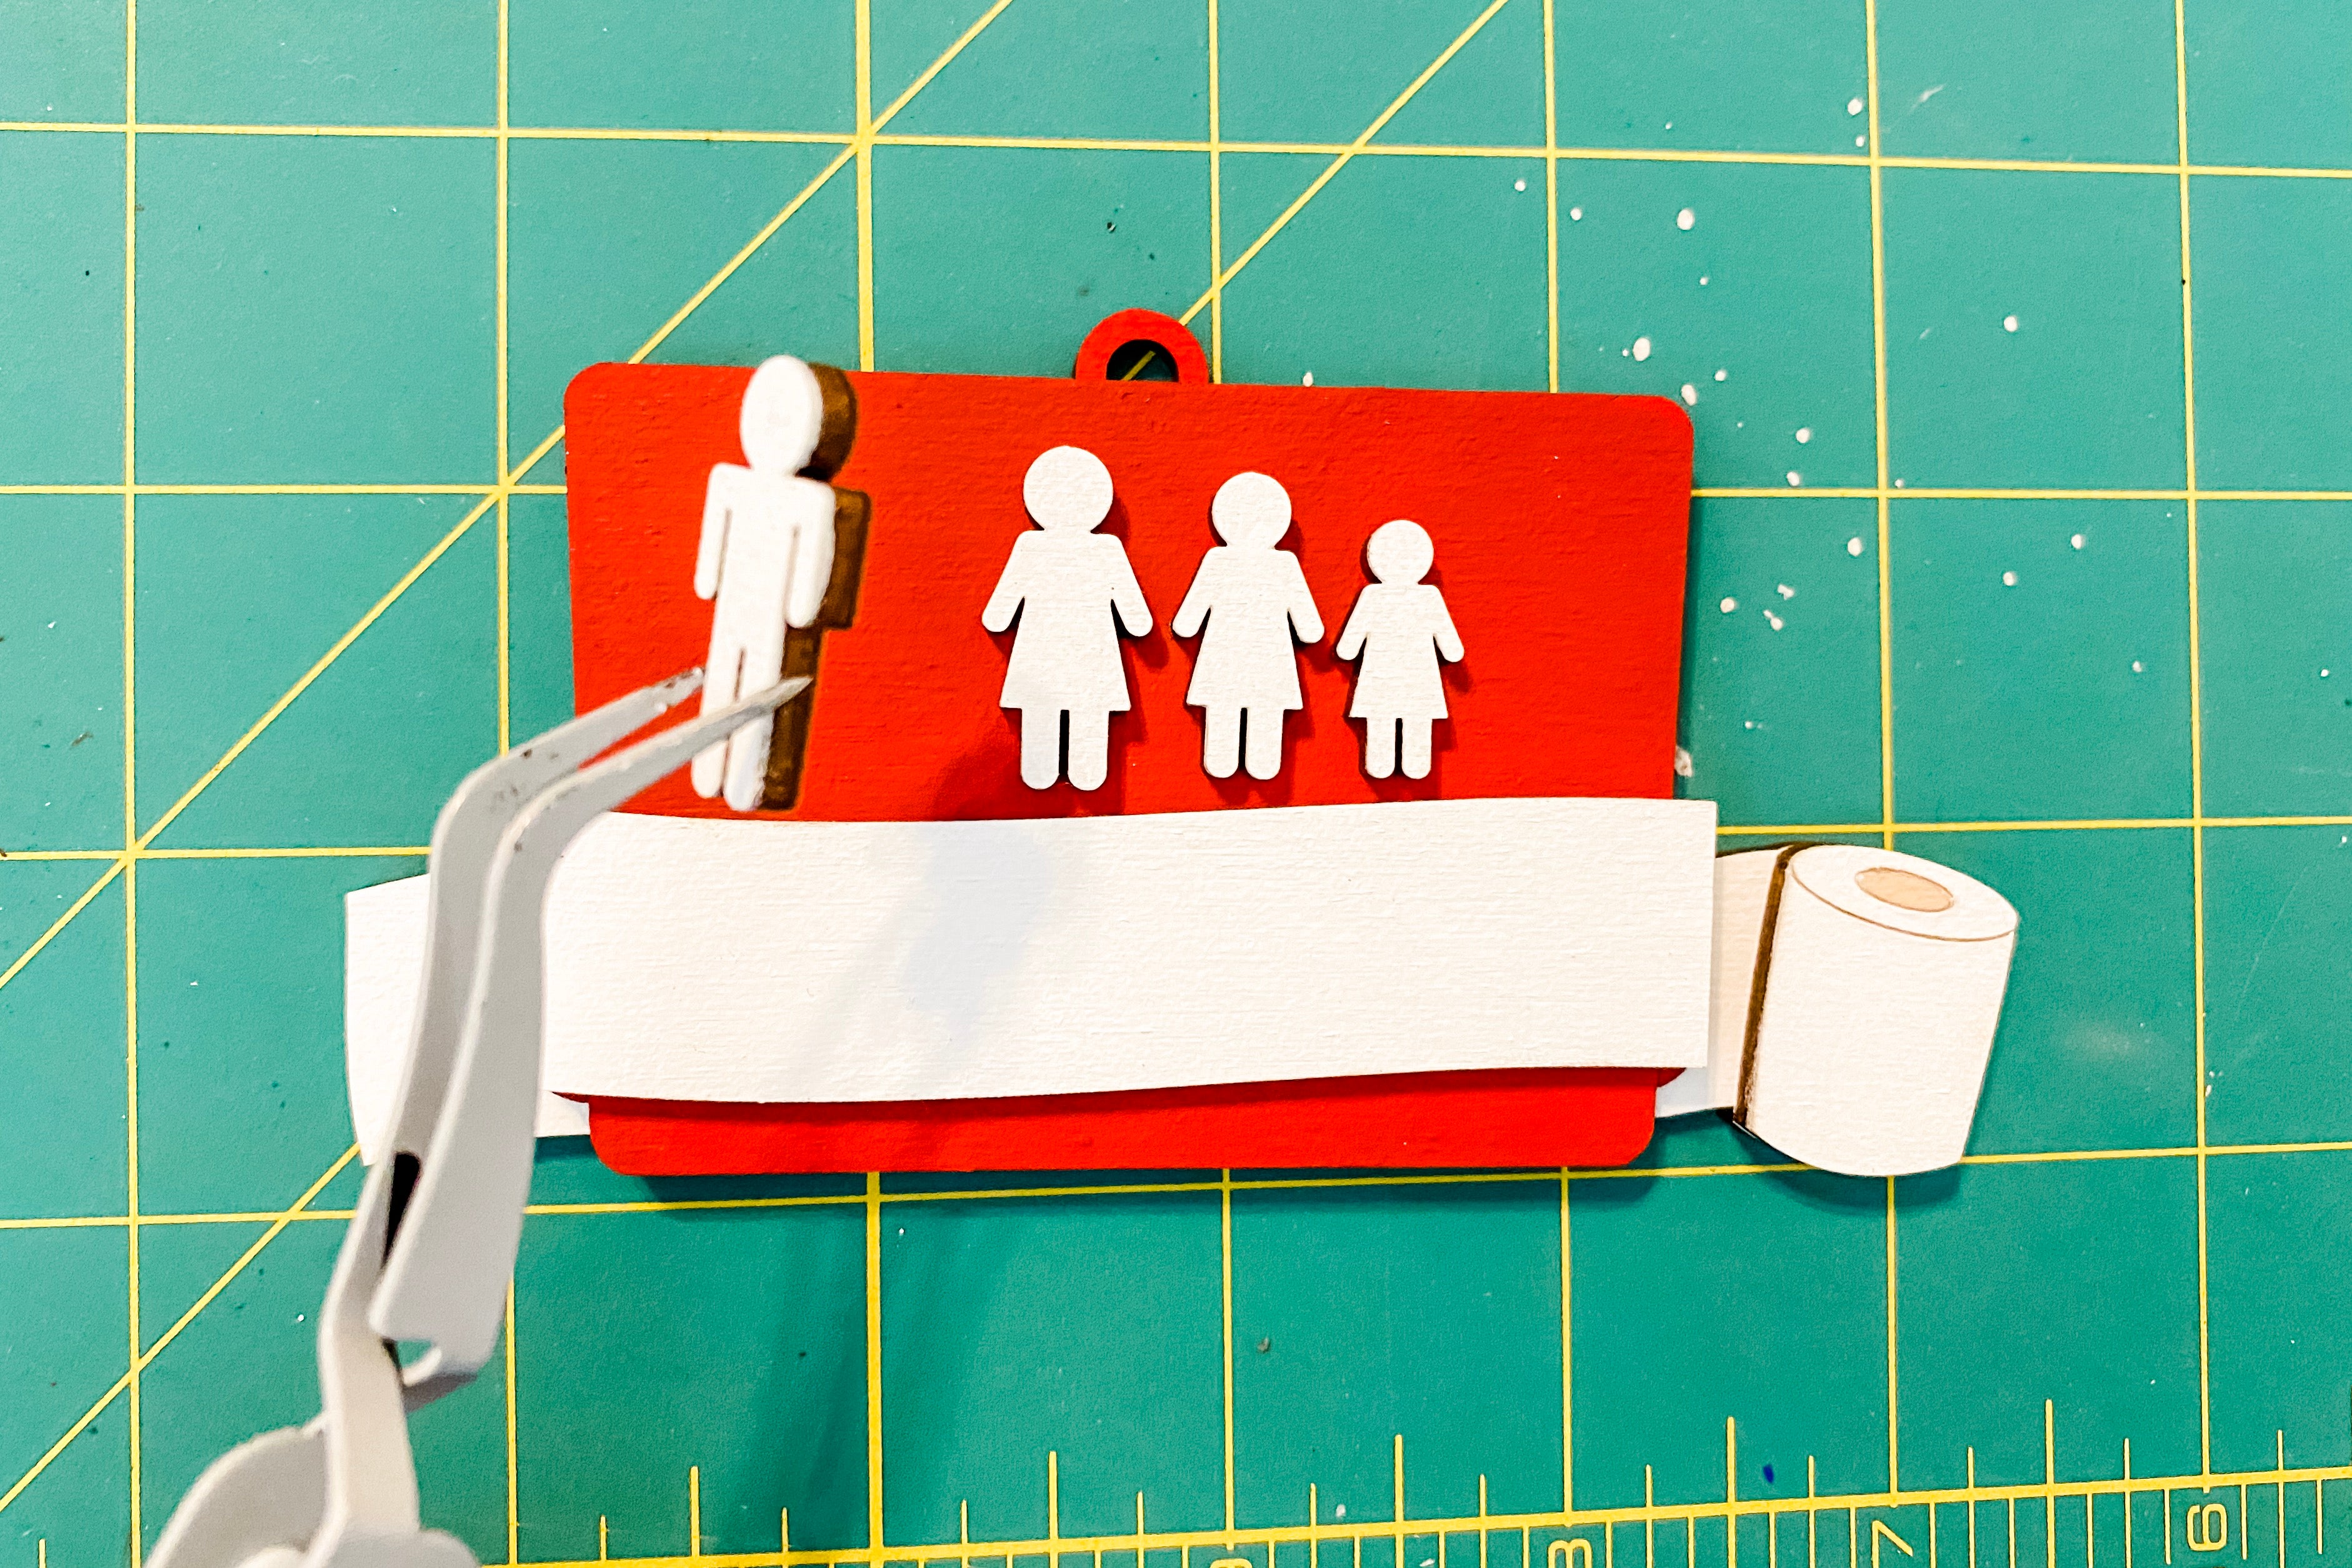
6. Next, I hold the people with tweezers and remove the backing paper of the people (one at a time) and place them one by one. The tweezers help me place the people exactly where I want them.
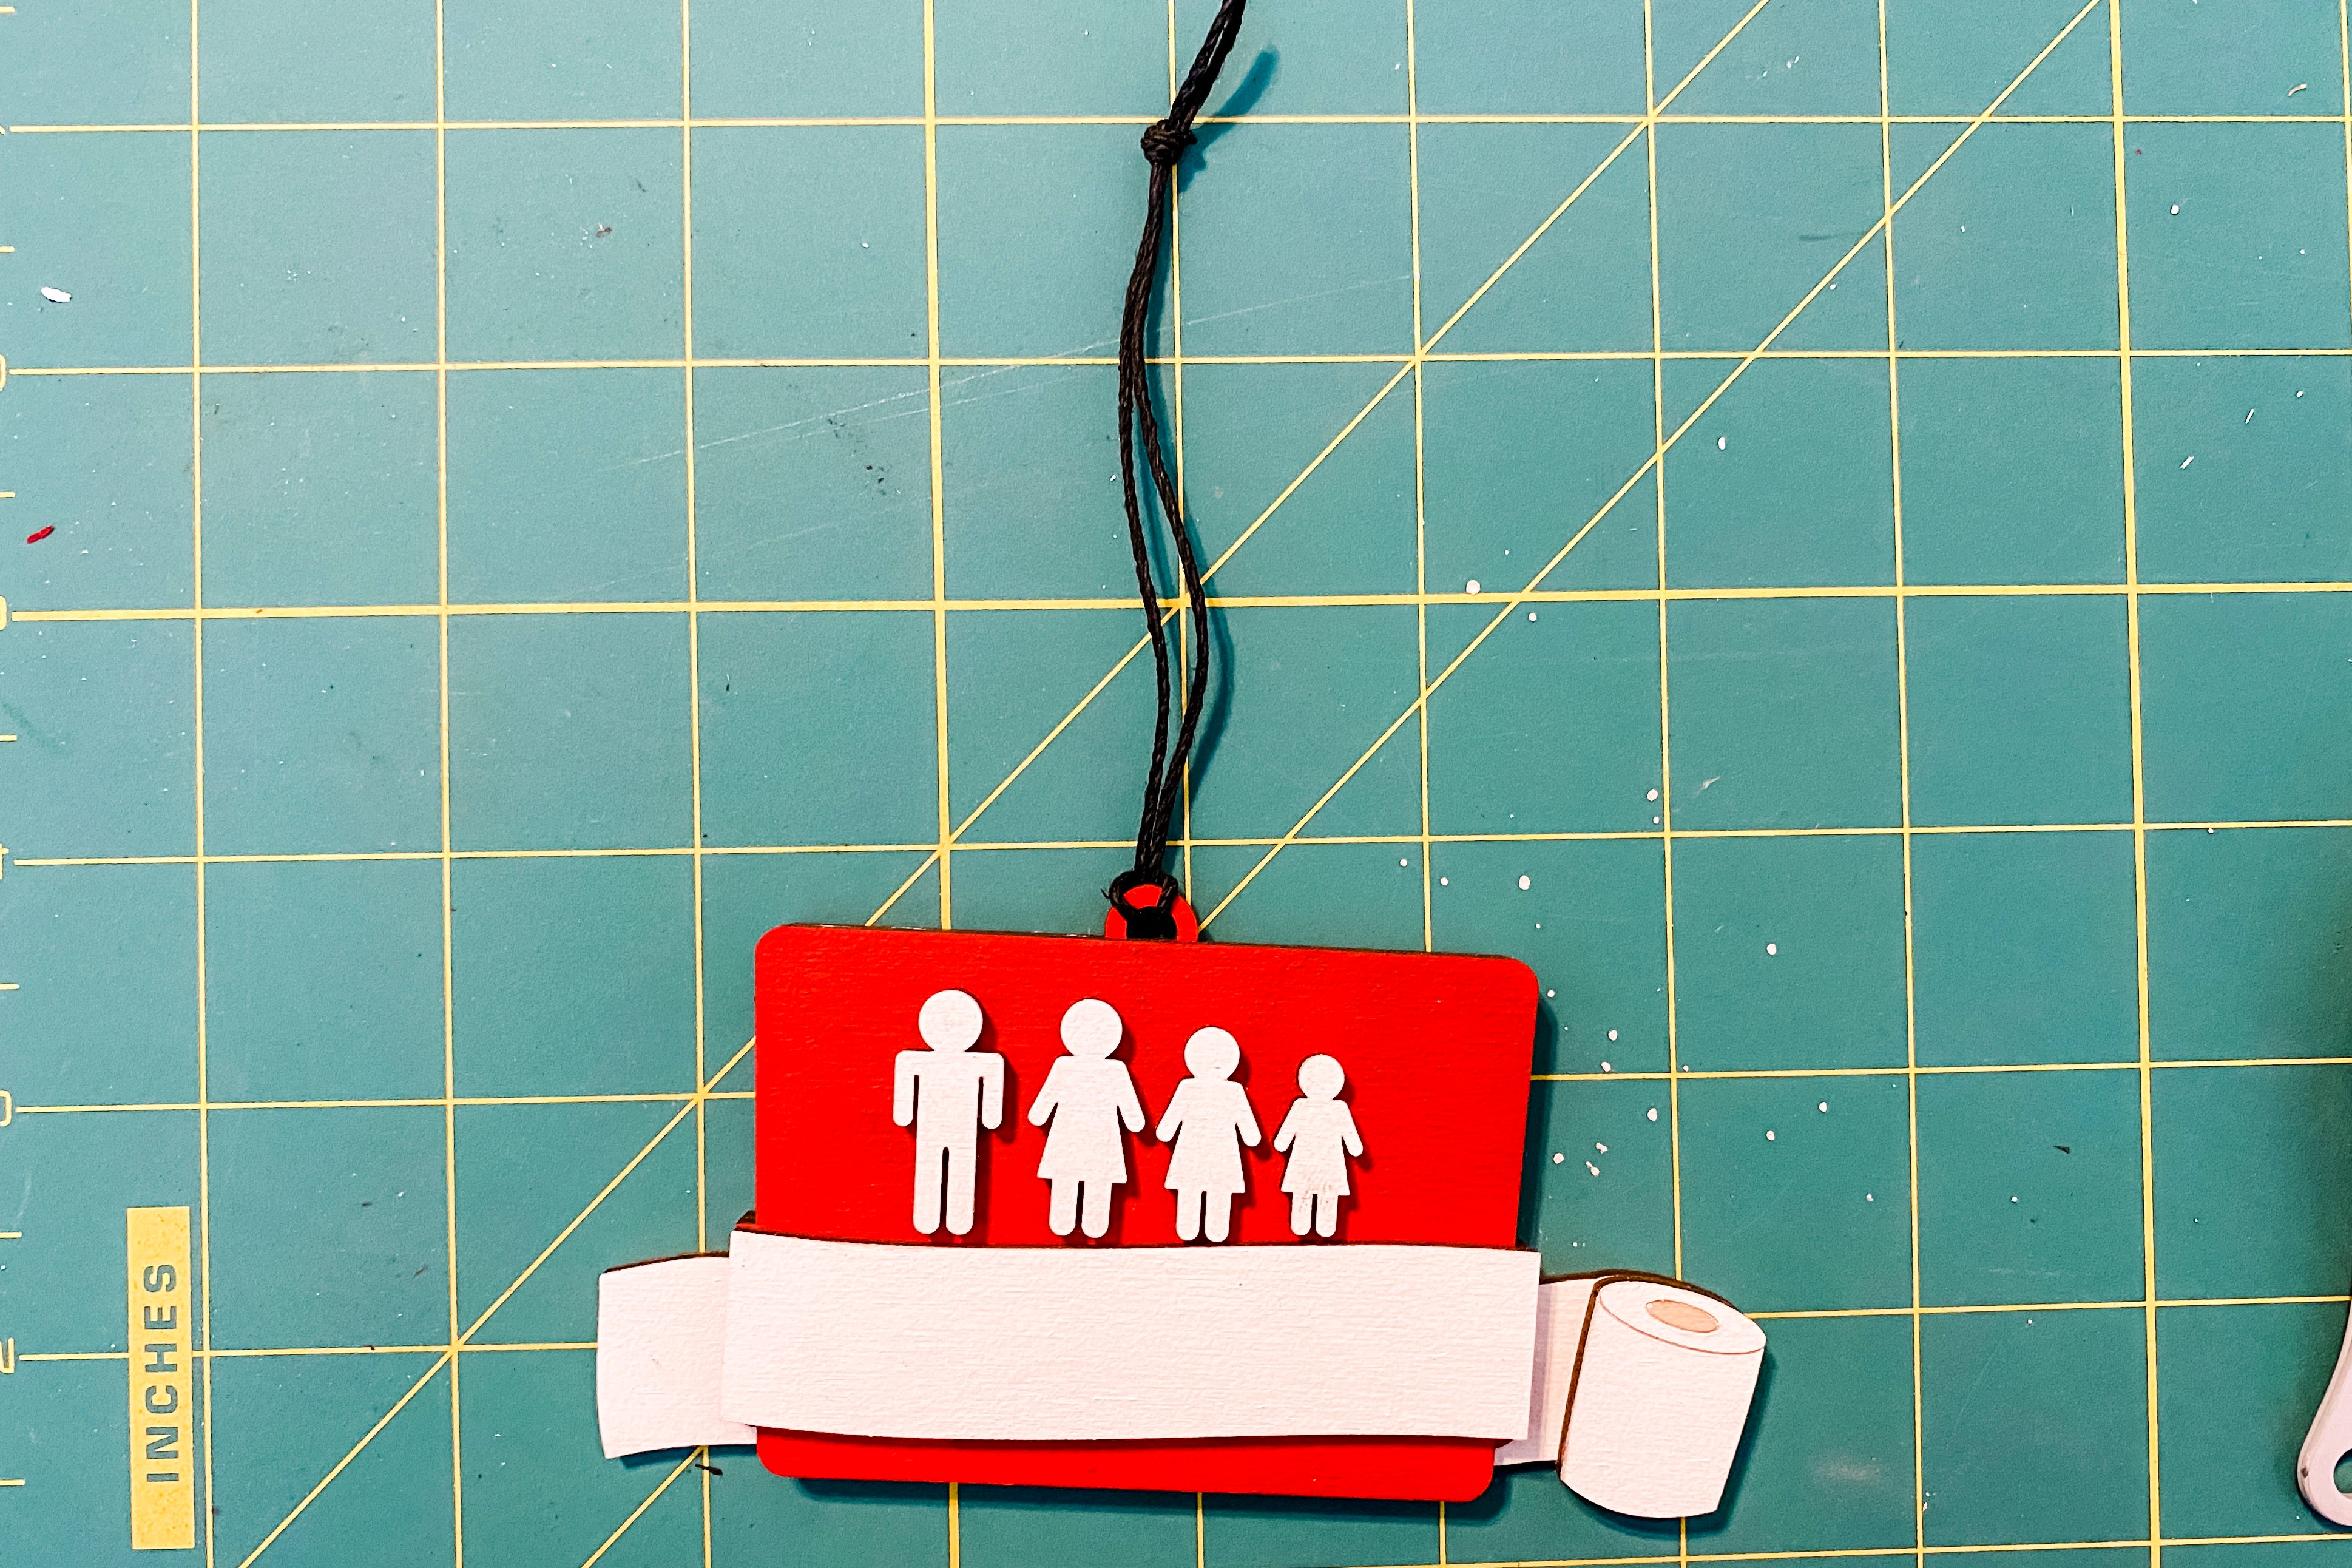
7. Then put the string through the hole at the top of the ornament and finish it off with a knot.

7. Next, finish the ornament off with some personalization. You can use vinyl or paint pens.
You made it, now show that ornament proudly on your Christmas tree!
Tag me on IG with your creation @kitaleigh.made and/or use the hashtag #makeitwithKitaleigh! I just cannot wait to see what you create!