Don't have time to read this now, pin it for later!
This blog post includes affiliate links. What does this mean? It means you will pay no more but I will get a small percentage for the referral.
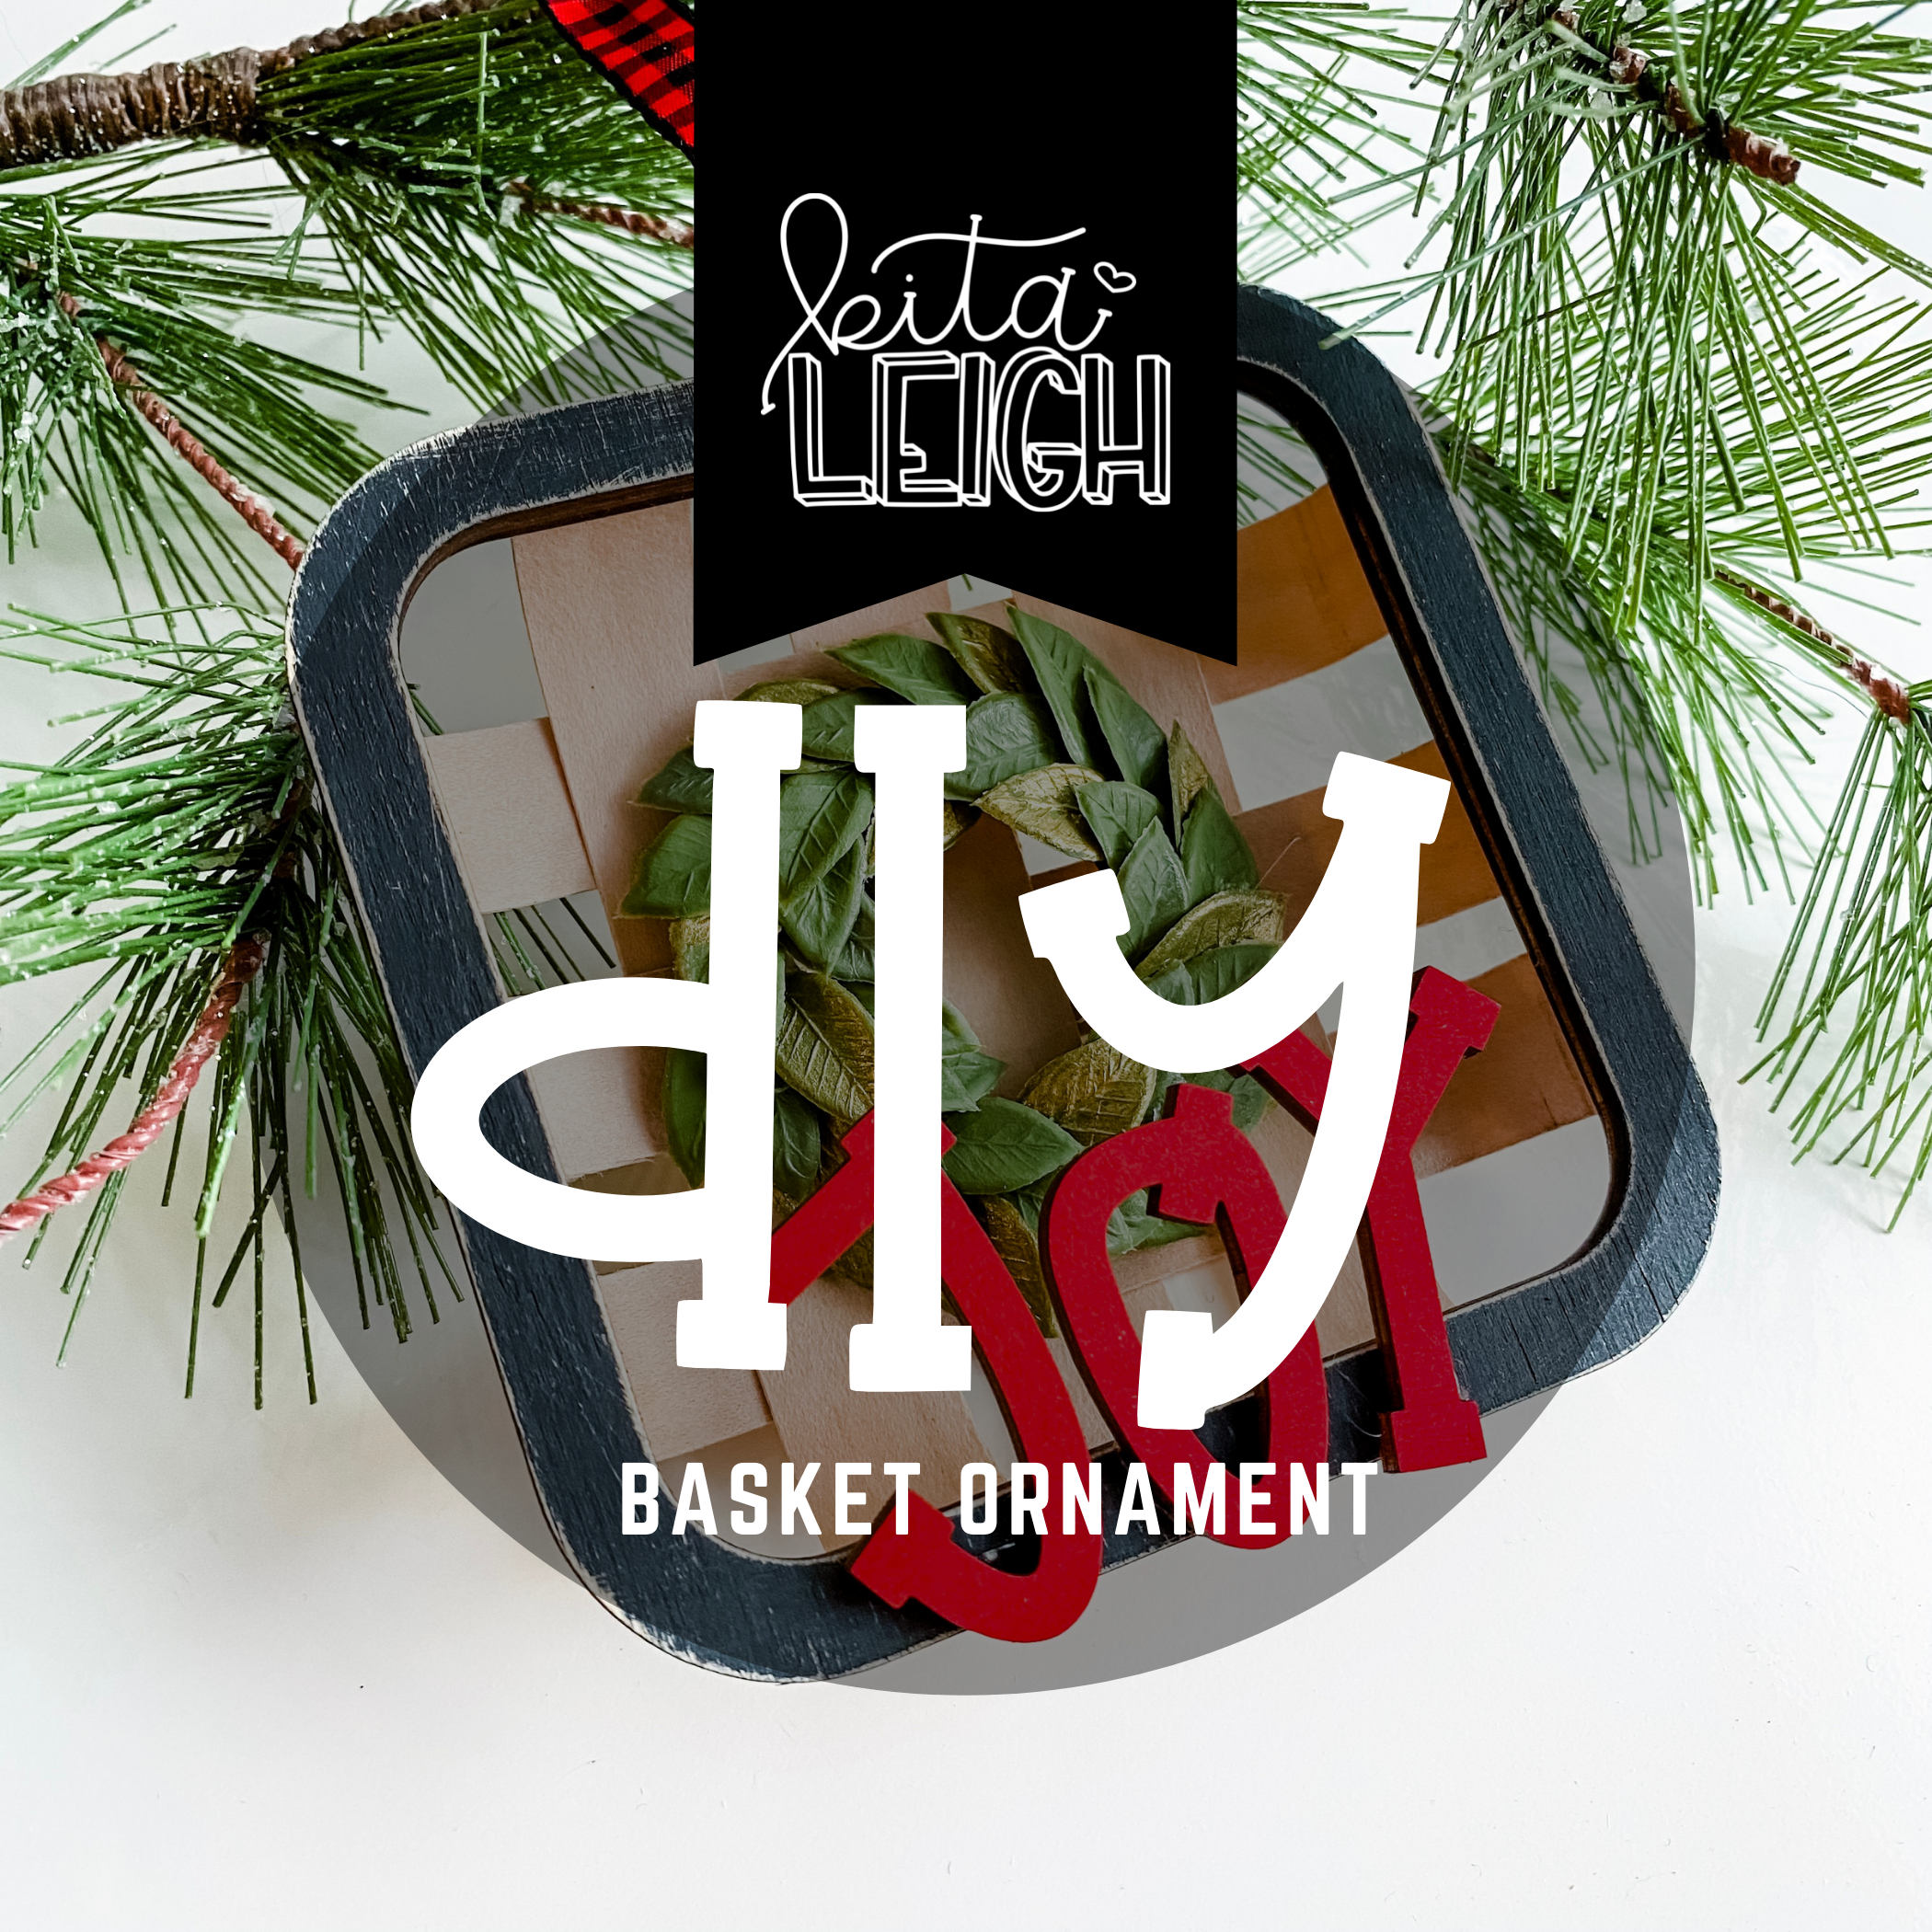
Hello Friends! Are you ready to make some adorable farmhouse round ornaments? This post will tell you everything you need to know to make these for your tree!
The things you will need for this project are:
- Wooden Flat ornament blanks. I use 3" blanks.
- Acrylic Craft Paint. Anita's or Americana are my go to brands.
- Heat Transfer Vinyl
- Twine
- Greenery
- Teflon Sheet
- Cricut Mini Press
- Silhouette or Cricut machine (Or a vinyl cutting machine of the sort).
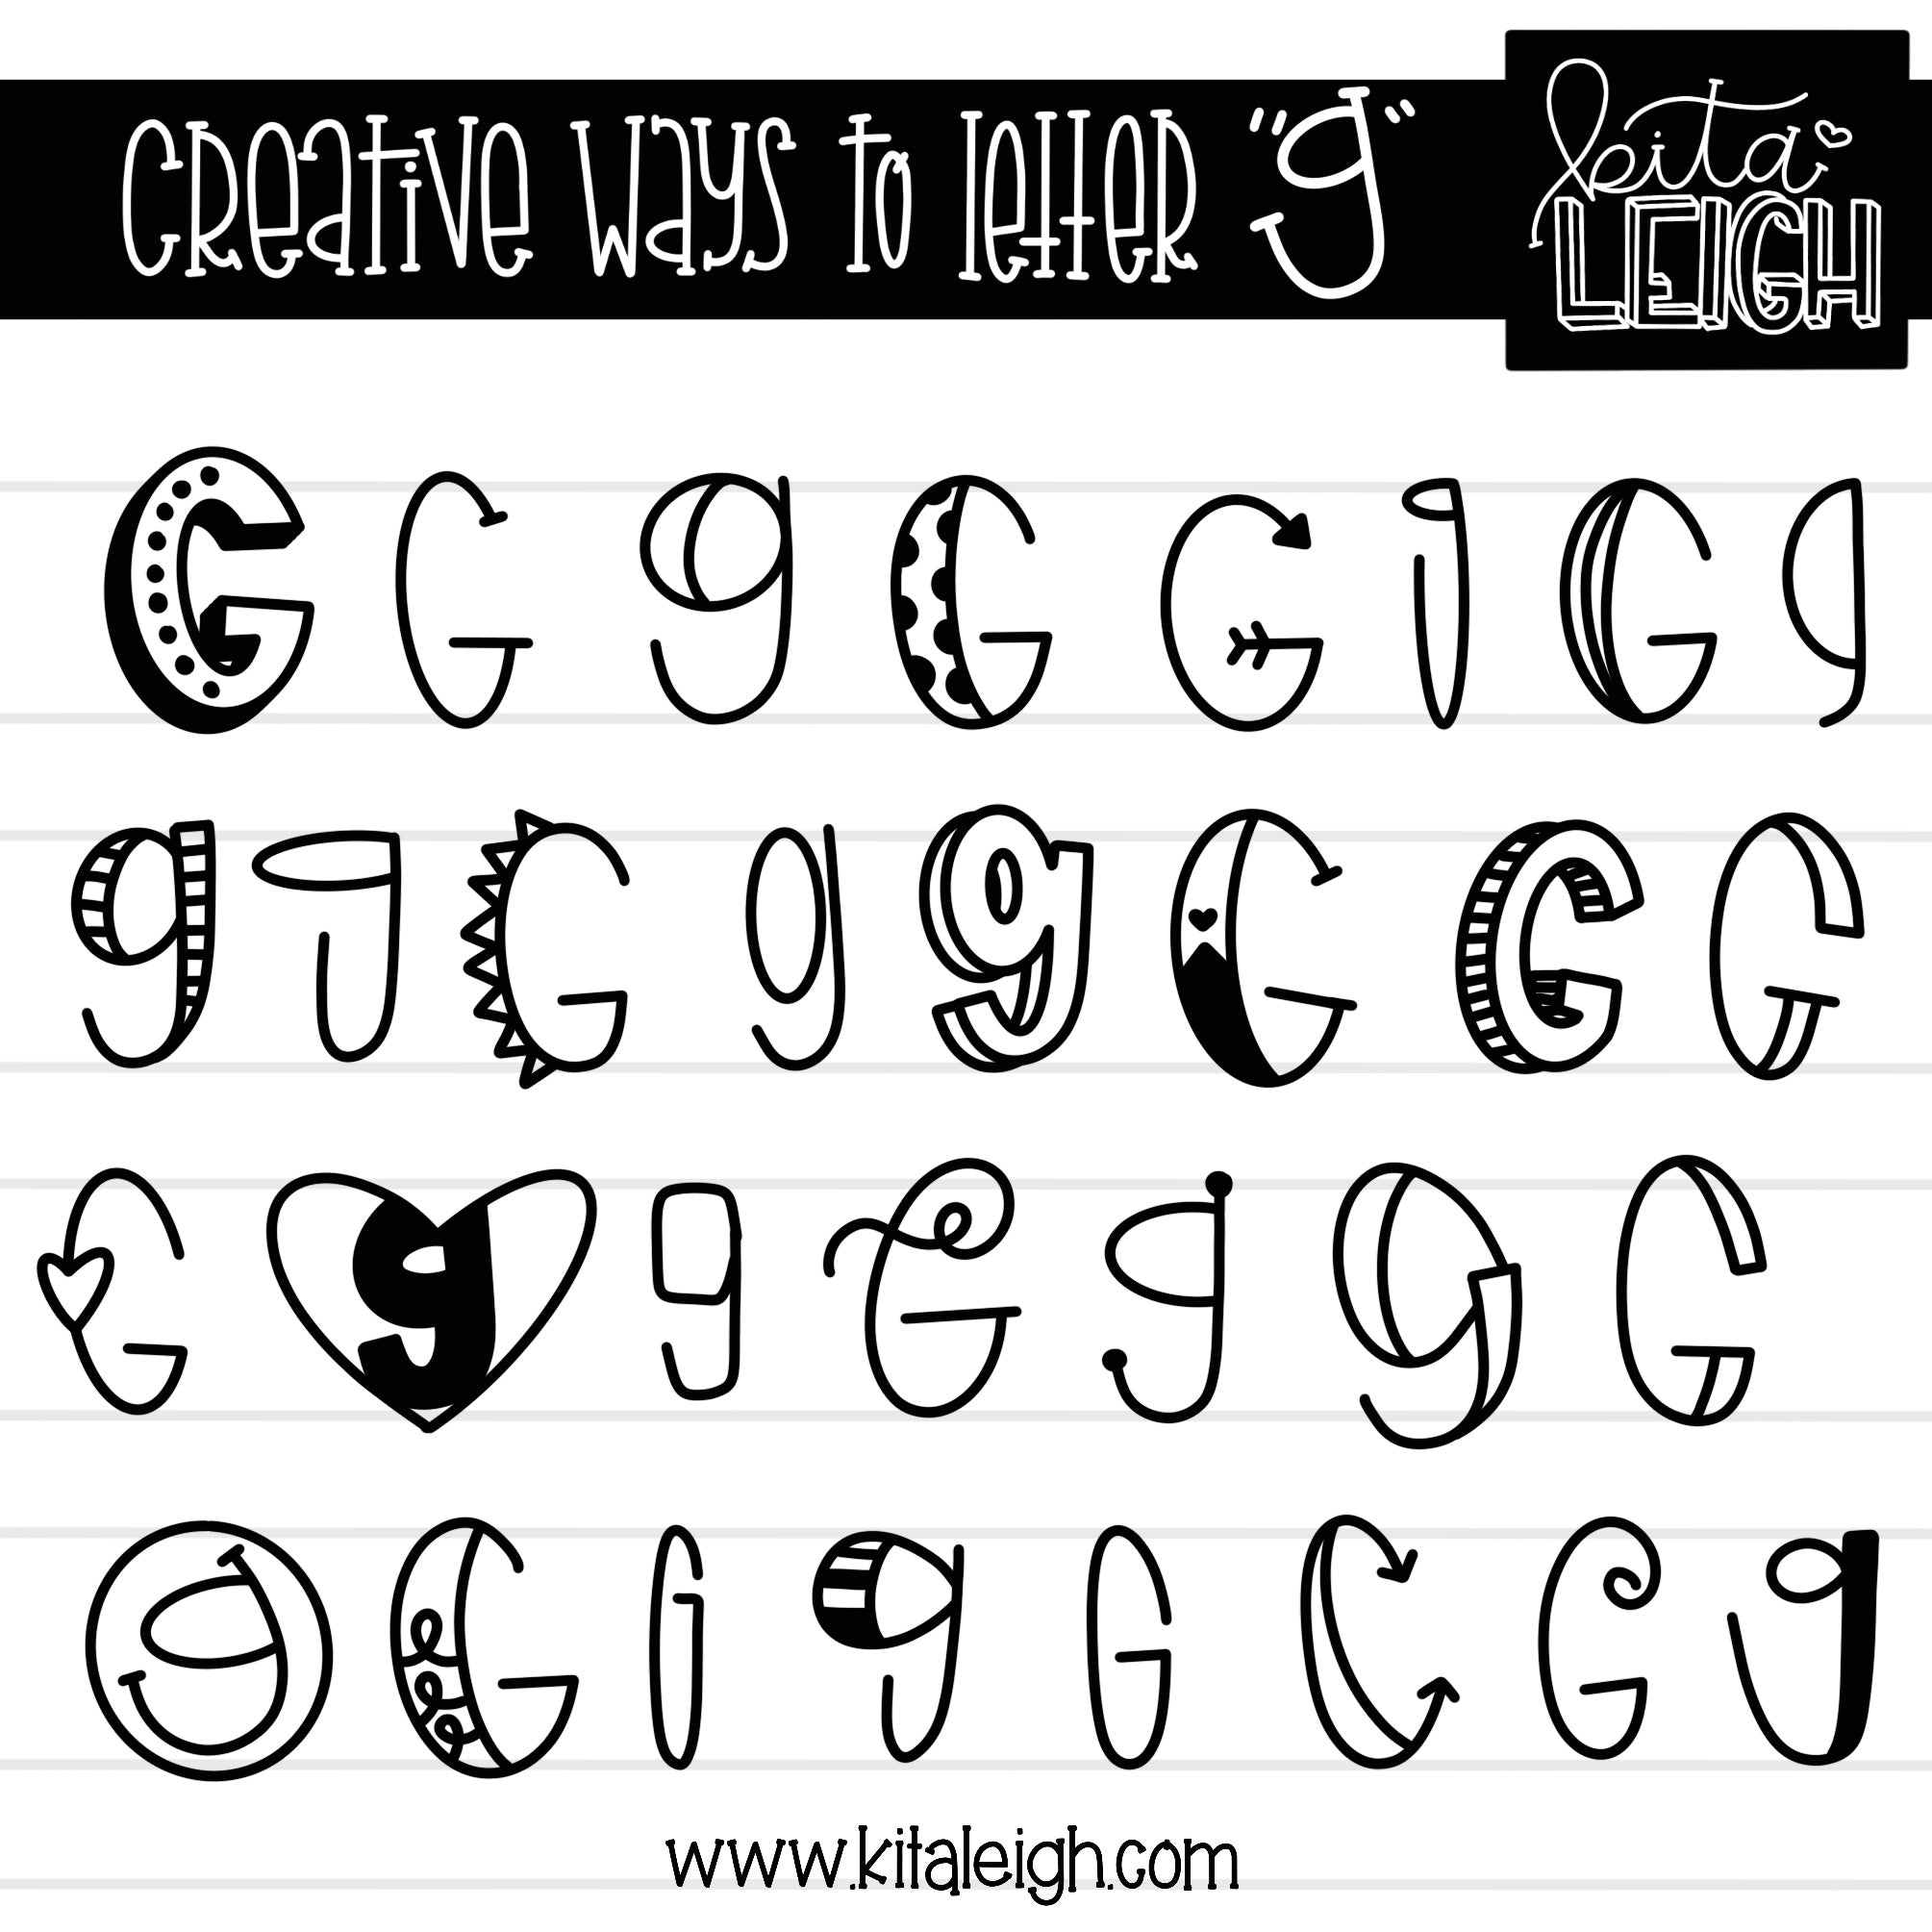
- SVG Designs
- Sand paper or sanding block 220 grit
1. Now that you have all your materials ready! Let's jump right in! First you will want to download and cut your designs for the size rounds you have. I have 3" rounds so I cut them slightly smaller.
(Tip: draw a circle in your design program to the size of your ornament blank and size the design to fit nicely within.)
2. Paint your ornament blanks. I paint them on both sides. I love using a project mat to help make an easier cleanup!

3. Once they have dried I use 220 grit sand paper to add a rustic feel to the ornament. (and to make a nice smooth surface for the HTV to adhere to.)

4. Next I weed the extra htv off around my design. I absolutely love these tweezers. they make weeding the design sooo much faster!

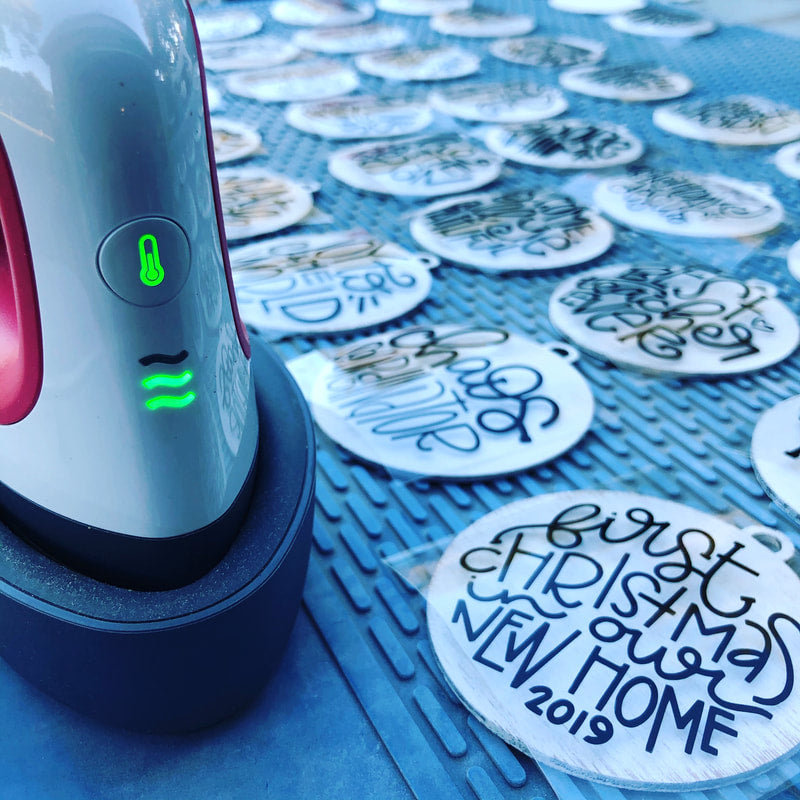
5. Once I have the design weeded I will place it on the ornament blank with a teflon sheet on top. I will use my Cricut Mini press at medium temp with a good amount of pressure (moving it constantly) for 3-5 seconds and then peel warm, slowly.
If any parts did not stick down repeat the press in that spot quickly, you don't want to over heat the vinyl or it will melt.


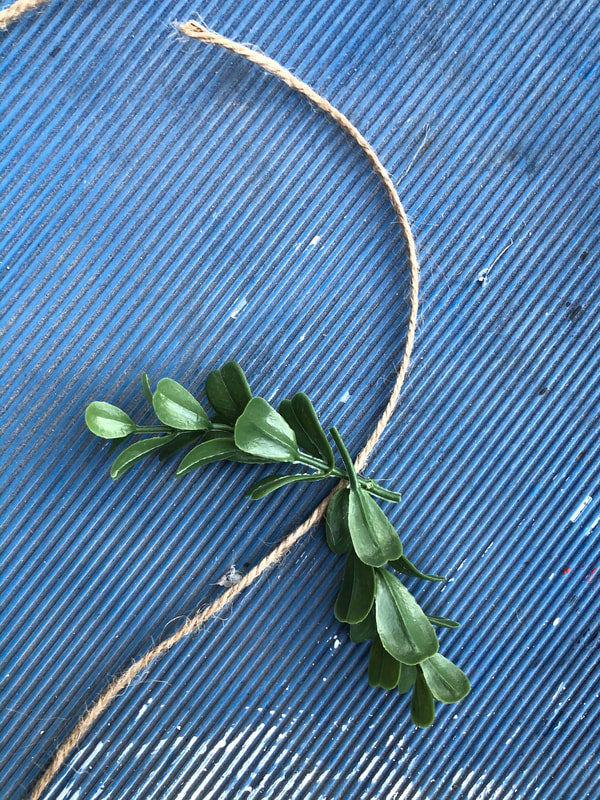
6. Now the fun part dress up your ornament. I grab the twine and greenery for these specific ornaments. First you will cut off two pieces of the greens, place the two ends together, and wrap the twine around it, finishing it off with a knot.
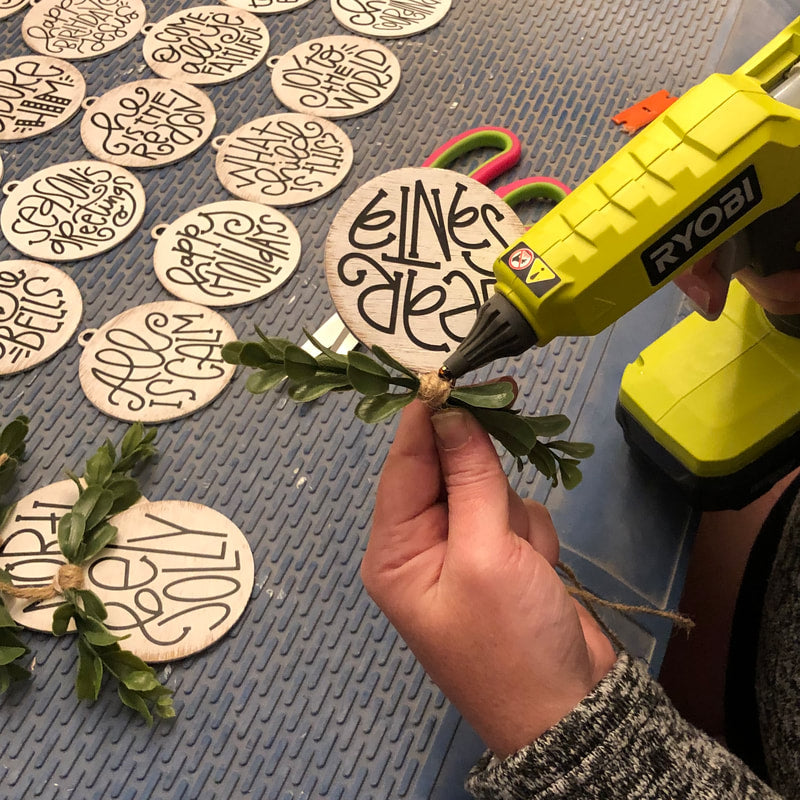
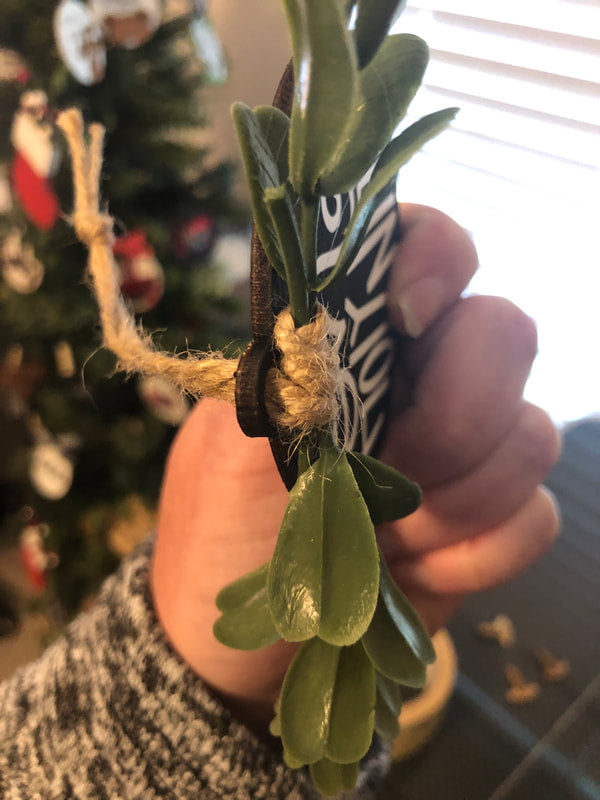
7. Then, you will string the greenery onto your ornament. I sometimes add a dab of hot glue to hold it in place. Btw, the ryobi cordless glue gun is amazing!
8. Yay! You did it, you made your own farmhouse ornaments! Now time to show off! Tag me on instagram @kitaleigh.made or share in our facebook group Kitaleigh Insider!

Don't be scared, get creative, change colors and add different greens! (or even a bow!)