Don't have time to read this now, pin it for later!
This blog post includes affiliate links. What does this mean? It means you will pay no more but I will get a small percentage for the referral.
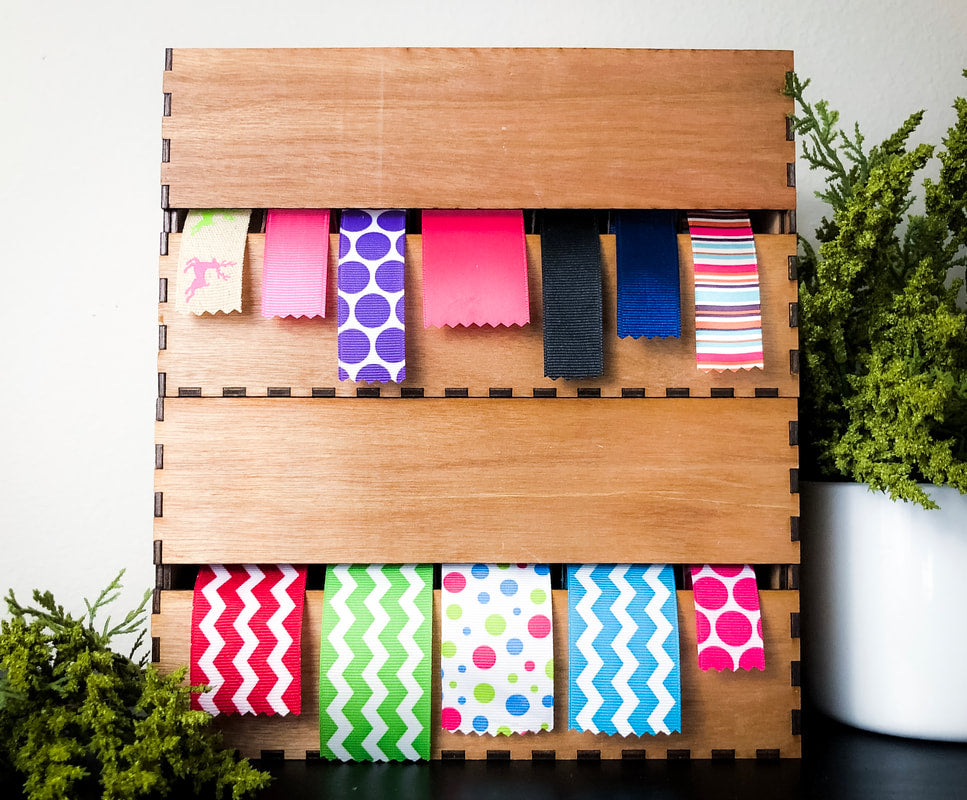
I don't know about you but my ribbon storage was absolutely out of control, until now!
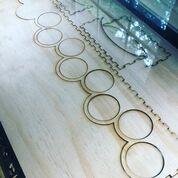
Take a look at what my previous storage looked like. It was so disorganized and really hard to tell what I had! I just had to find a solution.
So, I put on my thinking cap and found a way to make a simple storage solution and added a way that they could stack nicely!

The things you will need for this project are:
- The Laser storage Cut File, you can grab here.
- Glowforge (or other laser engraver)
- 1/8 inch plywood. I used Utility Plywood from Home Depot. The sku is 0000-833-096.
- 3/8" Wooden Dowel Rods (These will be cut to 8.75" in length)
- Super Glue (I used Gorilla Glue Gel)
- Small Spring Clamps
- Hammer ( I absolutely love my Teal Tool set with the mini hammer!)

First upload this design into your laser cutting software and cut. I used a Glowforge. Don't have one? Grab one here, warning this is an addicting machine!
Next you will assemble the holder and use the glue to make sure it is secure!

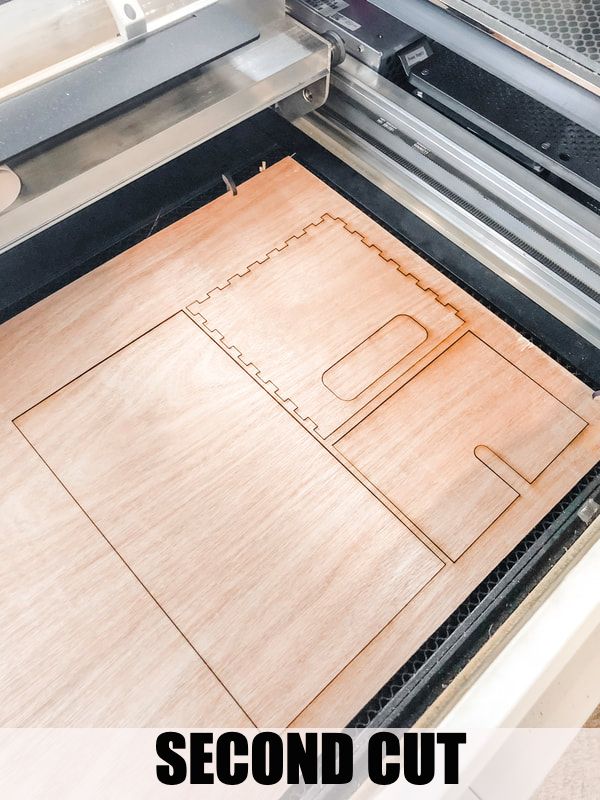
First, you will want to cut all the pieces of the design out. I had to do a bit of rotating and rearranging to allow my pieces to cut in the Glowforge program. I also had to break up the and do two cuts to get all the pieces made. (Note: on my second cut I have a square, you will only need to cut this part of design if you want to make the boxes stackable.)

Second, you will want to lay out all your pieces for assembly. This is very important! If they are not laid out correctly you may find errors at the end when it is all assembled.

Third, glue and clamp the side pieces together. Double check that you are glueing this to the inside of the box. (This side would be facing up in the image above)
This is also, where you will glue on the base rectangle, if you will want to stack the boxes. Note: the rectangle will go on the outside/bottom of the box. (This side would be facing down in the image above)
Notice: the pieces are NOT glued on the notches of the box.


Last but not least add your ribbon, step back and see what you have just created or make more and more!

Thank you so much for creating with me! Head on over to Instagram and tag me in your final products @kitaleigh.made!