Click to learn more about 'Concept to Keystoke' a course for font creation!

Translation missing: en.general.currency.dropdown_label

0 Cart
Added to Cart
    You have items in your cart
    You have 1 item in your cart
      Total

      Out with the Old and in with the New Acrylic Paint Storage

      by Nikita Grimes

      So, I have been struggling with a good way to store my acrylic paints. I feel like they have always been a mess and extremely hard to find the colors I have. As you can see below, I have bought the same colors multiple times, not even meaning to.

      *This blog post may contain affiliate links, it will not cost you anymore it will only allow me to receive a commission for the sale.

      I just had to figure out a solution. So I decided to put my glowforge to work!

      The supplies you will need for this project are:
      -Glowforge (or other laser engraver)
      -1/8 inch plywood. I used Utility Plywood from Home Depot. The sku is 0000-833-096.
      - 2 oz acrylic paint bottles! ​
      -Masking Tape

      Let's start creating!

      So first grab my FREE file! This file is 2.5" x 10.5" x 18" and holds 66 2oz acrylic bottles!

      SVG Laser Acrylic Paint Storage Design
      SVG Laser Acrylic Paint Storage Design

      SVG Laser Acrylic Paint Storage Design

      $0.00

      This is for a DIGITAL DESIGN ONLY. Check out the blog post here: about the creating and assembly of this storage box.


      Enjoy this design!

      View details

      Once I had the box designed.

    • I grabbed my 4'x8' sheet of plywood and brought it to my husband to cut into manageable pieces. I find the best size for the glowforge is 12"x20". (and no we are not sponsored by Ryobi).
    • Then I went on to mask my plywood sheets. This is a great way to avoid the burn marks from the laser.

    • From there I went on to upload the svg into the Glowforge program and sent section by section off to cut! My little one loves to be my button pusher!
    • After all of my pieces were cut.

      • I removed the masking
      • and began to assemble

      I feel in between these steps would be the perfect time to paint or stain the wood if you would like to.

      Whooo... you made it to the end! Now all that is left is to put your paint in and admire your work! Make one, two, or twenty!
      Enjoy and happy crafting!

      More from  the Blog!

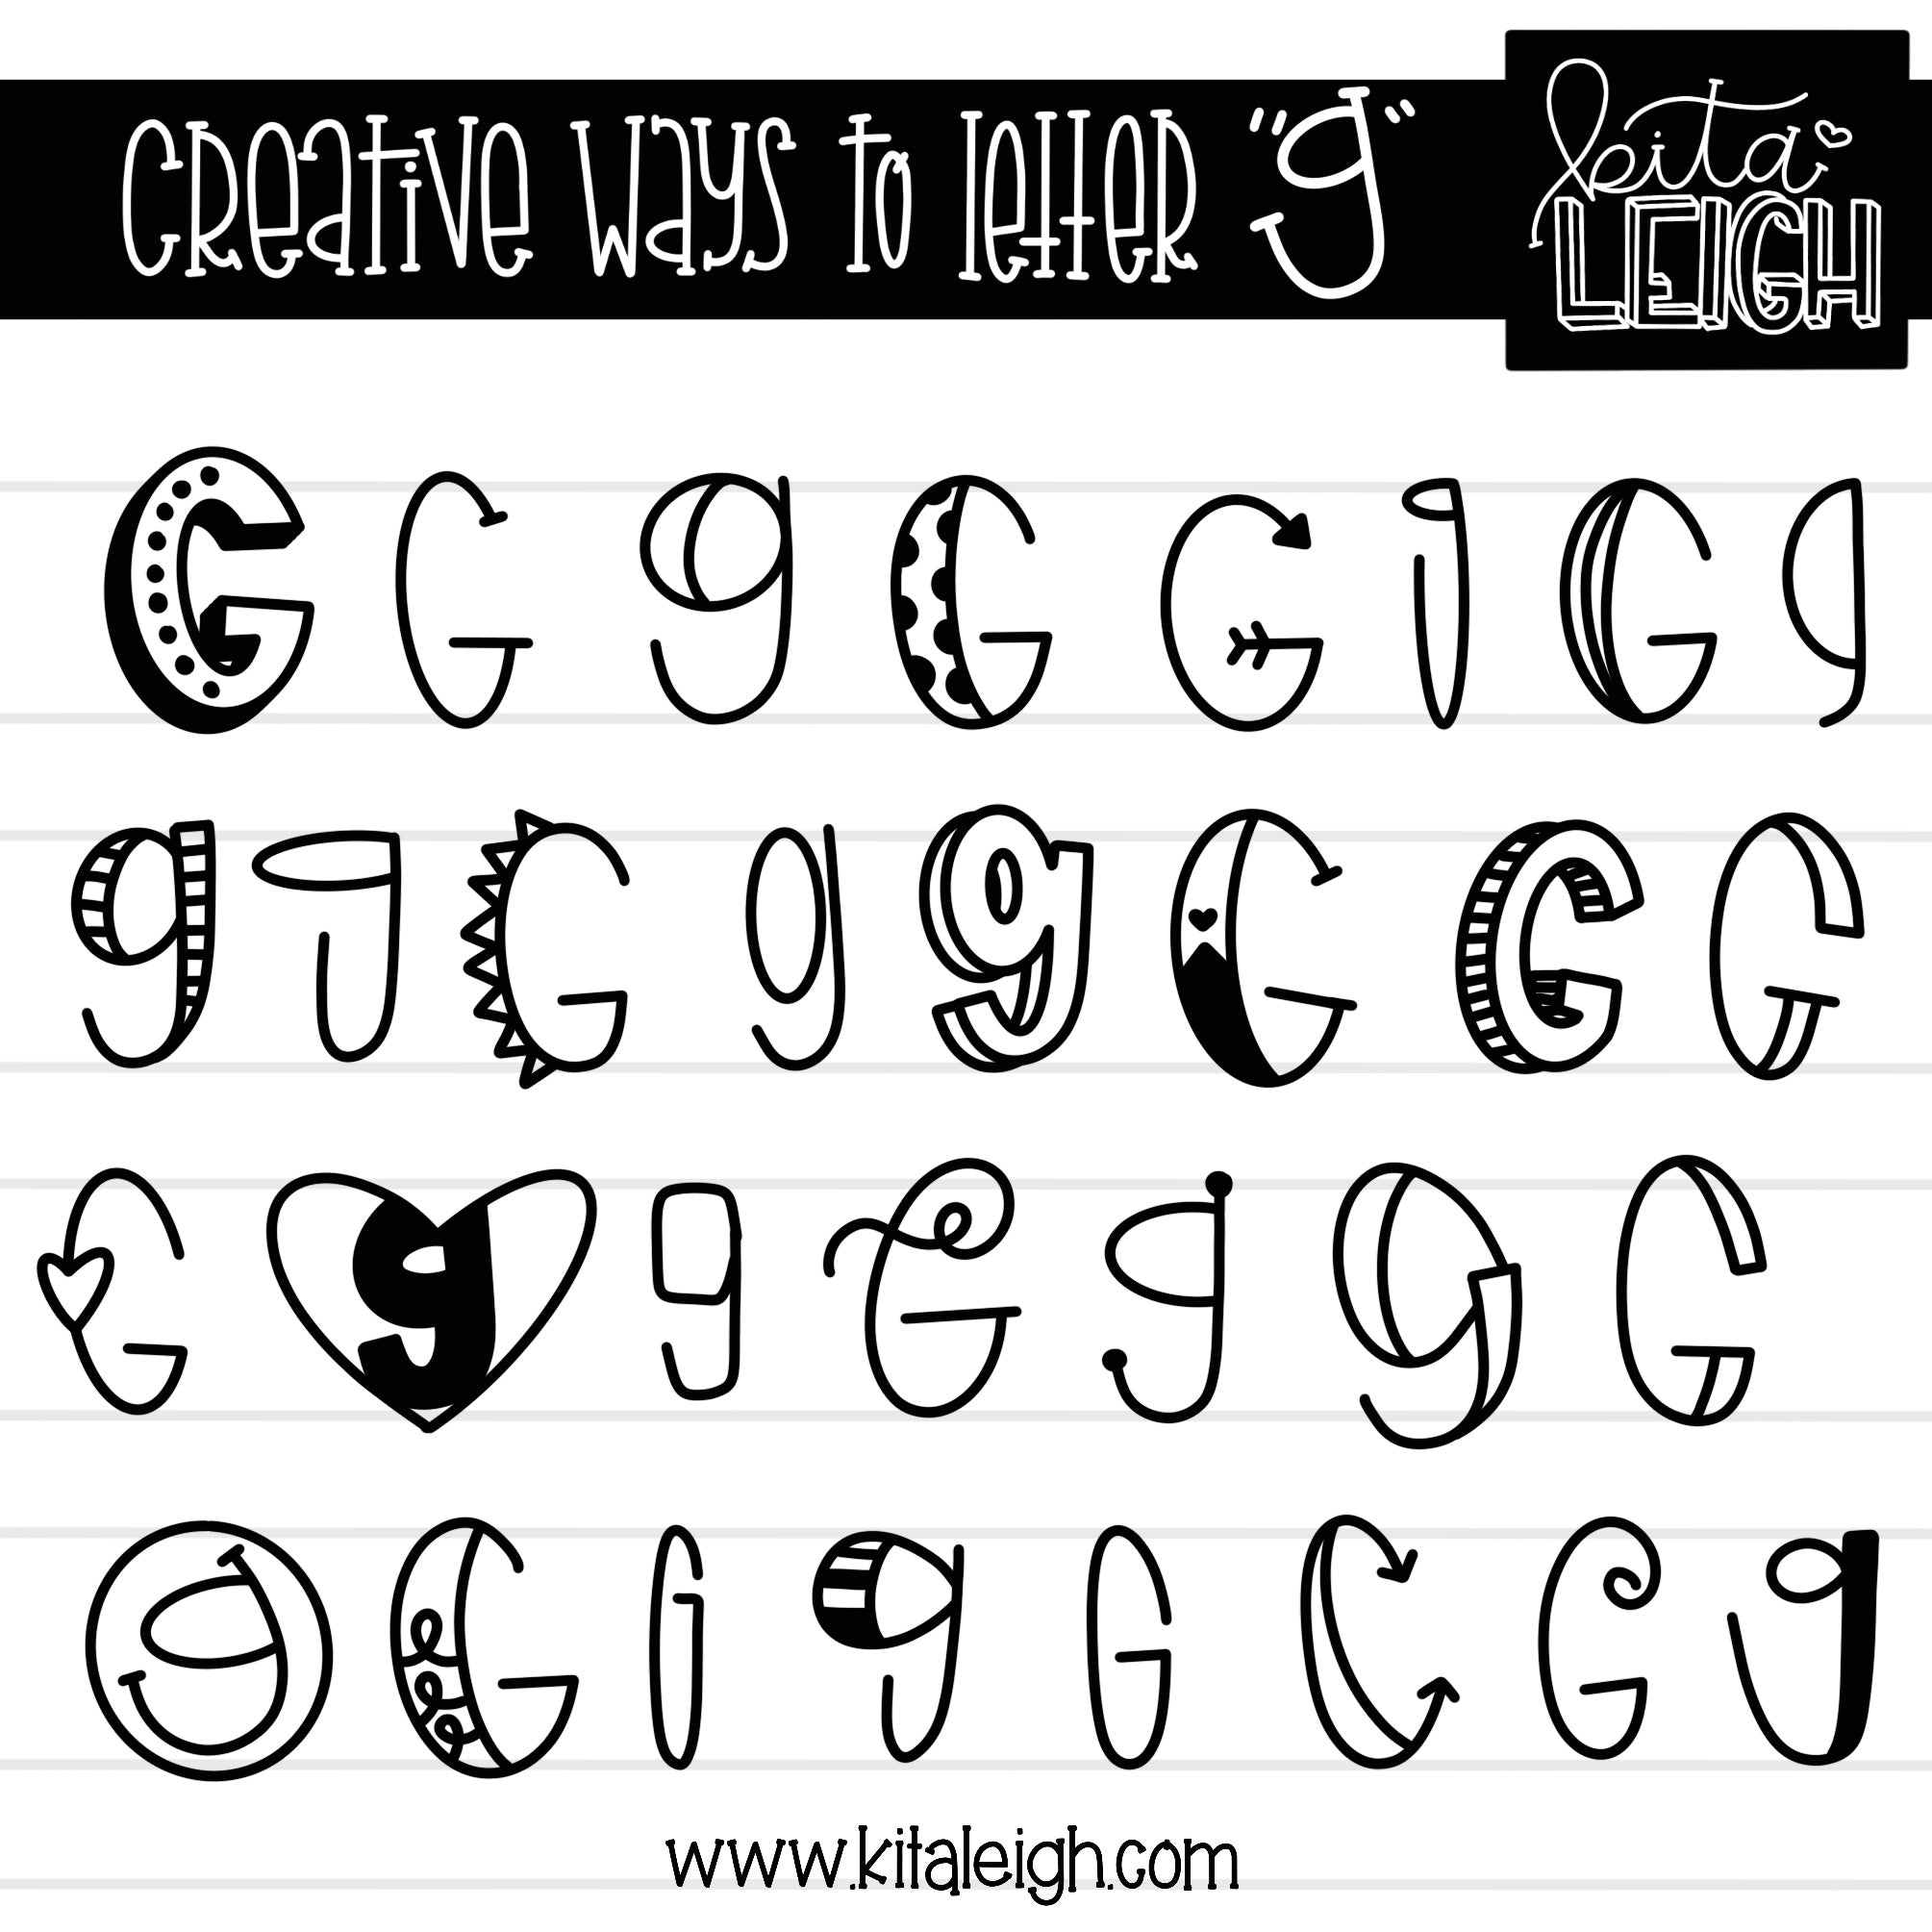
      Creative Ways to Letter 'G'

      Creative Ways to Letter 'G'

      Oct 13, 2023Nikita Grimes
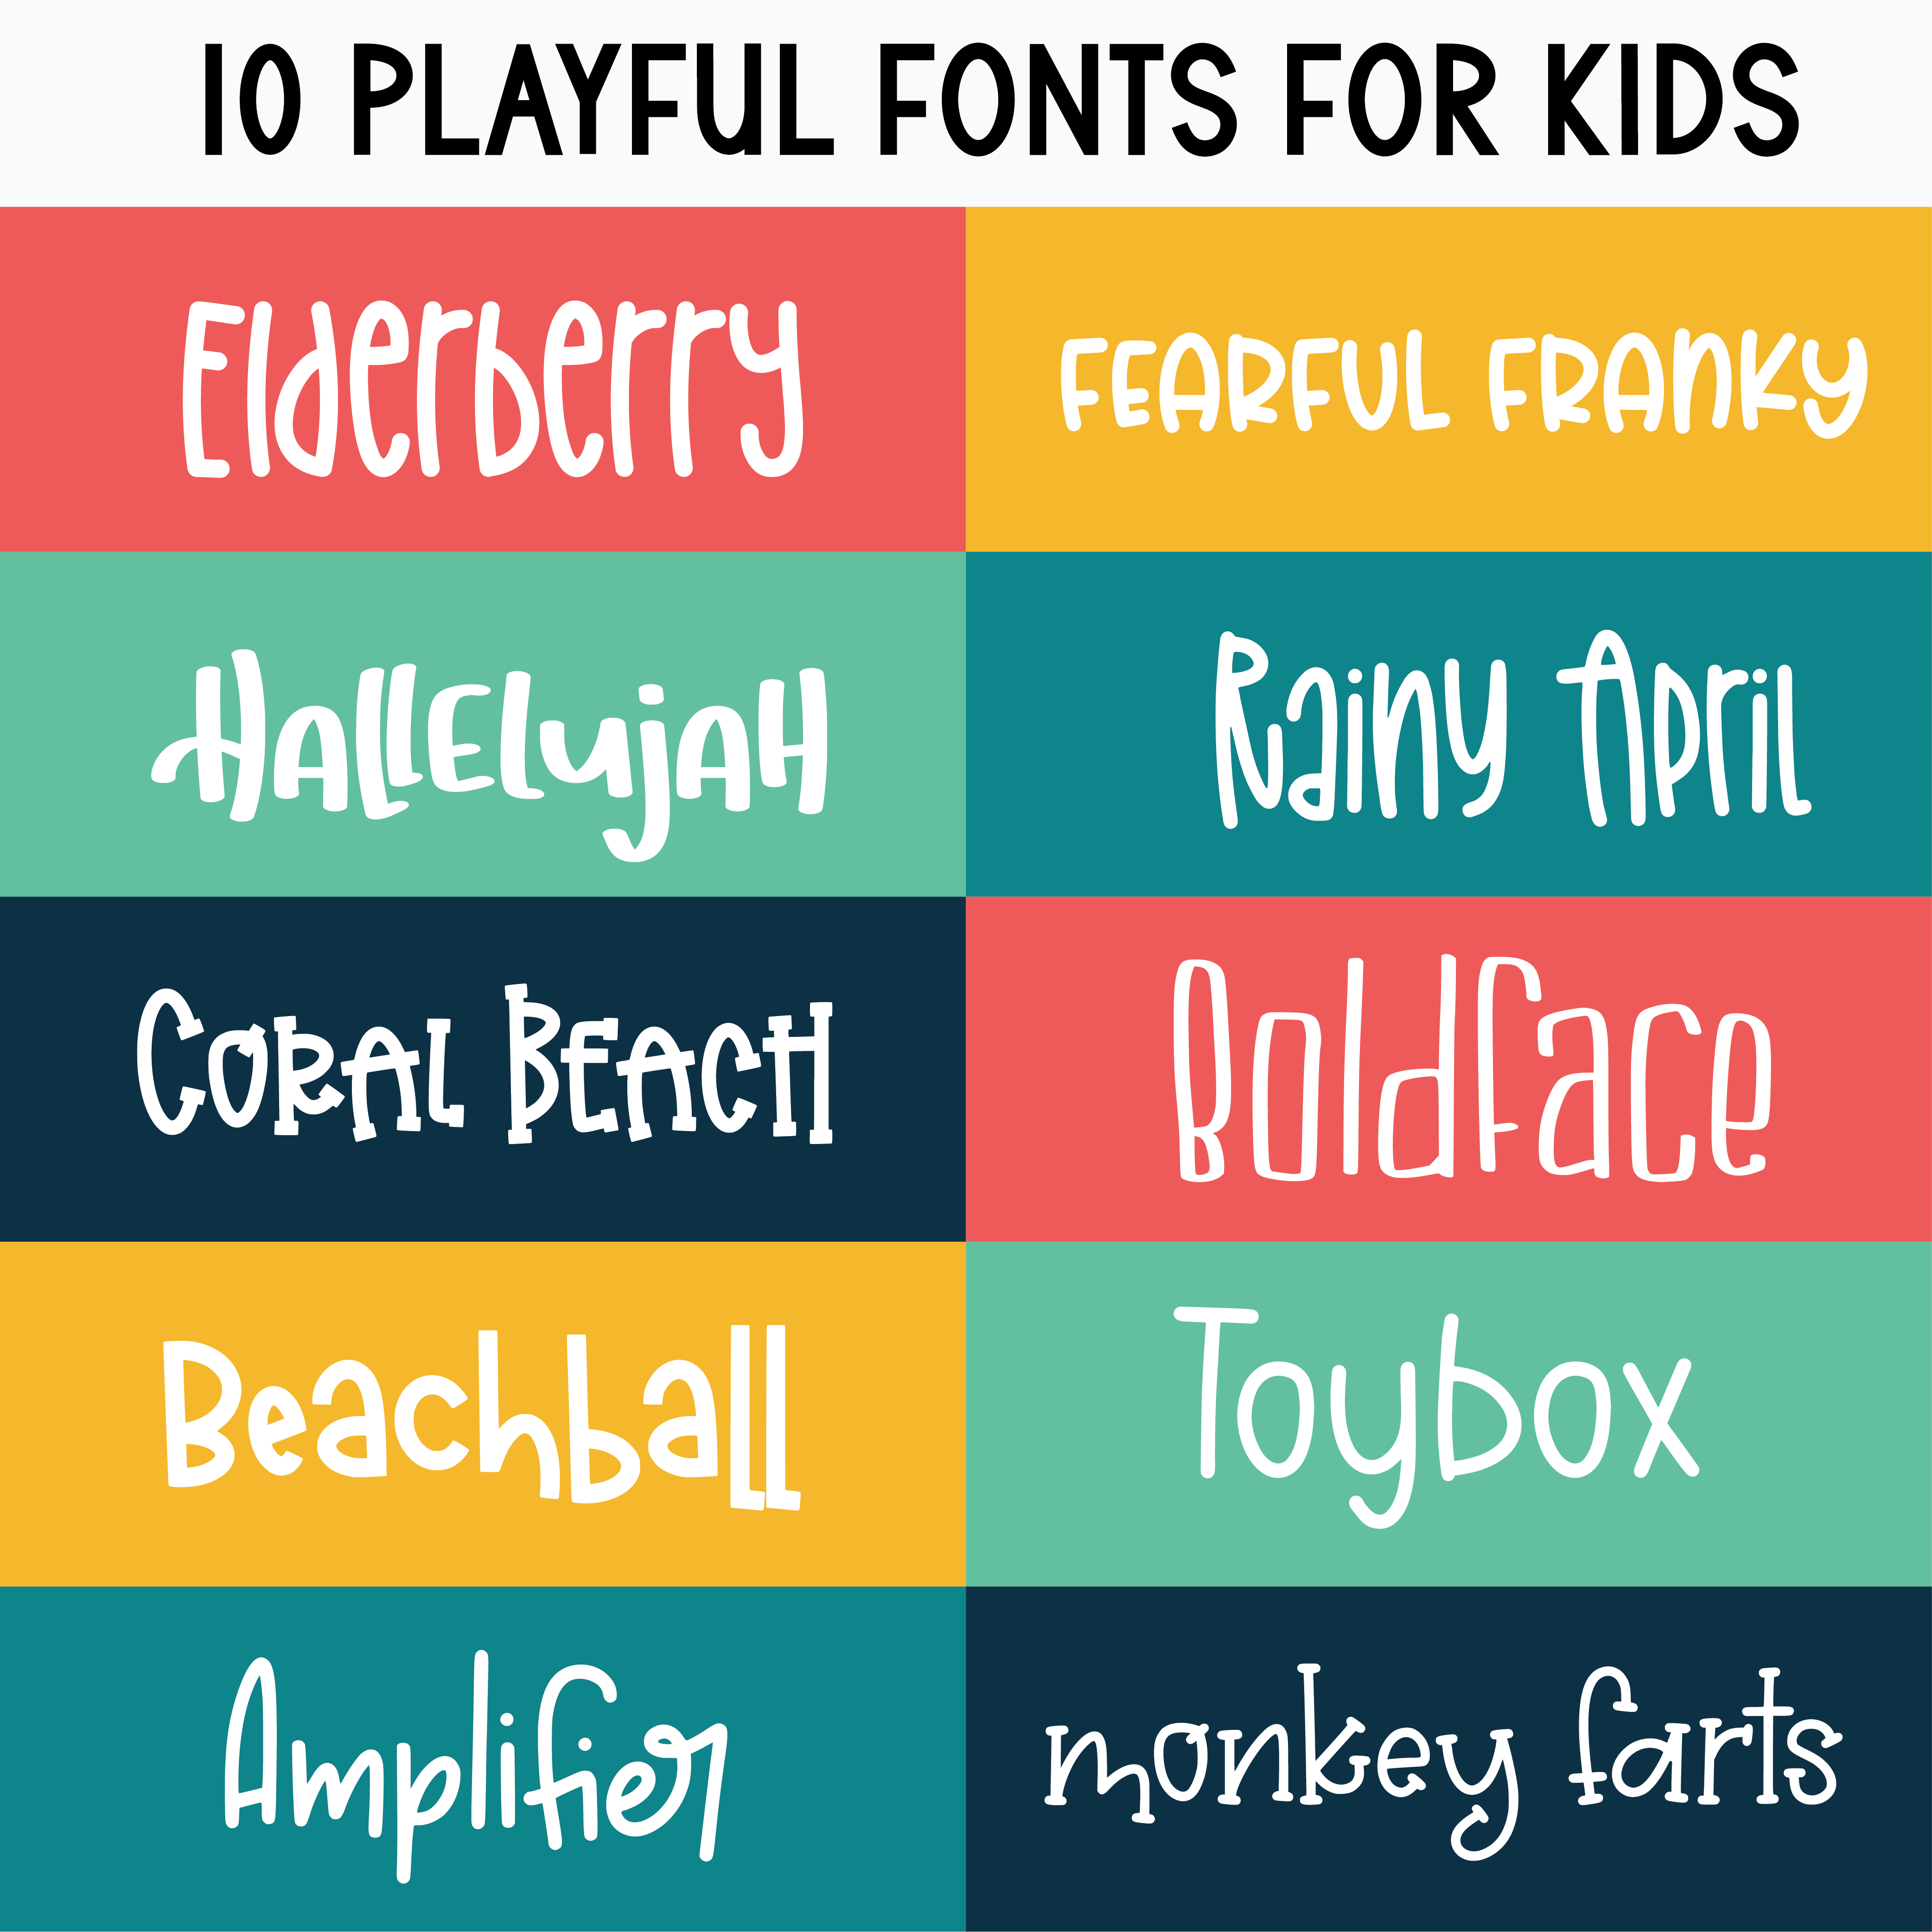
      10 Playful Fonts for Kids

      10 Playful Fonts for Kids

      Jan 27, 2023Shopify API
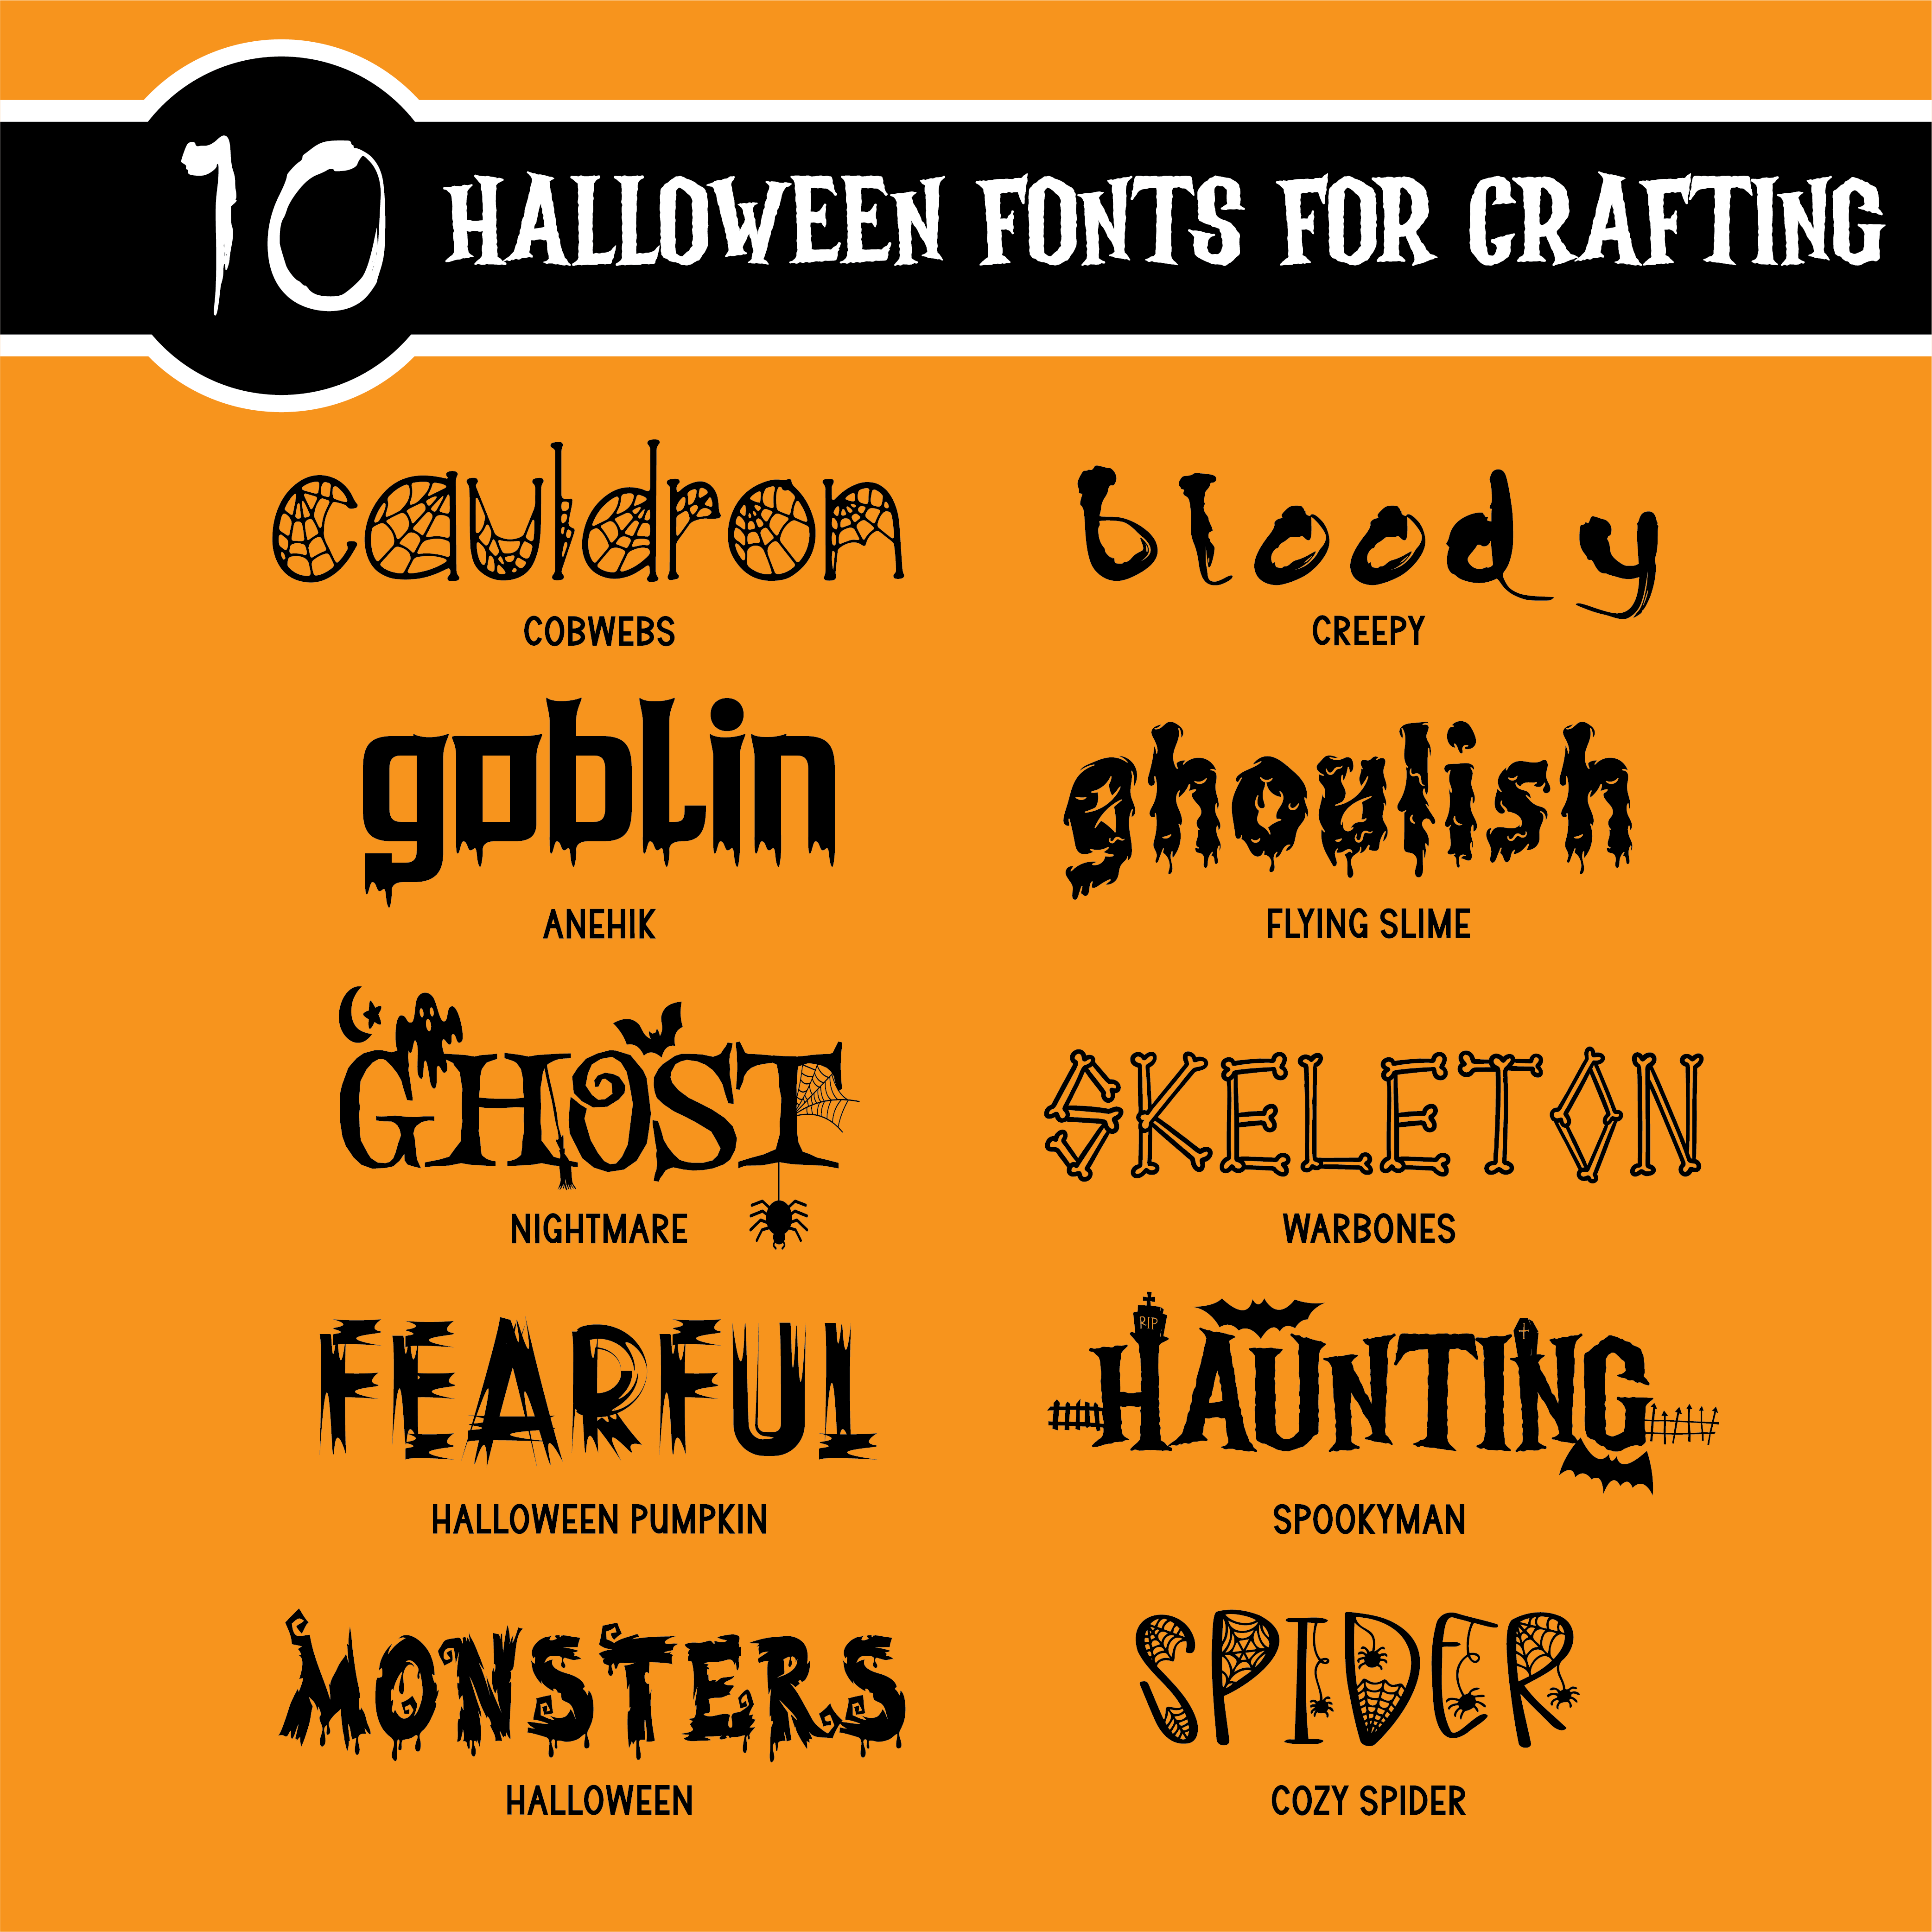
      10 Halloween Fonts

      10 Halloween Fonts

      Sep 19, 2022Nikita Grimes

      Leave a comment

      Please note, comments must be approved before they are published