Don't have time to read this now, pin it for later!
This blog post includes affiliate links. What does this mean? It means you will pay no more but I will get a small percentage for the referral.
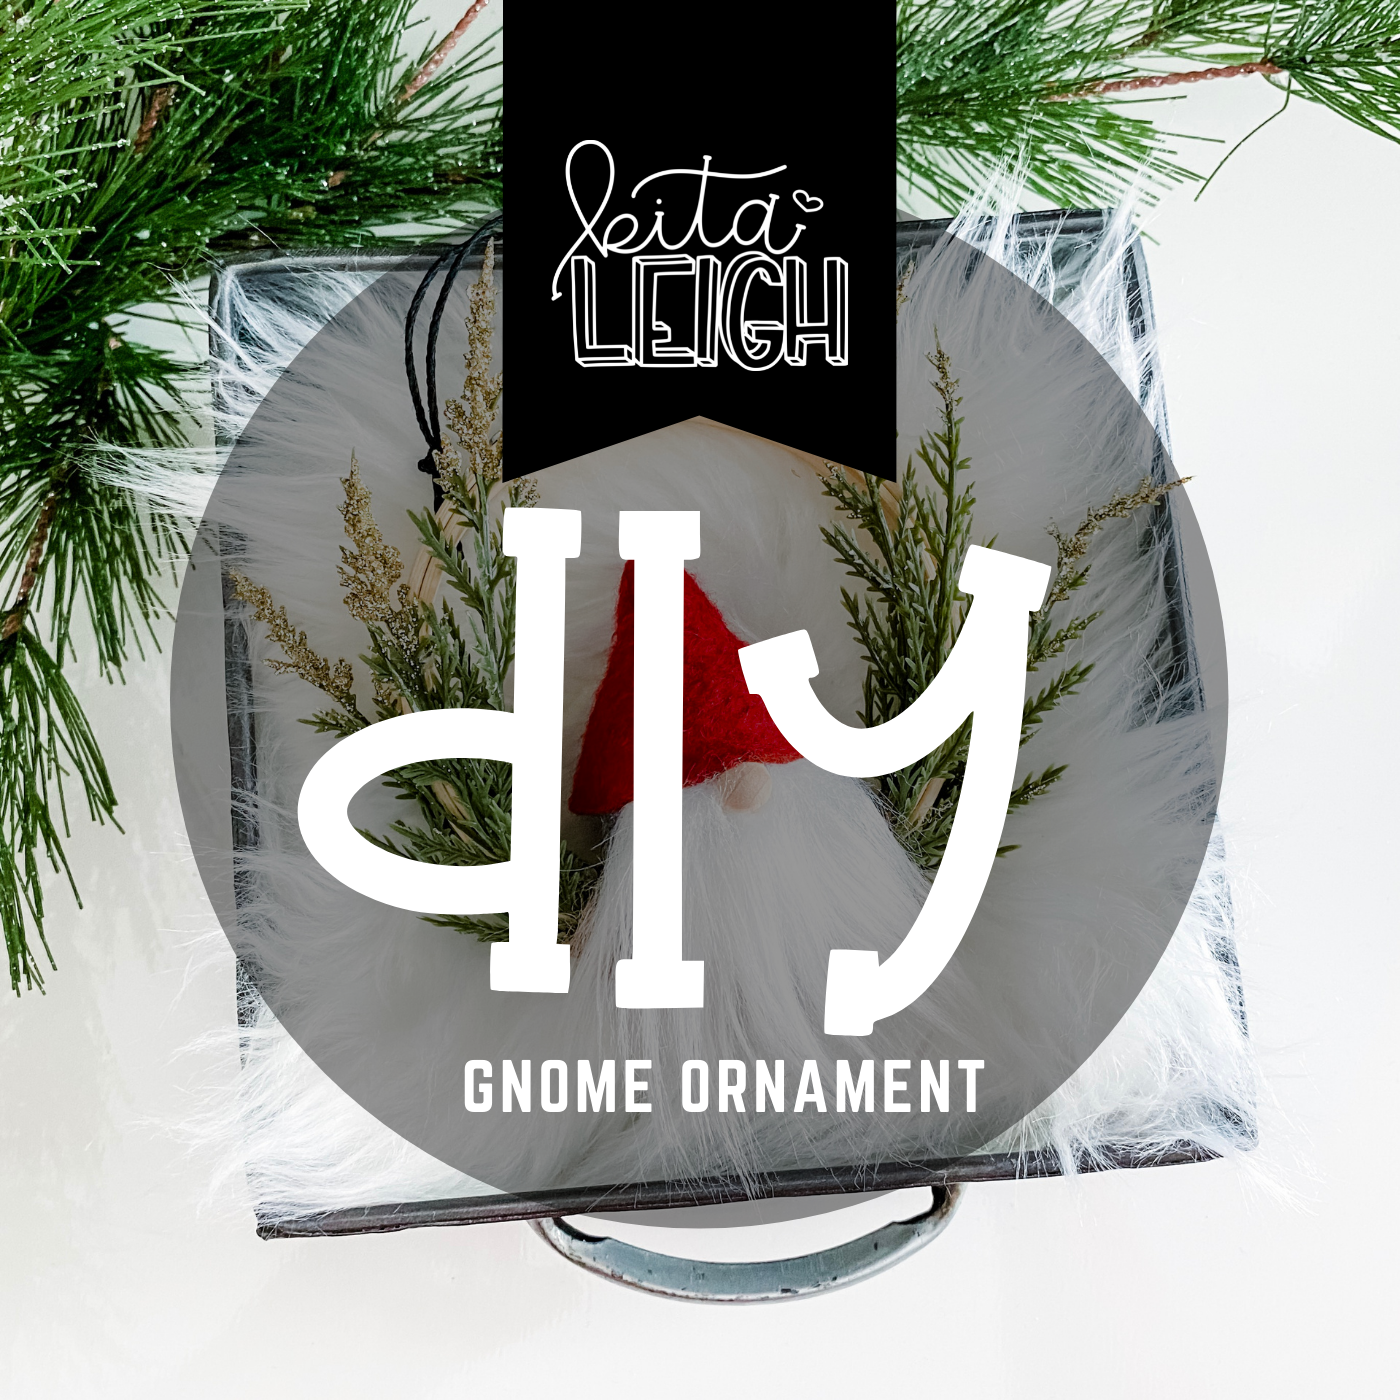
Hello! These farmhouse blocks are super hot right now and you are probably wondering how you can make them too! Well I got all the details on how I make them in this post... so let's get started!
The things you will need for this project are:
- 2x4s, you can buy these from your local lumber store. I have used more of the square edged ones as well as the round ones.
- Stain, I love Jacobean stain.
- White Paint
- Painter's Tape. I have used both Frog Tape as well as regular Blue Painter's Tape.
- Black Heat Transfer Vinyl
- Cricut or Silhouette Machine
- Cricut Mini Press
1. Now that you have all the supplies you need, you will need to cut and sand the 2x4s. I prefer the squared edges, so the 2x4s that are more rounded I had my husband rip on the table saw (because I am scared of that thing!) I cut multiple different lengths, but really liked the 5", 6", and 7" increments.

2. Next, I stained them. You can choose any stain you would like I have used both Jacobean and Redwood with good results. I really love using Staining Pads! They make staining so easy.

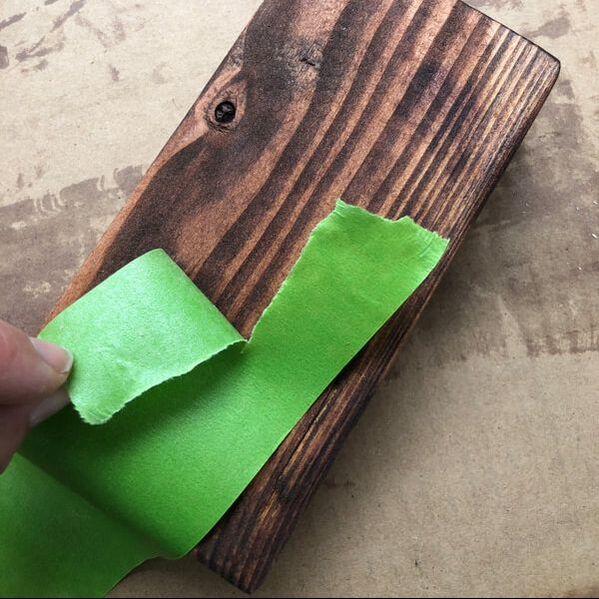
3. Once the stain has dried, that is where the fun begins. You will rip the tape in half and place it around the block. This gives the block a ripped paper feel after painting.

4. Paint. I prefer painting with foam rollers. It makes a nice even finish, and takes a lot less time than brush painting.

5. Now it is time to figure out the words you would like on your blocks and mock them up in your design software. I am using silhouette Studio. I do this by making a square of the size of the block and typing in my words and sizing the text to fit. Don't forget there is space between the outside of the block and the white paint you will need to take in account. I use the font Love Mug for my blocks.

6. You will then cut and weed the words, from HTV. Don't forget to mirror when cutting.
7. Time to pull out that Cricut mini press and press on your words! I use medium heat, press and keep the little press moving for about 3-4 seconds. Once the seconds are done, peel immediately, but slowly. If you find any part did not stick well enough press again. Use a Teflon Sheet, this is very important! I found without one the paint would melt as well as the HTV.


Thank you so much for creating with me! Head on over to Instagram and tag me in your final products @kitaleigh.made!