
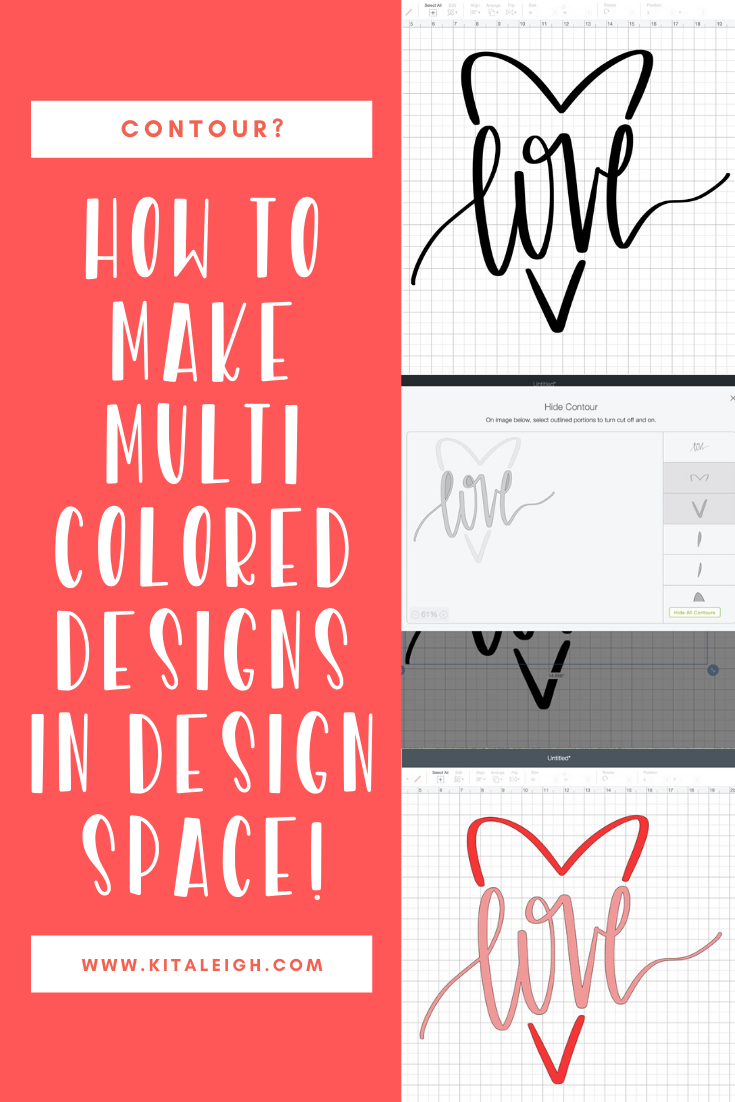
Don't have time to read this now, pin it for later!
This blog post includes affiliate links. What does this mean? It means you will pay no more but I will get a small percentage for the referral.
f you are reading this you want to know the secrets on creating a 1 layer/1 color design to a multiple layer/color design in Cricut design Space... shhh... don't tell anyone. Just Kidding scream it from the mountain tops, this will change your Cricut game! First you need a design. For this example I use my FREE love heart design you can find here!

Once you have it pulled into Cricut Design space you will want to duplicate the design and place one layer on top of the other. (This helps me to visualize the finished product in the end and give me 2 layers!)

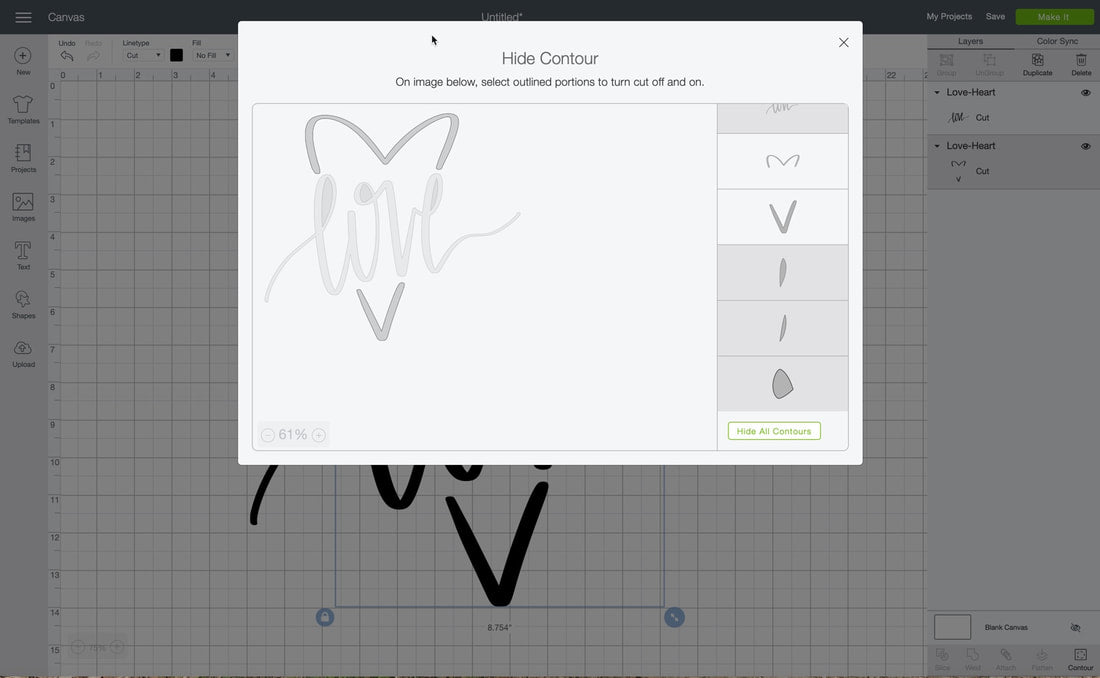
Okay, now you have the design in and duplicated. Now on to the part you start separating! Click the layer you want to Edit. Click contour. (This is in the lower right of your screen) Once the 'Hide Contour' screen pops up, click the paths of the design you would like to hide in this layer.
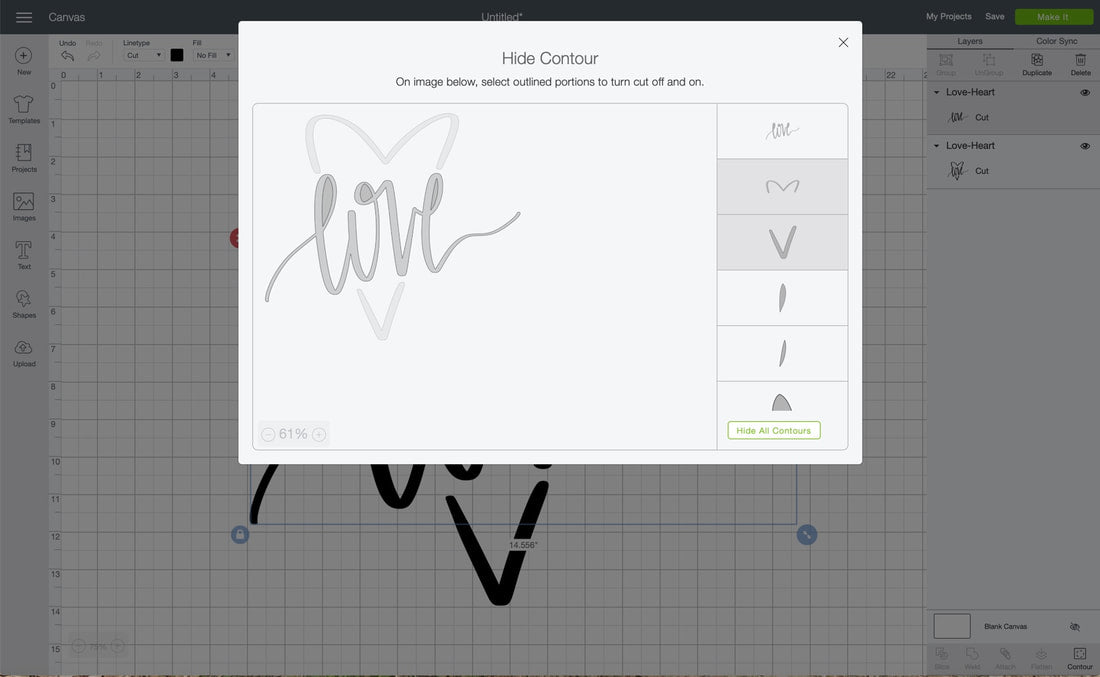
You will want to complete steps 1-3 for each layer you have created. My example I show two but you could do 3,4,5, even 99 (the choice is yours). Note: For some letters and designs you will have to use multiple 'paths' (parts) to complete the look. In my example the inner part of the l. o, and e were very important to complete the look of 'love'.
Last but not least, add COLOR! Select layer Click on the colored box right next to 'linetype>cut'. Once the color palate opens up choose a color or click 'advanced' for more options.

And just like you have created a multi-colored design from a plain one color, one layered design! Way to go! Are you more of a visual learner? If so check out my YouTube tutorial!
If you found any of this helpful, comment, pin, or like it!


